In this post I will show you how easy it is to upgrade VMware ESXi Server from version 5.* to 6.0.
Interactive Upgrade
Interactive Upgrade is fairly easy process and it straight forward. Let’s start with mounting ISO to your server with ESXi 5.*. In my case it is nested ESXi installation, but process looks exactly the same.
Take a back-up
Before upgrade I suggest to execute backup of your ESXi configuration. We all know that sometimes it is easier to reinstall ESXi from scratch and not spend long hours digging in logs.
In order to take backup login to host using SSH or local shell and execute following command.
|
|
As output you will see link to download backup. You can find it as well on local storage in /scratch/downloads directory as configBundle-
Upgrade process
After we mount ISO to server we will start upgrade process.
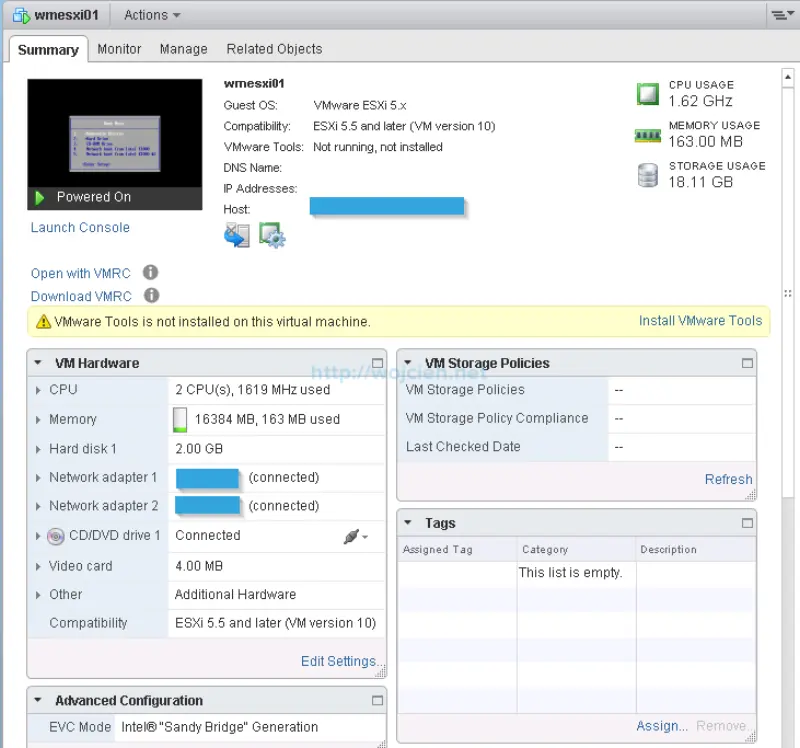
This is my server before upgrade.
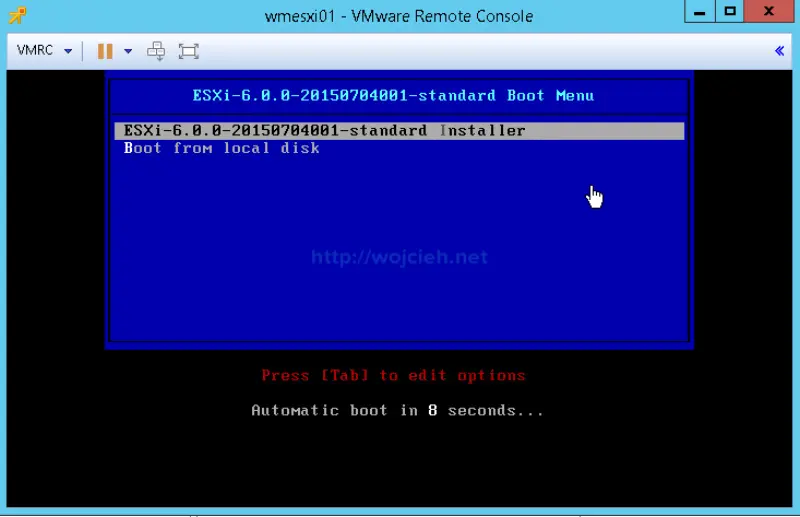
- In remote management console hit enter or wait 10 seconds to boot installer automatically.
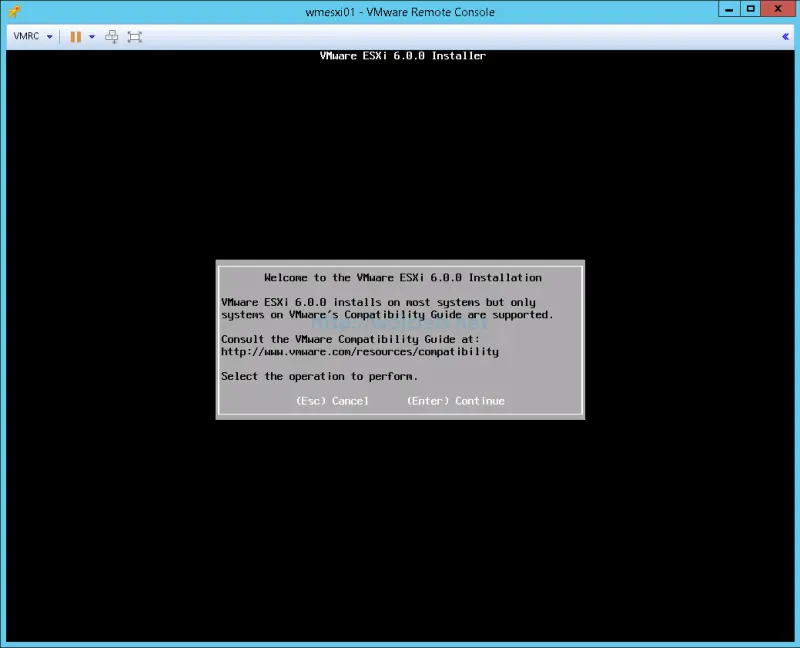
- Click (Enter) Continue to start upgrade process.
- Accept End User License Agreement (EULA) and click F11.
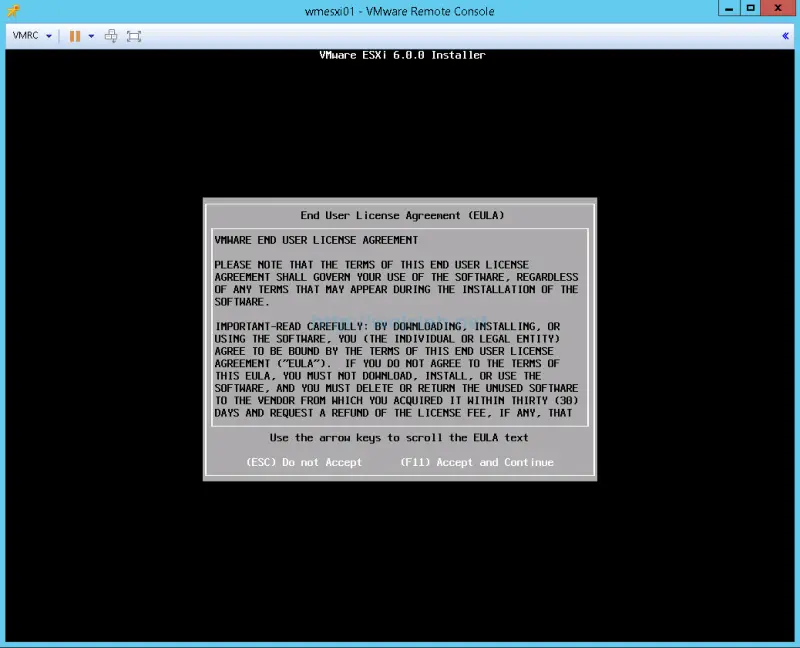
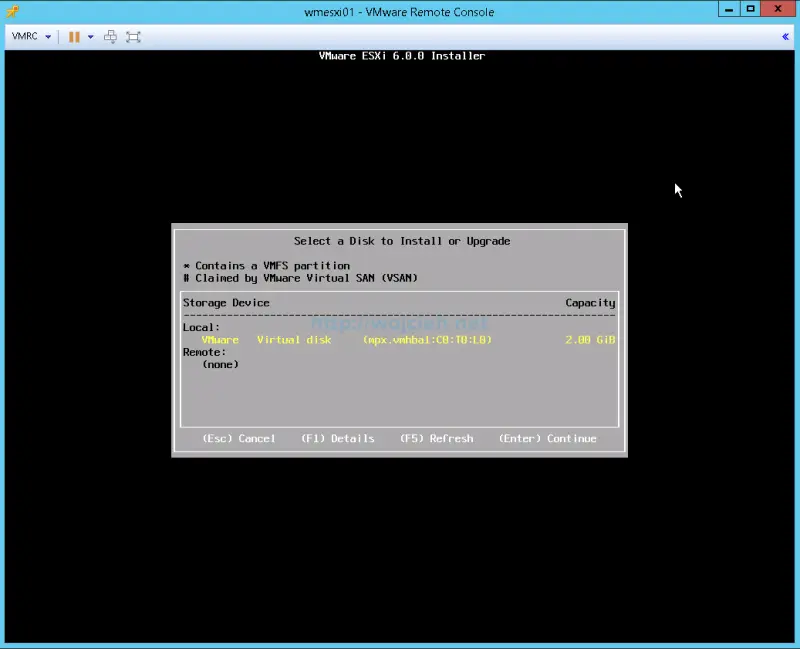
- Wait few seconds to scan available devices. Disk where VMware ESXi is installed, will be presented. Select your drive and click Enter.
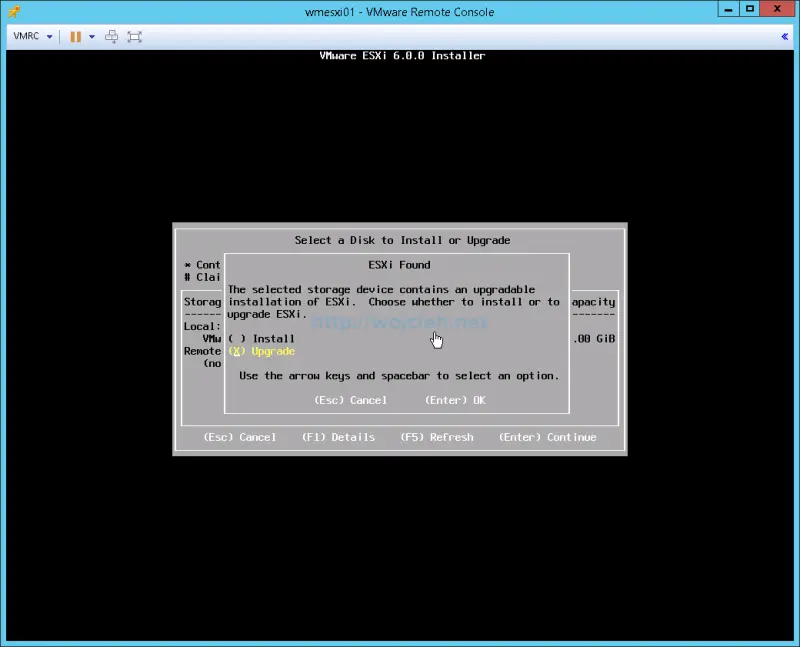
- Select Upgrade and click OK.
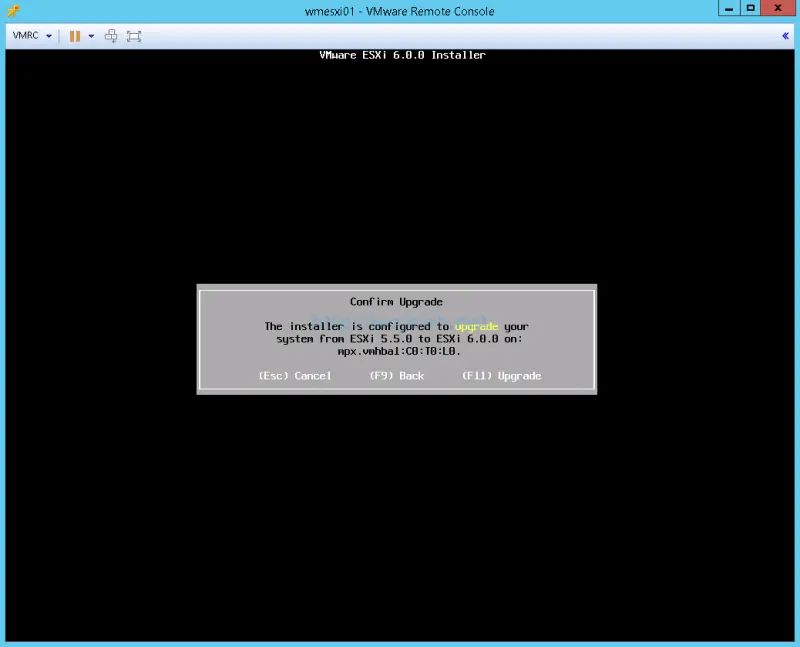
- On the next screen confirm upgrade by hitting F11.
- Wait for upgrade to be done.
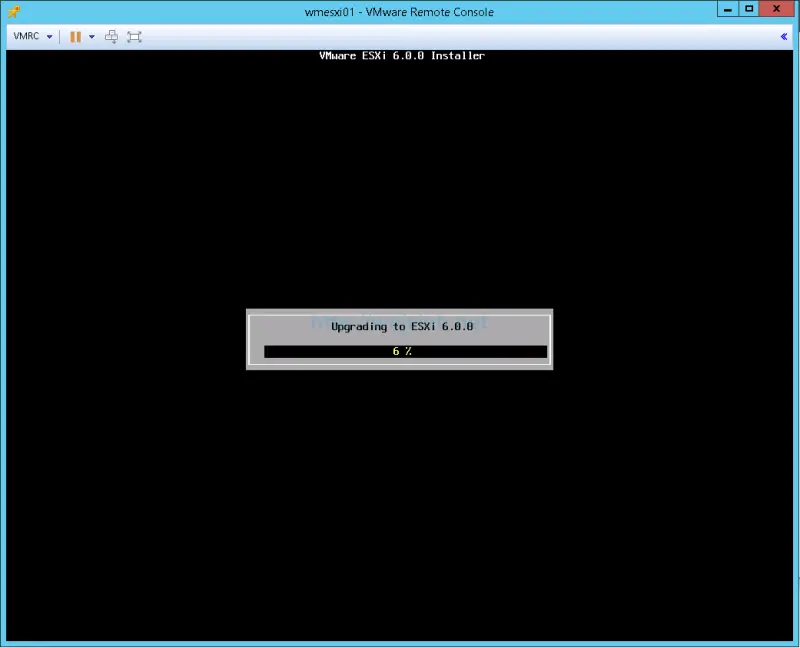
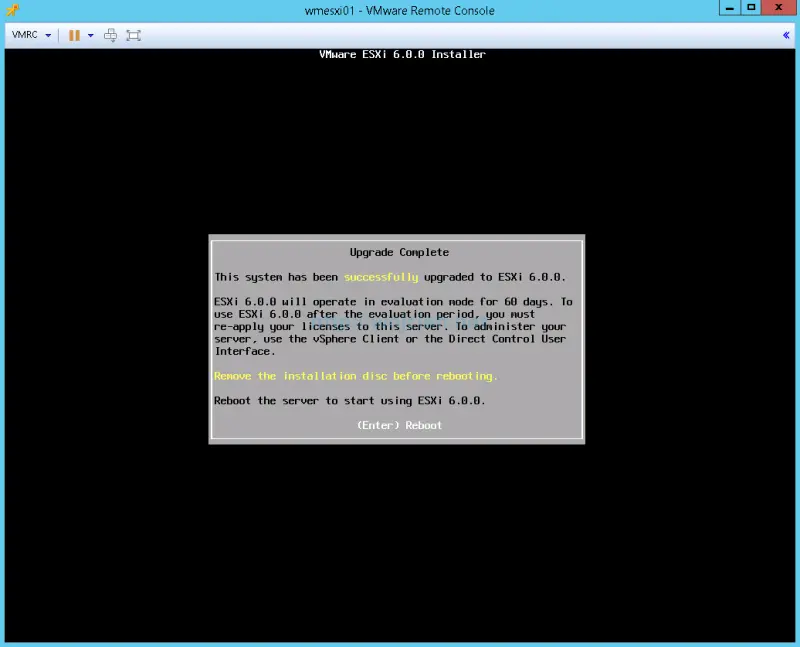
- After few minutes upgrade will be done. Remove installation media and reboot server by hitting enter.
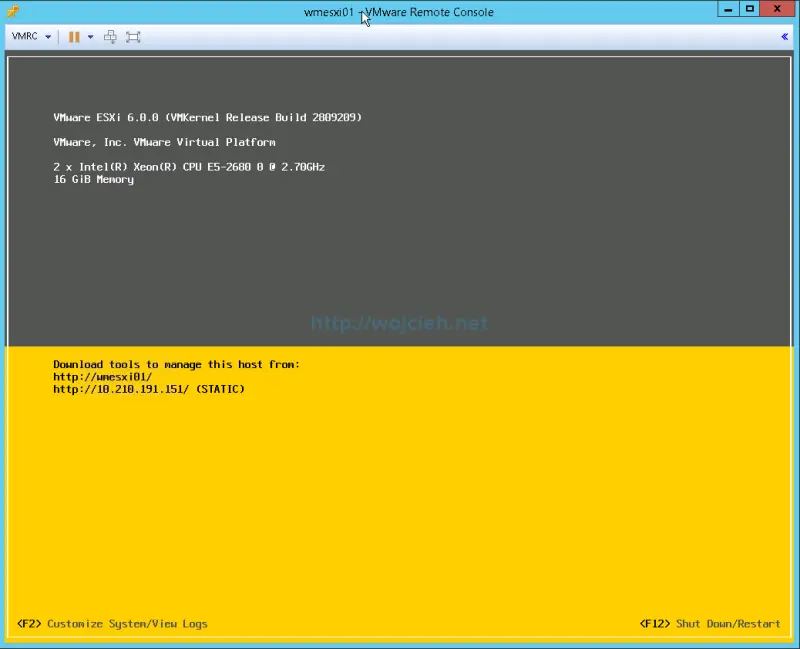
- After reboot host will be booted and we can consider our upgrade as successful.
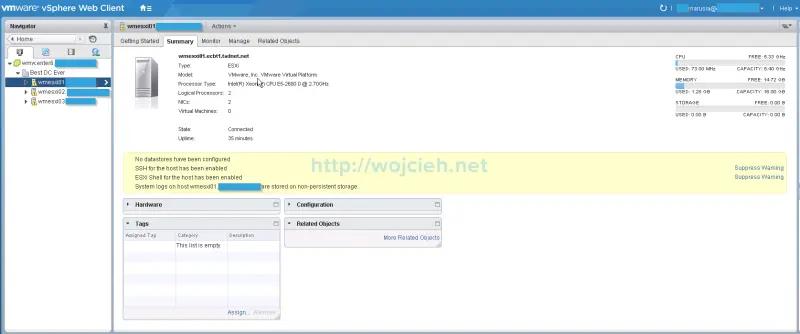
- After reconnecting host in vCenter Server we see as well that it is upgraded from version 5.5 to version 6.0.
In the next post I will describe VMware ESXi 5.* upgrade to version 6 using esxcli.