 Todays post will focus on upgrade from vCenter Server 7.x to 8.x. Process itself isn’t very complicated and in normal environment should take around 1h. Let’s dive into it!
Backup your existing vCenter Server
Prio 0 for us is to make a backup of vCenter Server. Please remember that snapshot isn’t a backup :)
Few days ago I wrote an article how to backup a vCenter Server. Follow it and let’s upgrade vCSA :)
vCenter Server Appliance ISO error on macOS
On macOS due to Apple’s security configuration, you might face error Installer” is damaged and can’t be opened. You should eject the disk image.
What we need to is one of the solutions (VMware KB states it incorrectly - you don’t need to do all of below mentioned steps, just one) mentioned by VMware KB - How to fix vCenter Server ISO error on macOS.
Choose one of the fixes:
sudo spctl --global-disable- I don’t recommend it- In Security and Privacy settings (System Preferences >Security & privacy) set “Allow apps download from:” to “Anywhere” - I don’t recommend it
- Run the command:
sudo xattr -r -d com.apple.quarantine Path_to_the_iso- I recommend it
Example:
sudo xattr -r -d com.apple.quarantine /Users/wojcieh/ISO/VMware-VCSA-all-8.0.2-22617221.iso
Prerequisites
General Prerequisites are as follows:
- Download and Mount the vCenter Server Installer
- Verify that the clocks of all computers on the vSphere network are synchronized
There are more but I’d rather refer to VMware Docs “Prerequisites to upgrade vCenter Server Appliance”.
Upgrade of vCenter Server Appliance from version 7.x to 8.x
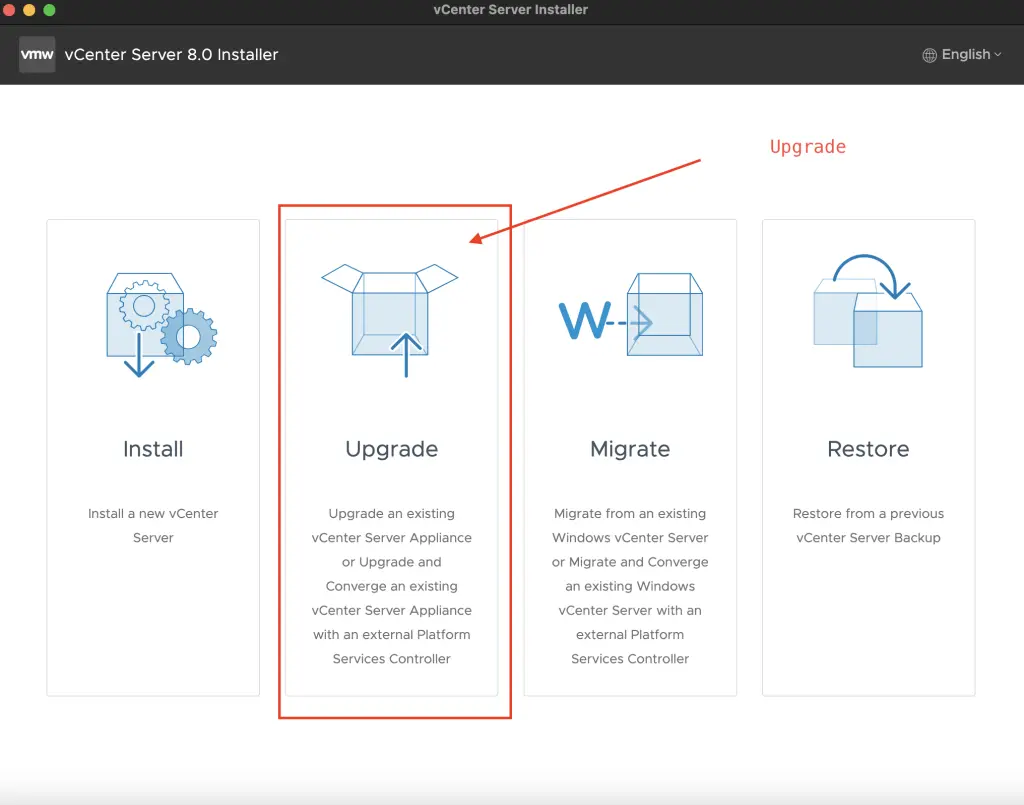
Overall process is quite simple. We deploy new vCenter Server Appliance (vCSA) to our cluster or ESXi host. The second stage involves data migration from old vCSA to a new one.
New vCSA deployment - Stage 1
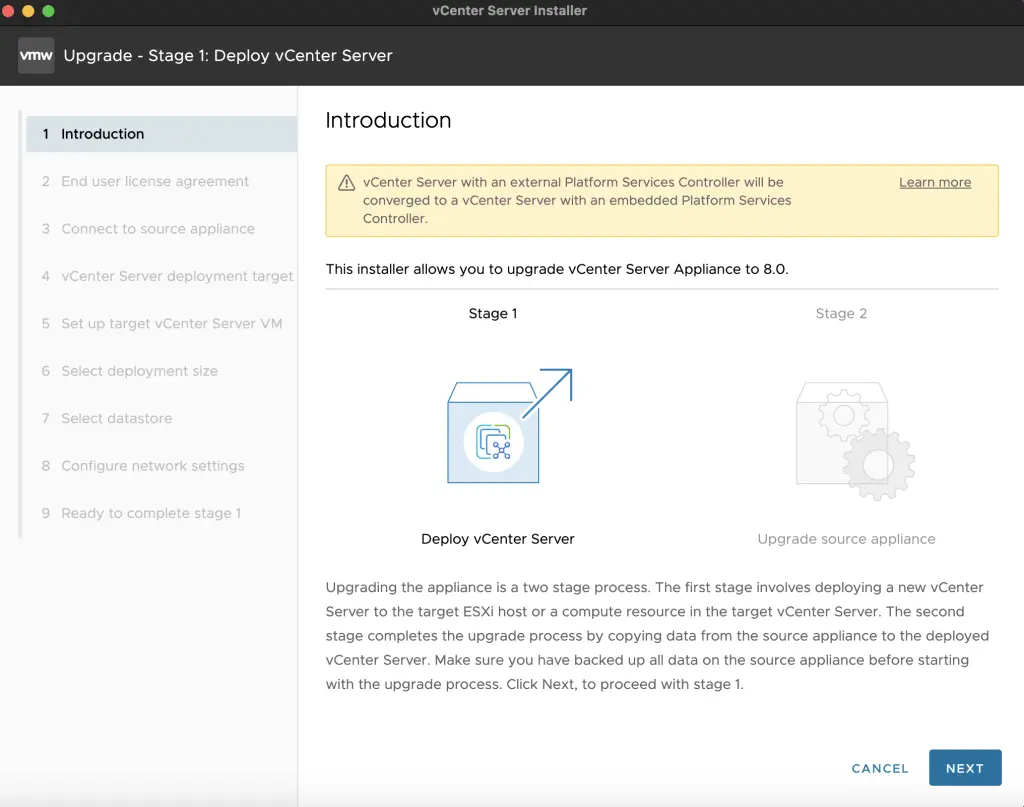
- On the first screen you can read about the process. We click next.
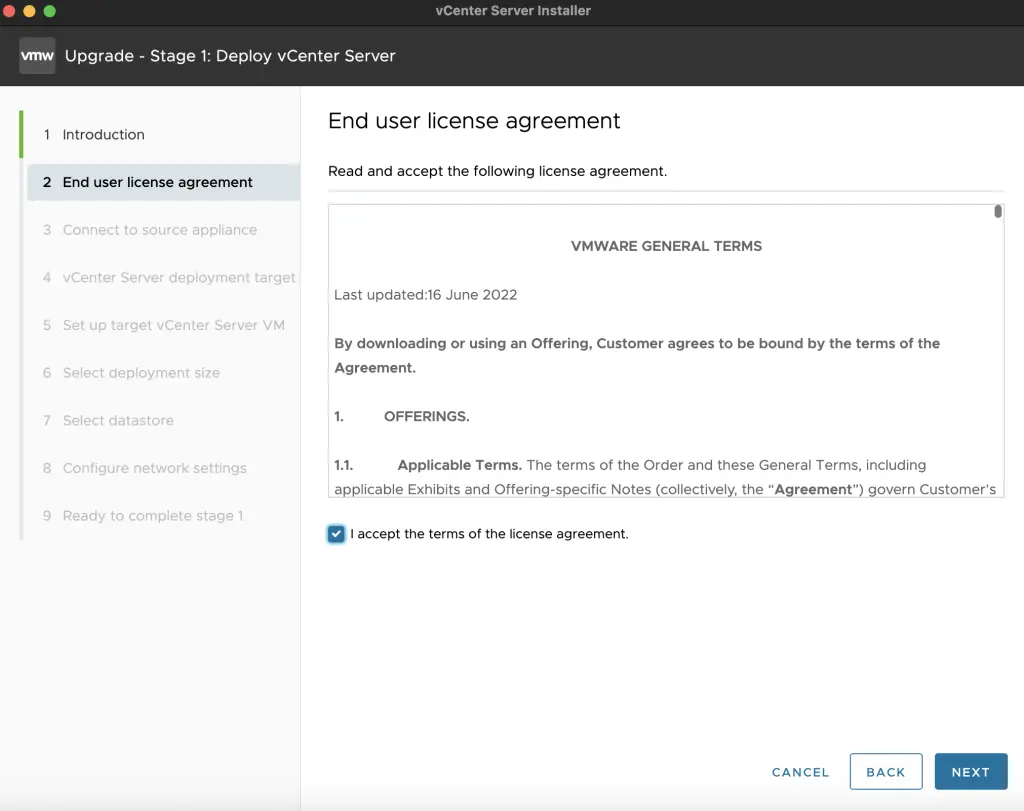
- We have to agree to VMware EULA and click next.
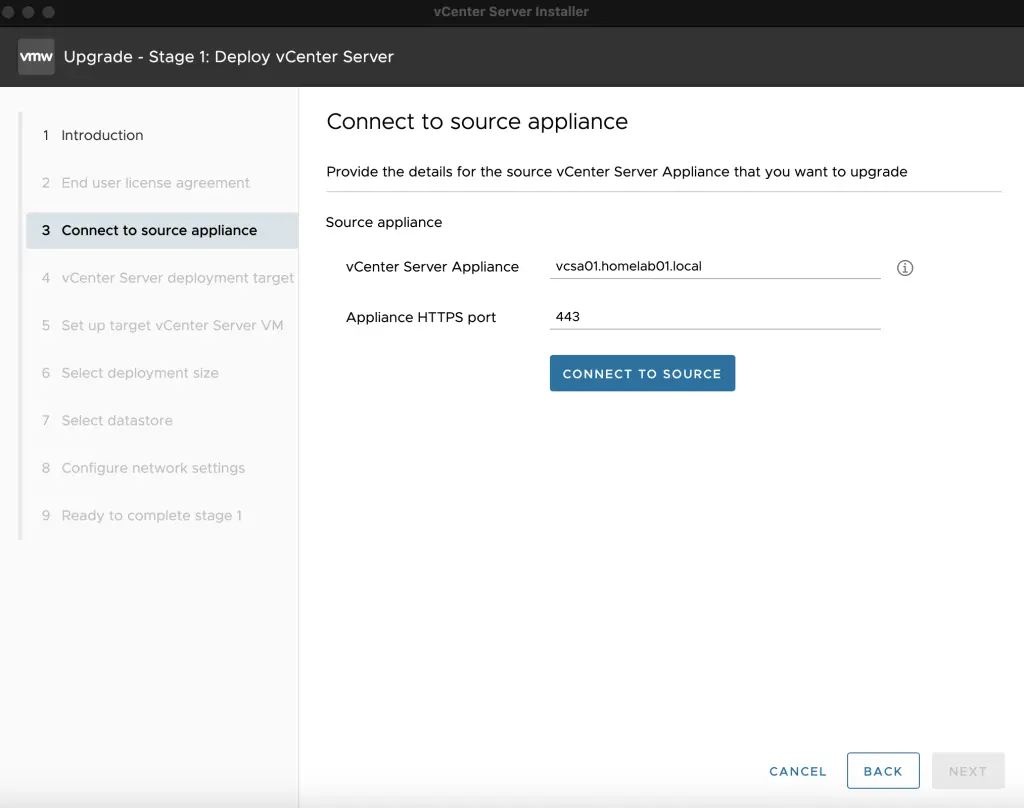
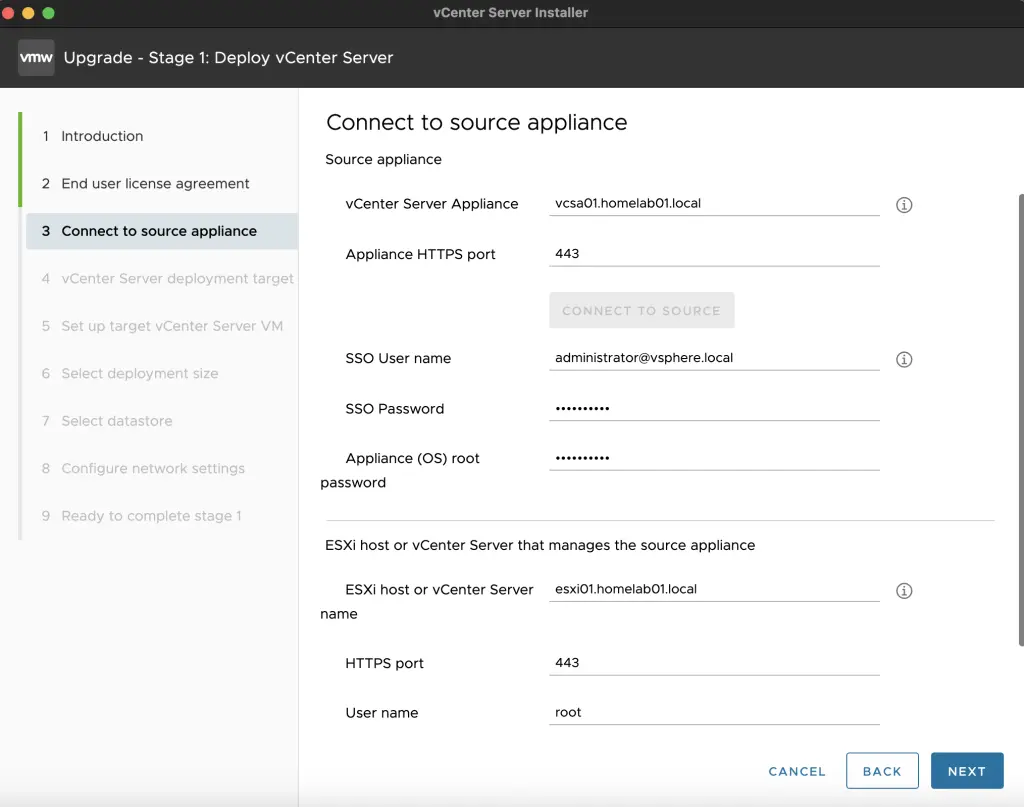
- In order to process we need to enter FQDN or IP address of our existing vCenter Server Appliance. We need to validate connectivity by clicking Connect to Source. After that we need to provide SSO password and vCSA management password. In later section we need to add FQDN or IP address of ESXi server or vCenter Server that manages the appliance itself.
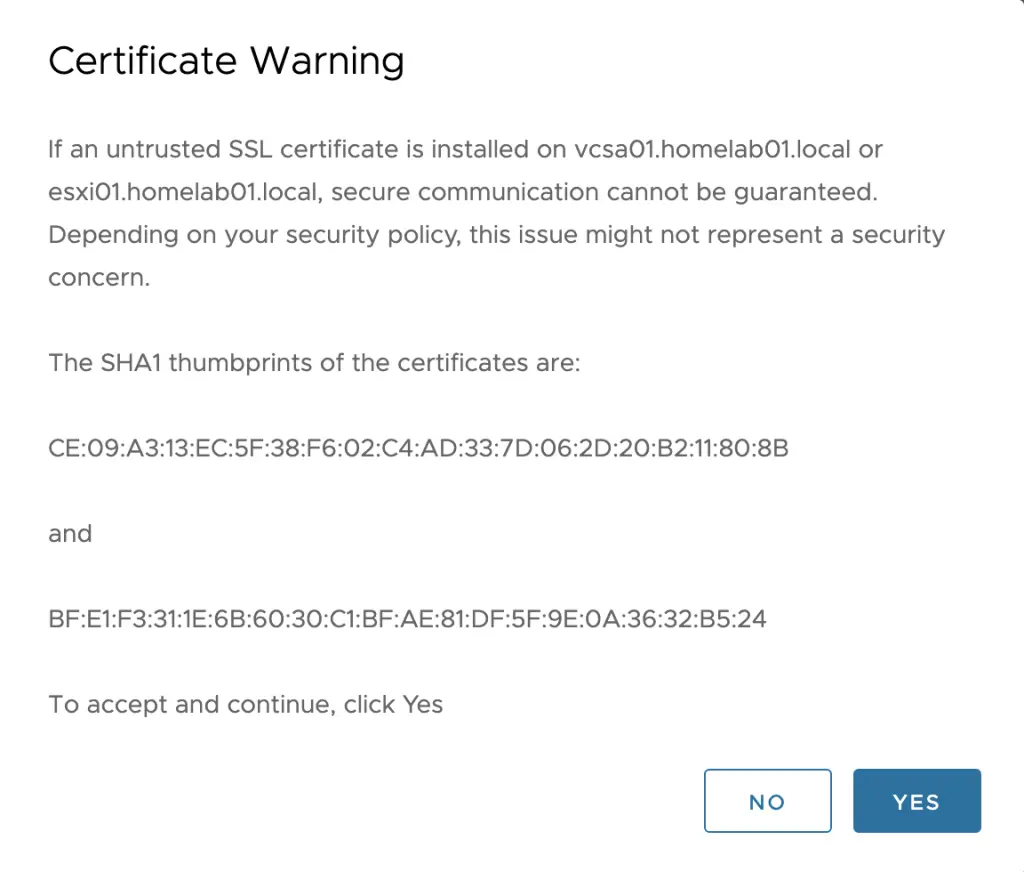
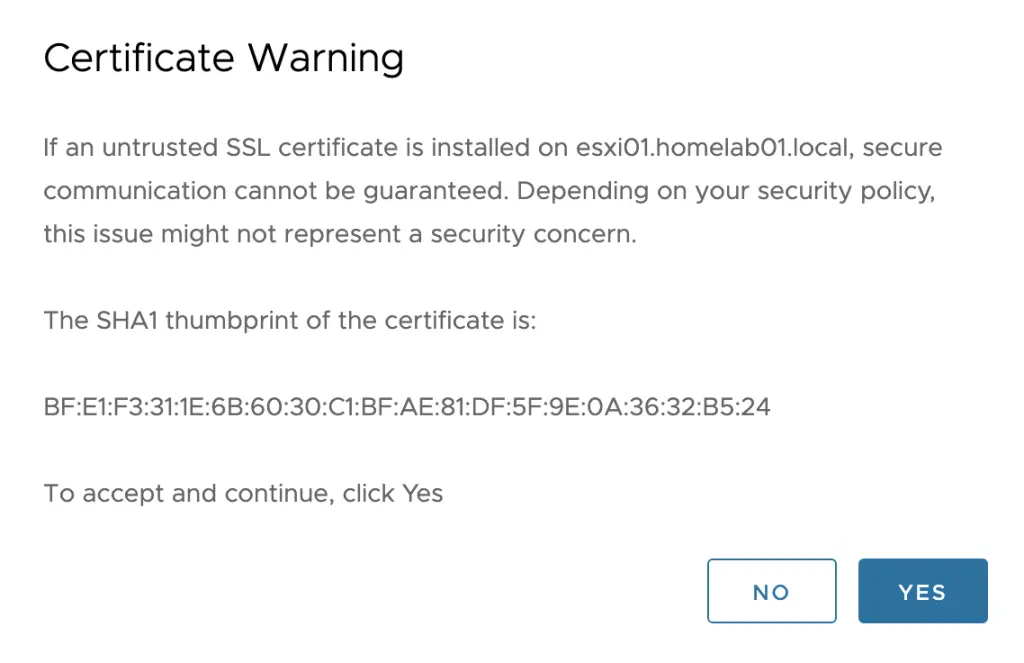
- If there is an untrusted SSL certificate, you might get this warning.
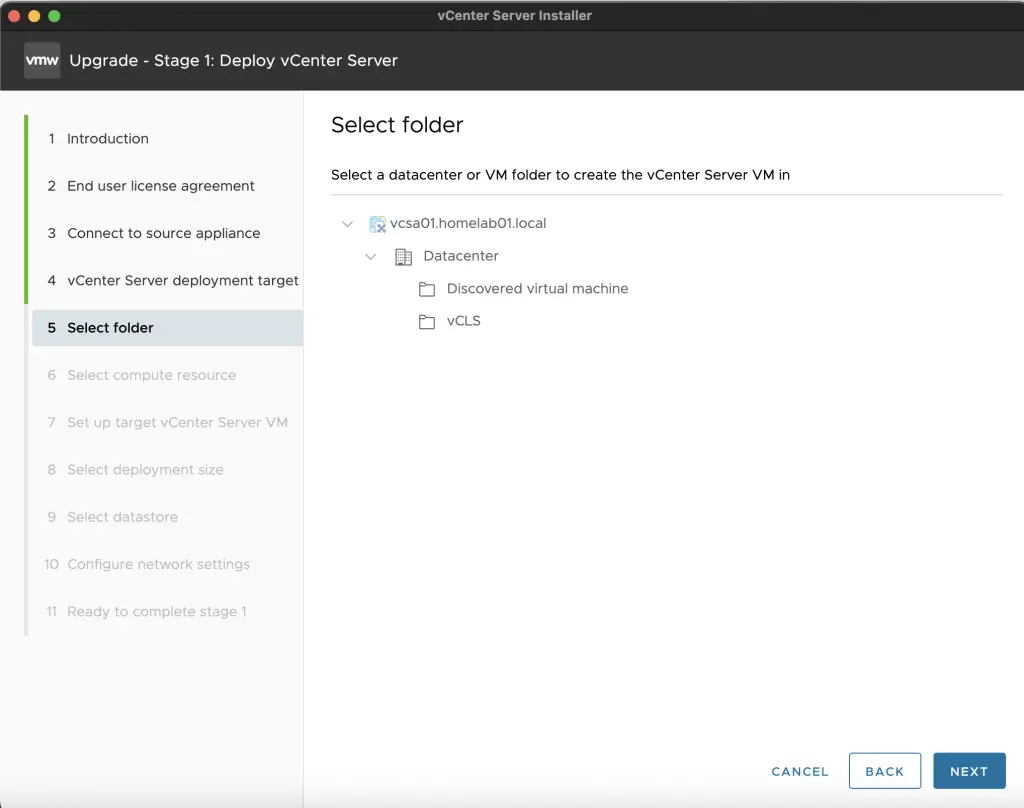
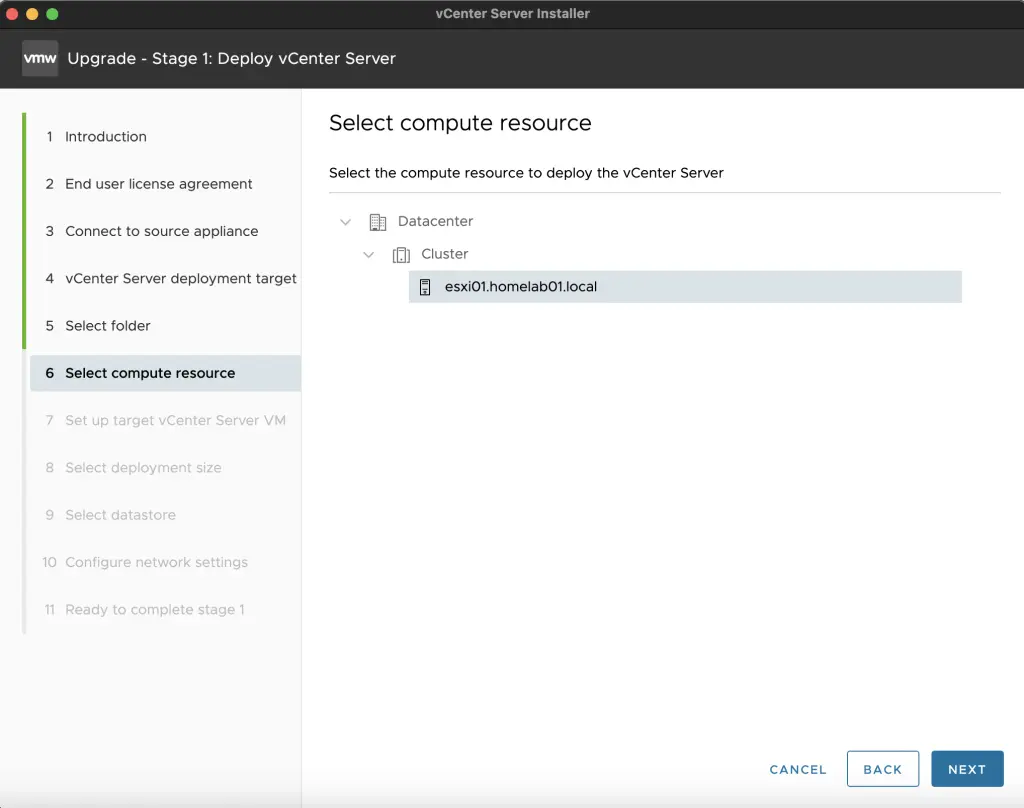
- Once the validation completes we need to provide the destination ESXi or vCenter Server where new vCSA will be deployed. For simplicity I thing VMware could create a button - deploy on the same system as before. If the destination is vCSA you will be asked to place a new vCSA in a folder and compute resource. On the screenshot you see ESXi server but I changed it later to use vCSA ;).
- If the destination SSL certificate is untrusted you might receive a warning.
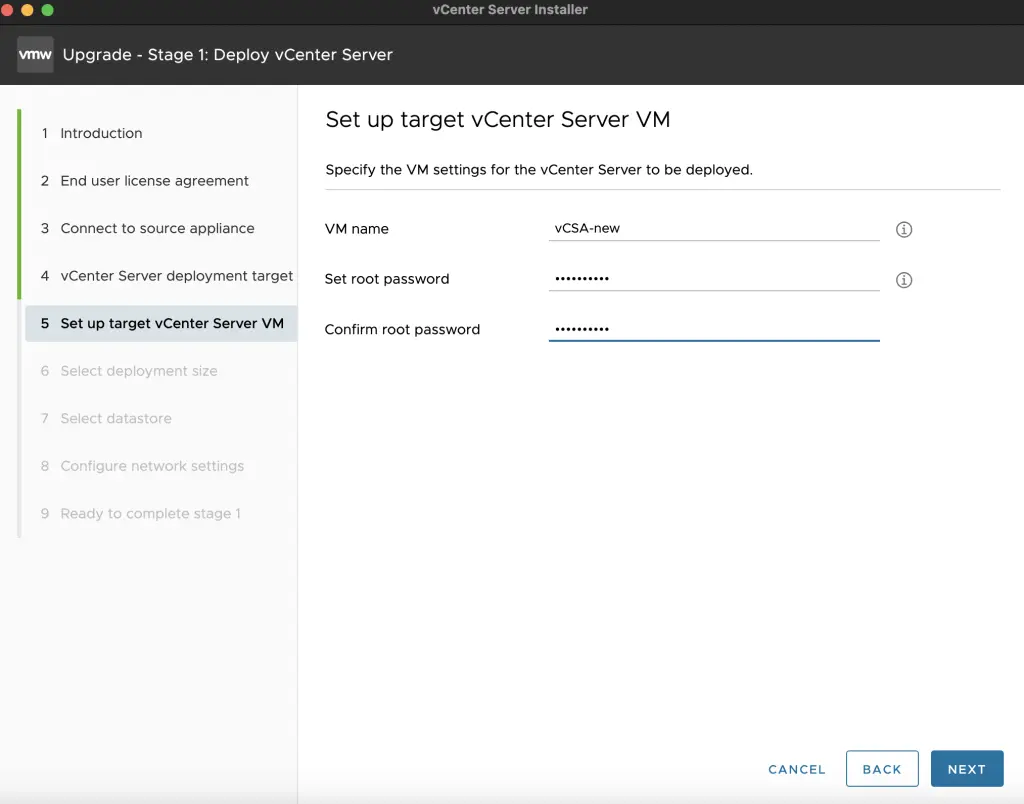
- We have to choose a VM name for our new vCSA and provide root password.
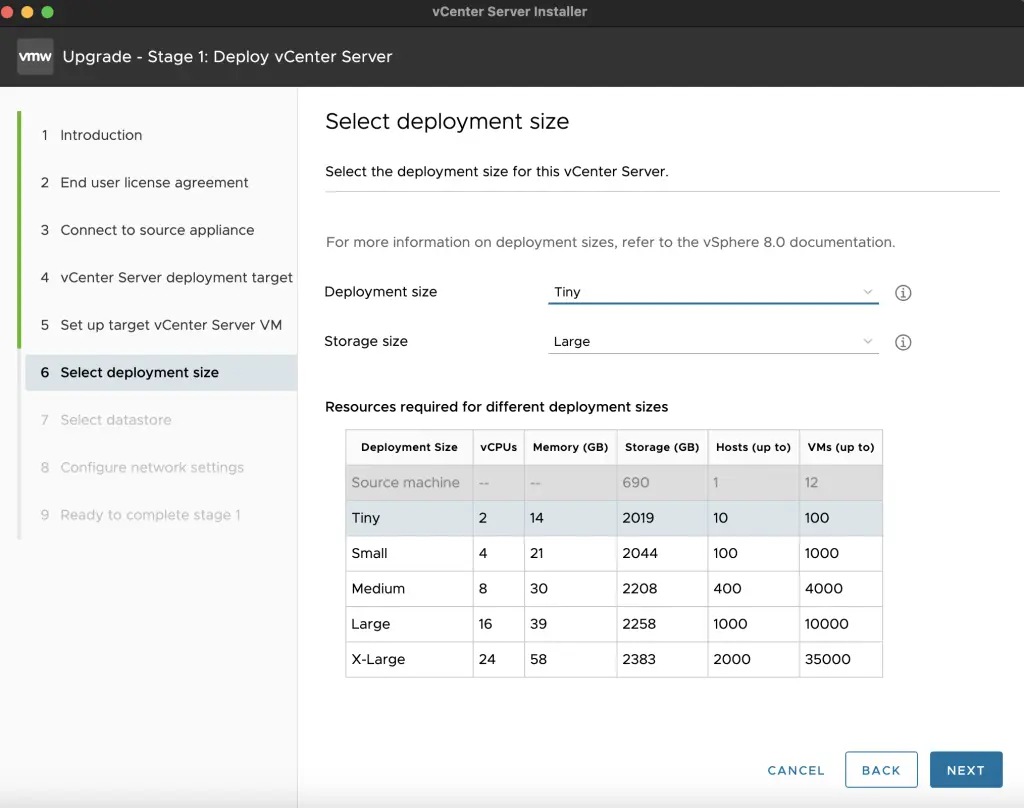
- We need to choose vCSA deployment size. In my case this is homelab deployment so I will choose tiny.
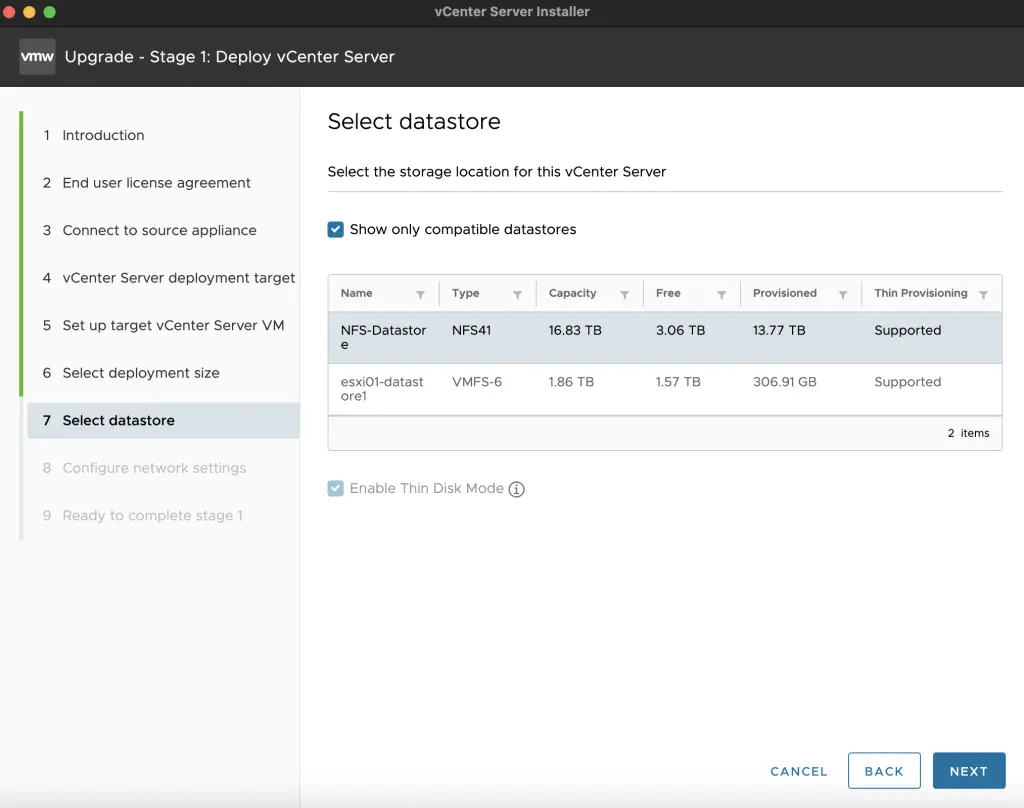
- In the next step we have to choose a datastore to place our vCSA.
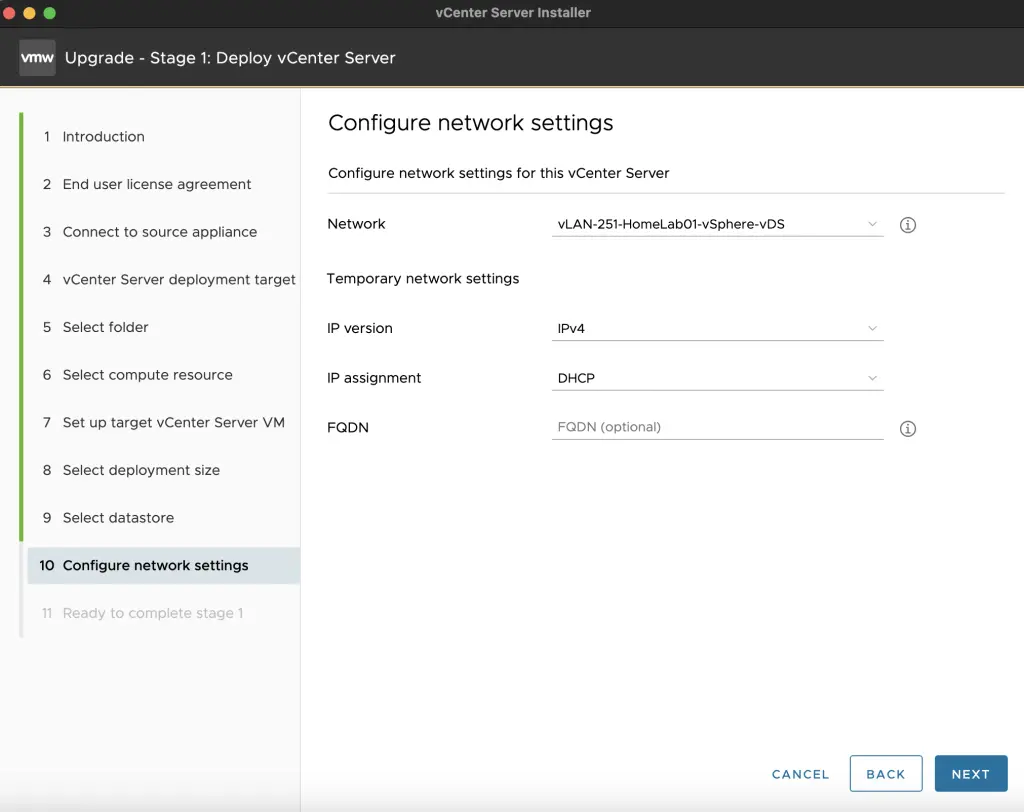
- Pretty much last step is to choose network configuration for new vCSA. I will go with DHCP but I selected the same network segment as existing vCSA.
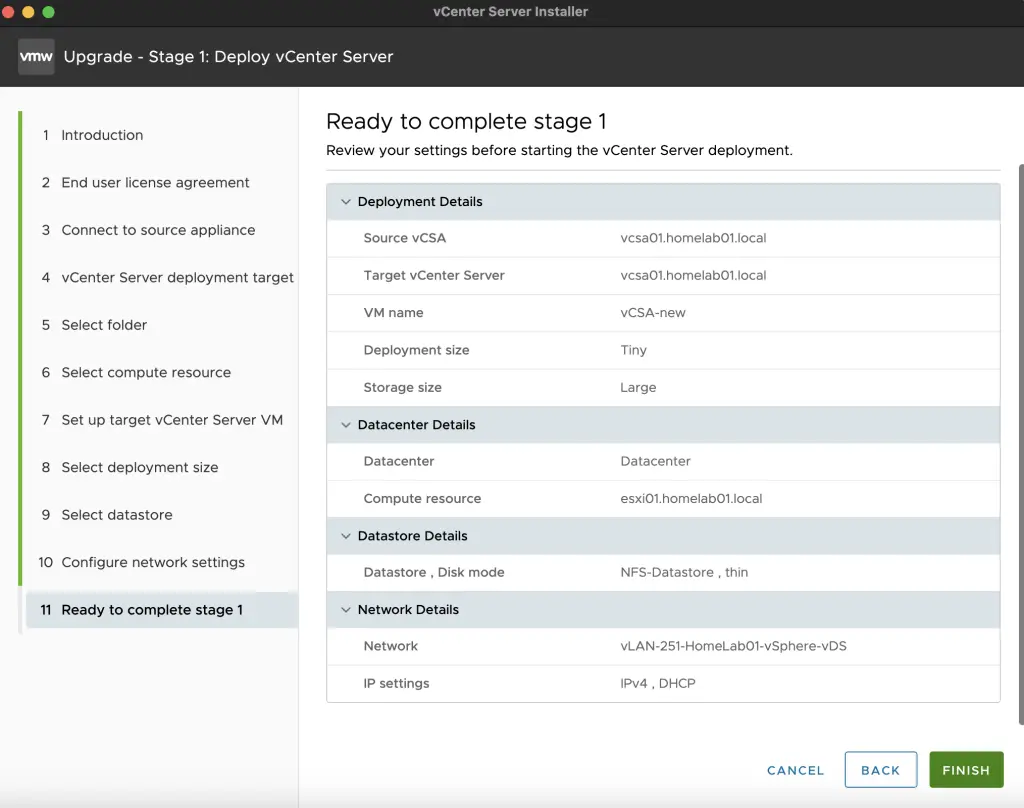
- We have a summary of our settings.
- Deployment starts.

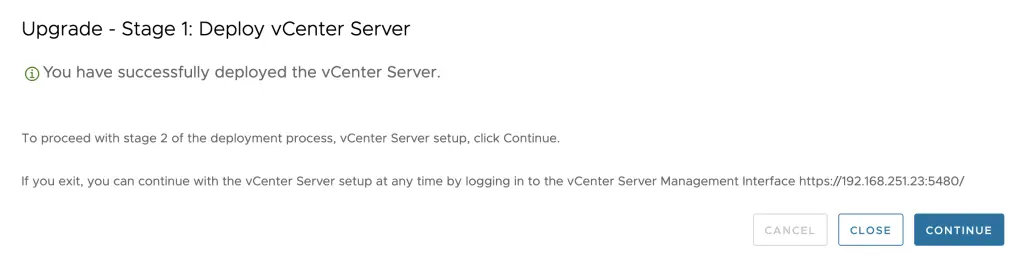
- After a moment it finishes. We can proceed with stage 2.
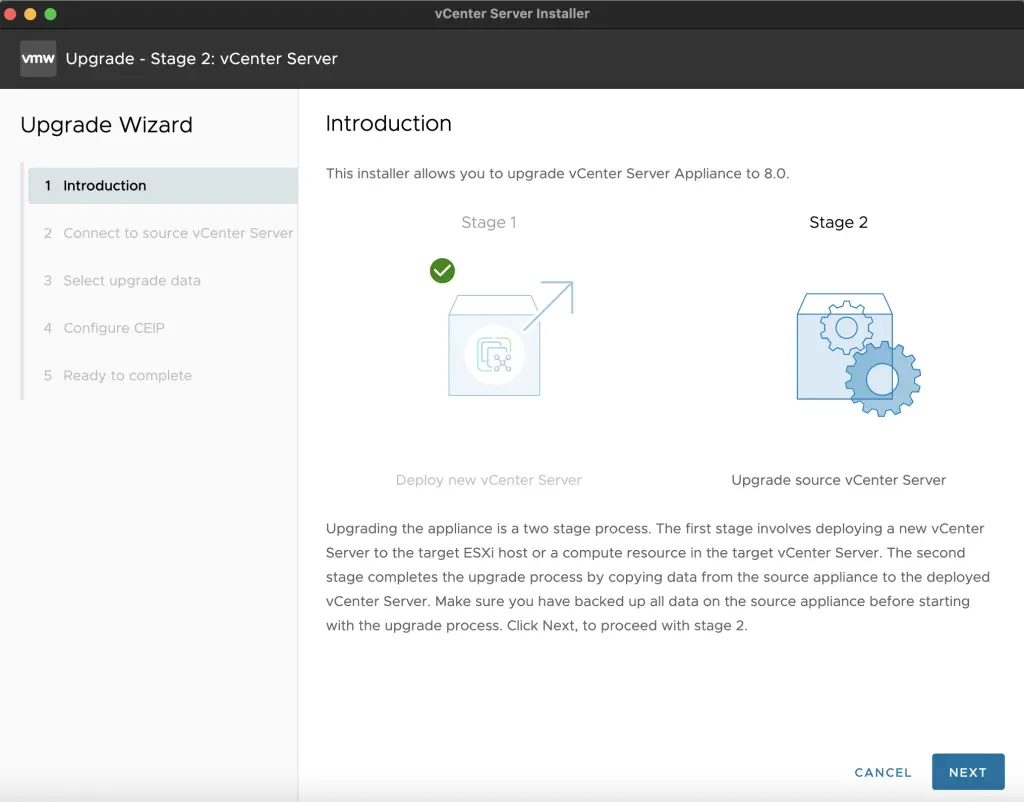
New vCSA deployment - Stage 2
Let’s continue with Stage 2.
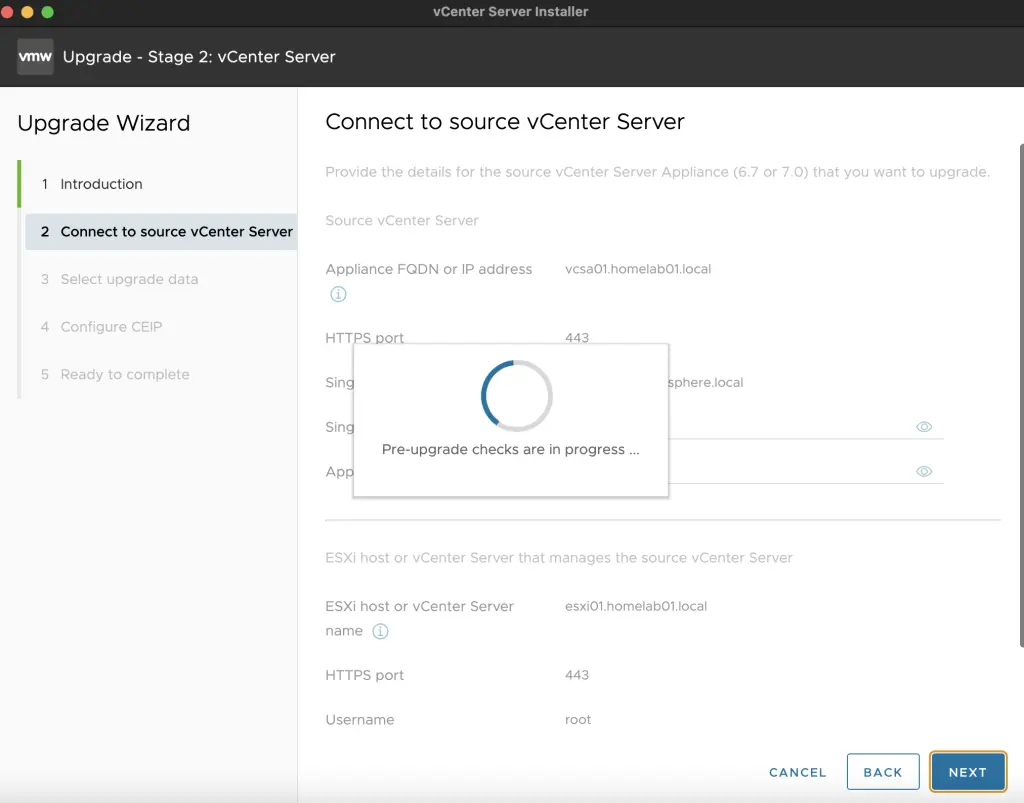
- We need to click next to continue.
- Installer connects to source vCenter Server and performs pre-upgrade checks.
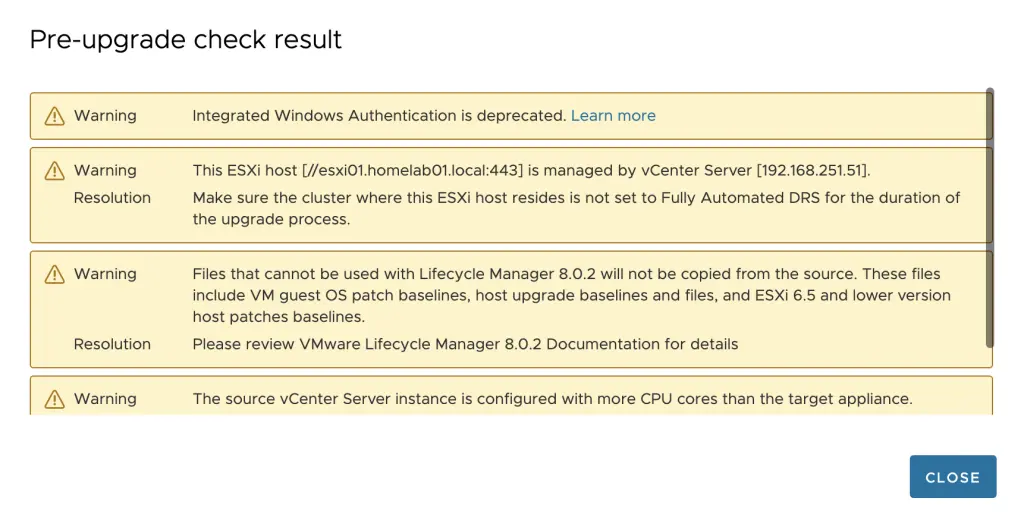
- There might be some findings so review them carefully.
- We are now being asked if we want to copy just the data or data with performance metrics and logs. In my case I will just choose the configuration and inventory data.

- You can join as well VMware Customer Experience Improvement Program - it is optional.
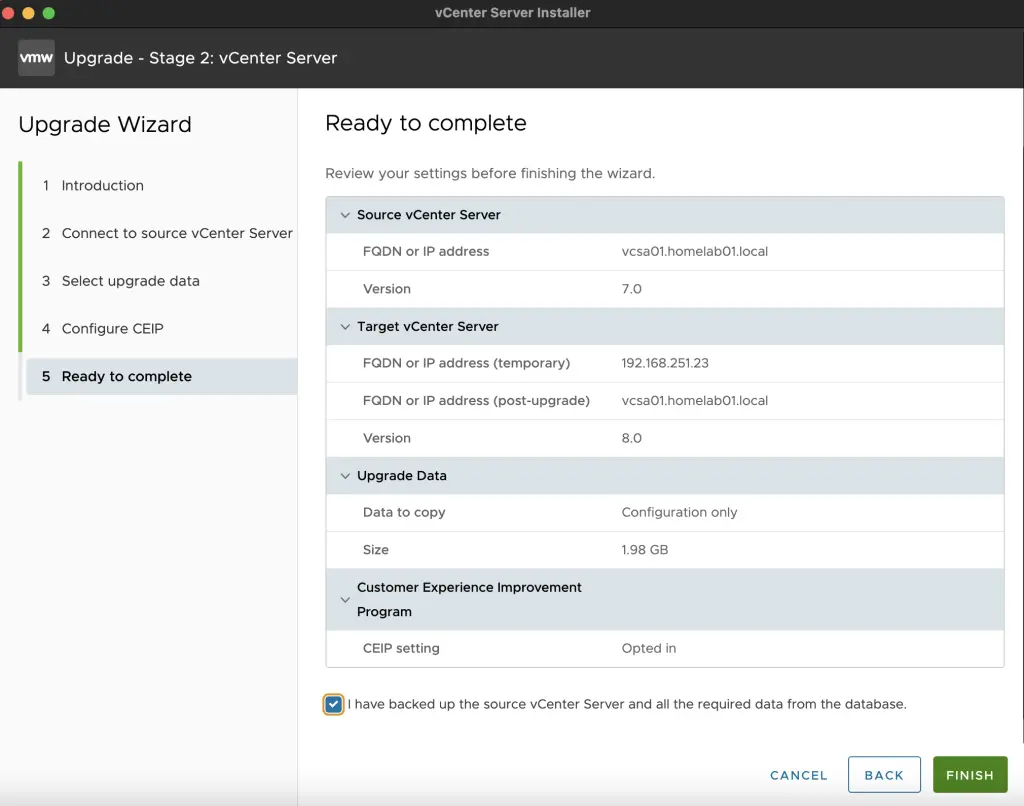
- On the last screen we see summary and we ar being asked if we backed up vCenter Server. Confirm if you did it and proceed with the upgrade process.
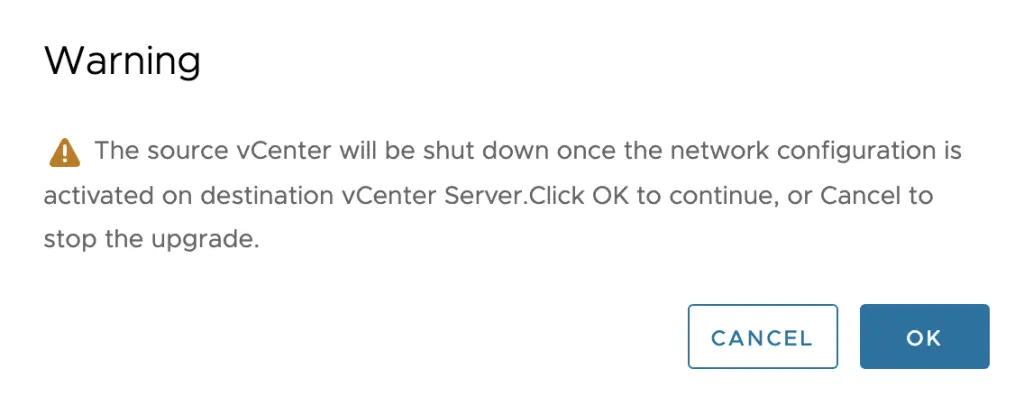
- We are being informed that vCenter Server will be shut down and unavailable.
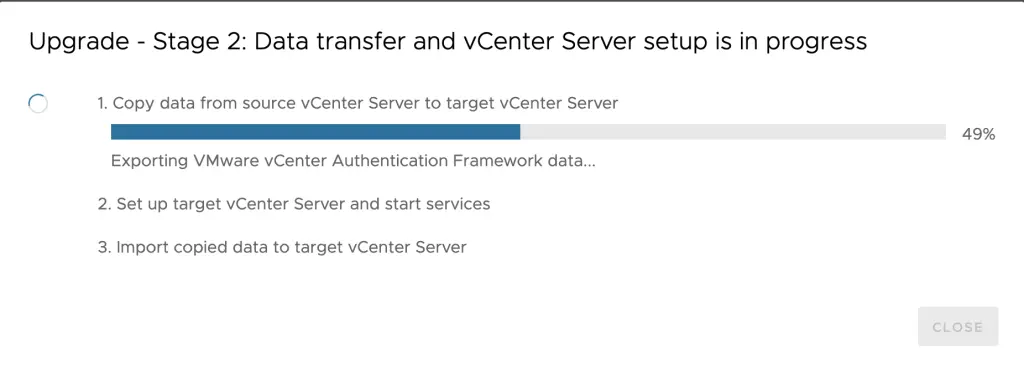
- Upgrade is in process.
- Upgrade is completed.
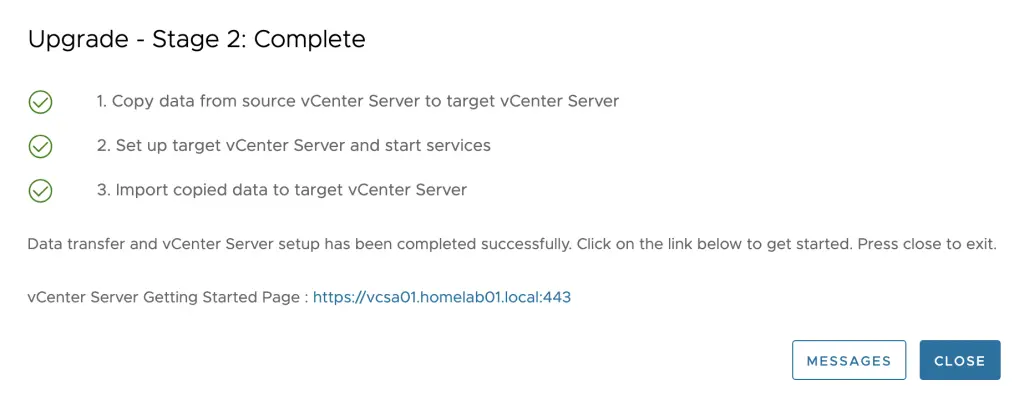
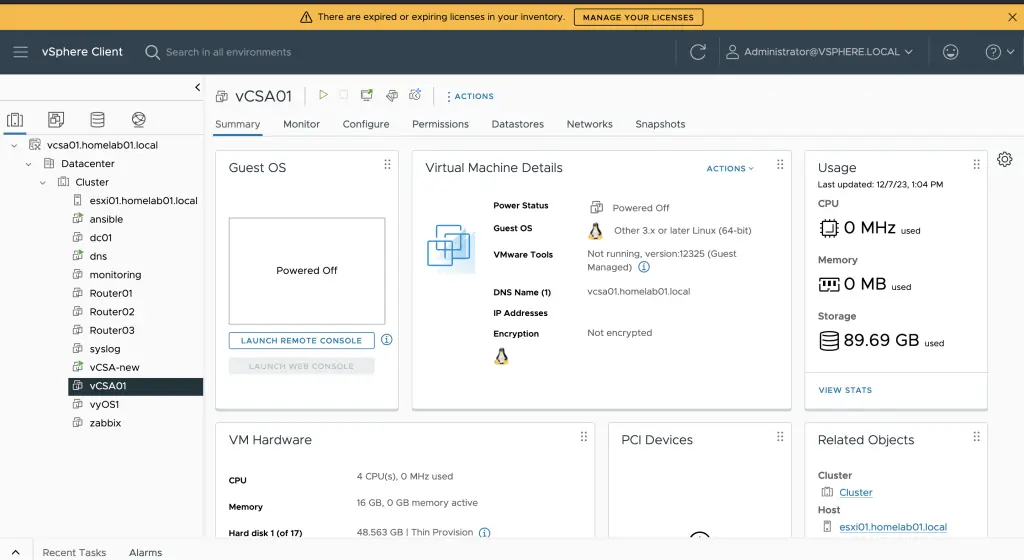
- We can login to new vCenter Server and use it.
Summary
In this a bit longer post I’ve showed you how you can easily upgrade your vCenter Server Appliance 7.x into version 8.x. I hope you enjoyed it.
In case you want to read in details about the upgrade feel free to visit VMware vCenter Server Upgrade Overview on VMware Docs.