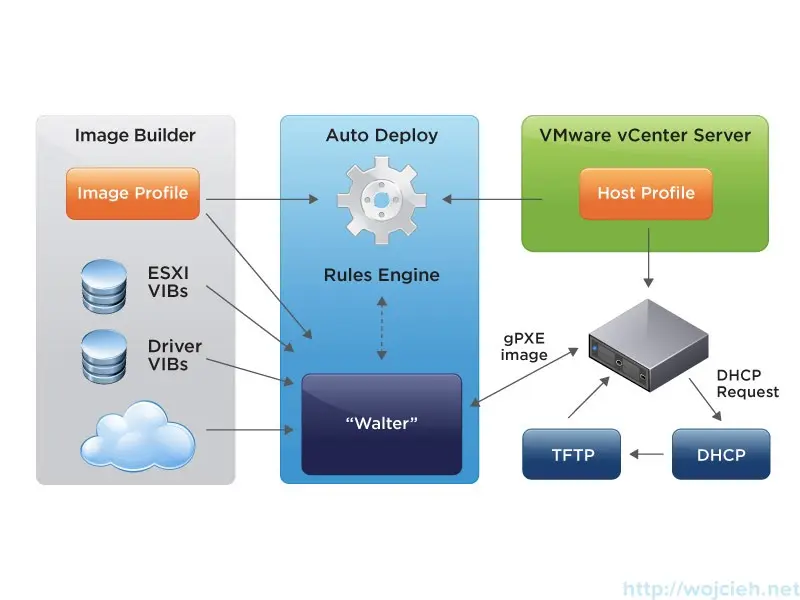
vSphere Auto Deploy is tool released with version 5.0 of vSphere suite. It is used to deploy vSphere hosts using network boot (PXE) with DHCP and TFTP in standard and automated way. With Auto Deploy you eliminate configuration mismatch, deployment of servers is centralized and you can benefit from stateless deployment. In the first part, I will focus on installing and configuring infrastructure components - TFTP, DHCP and Auto Deploy.
vSphere Auto Deploy configuration
Auto Deploy uses several components which have to installed and configured:
Auto Deploy components:
- TFTP
- DNS
- DHCP
- PowerCLI
- Software Depot
- Host Profile
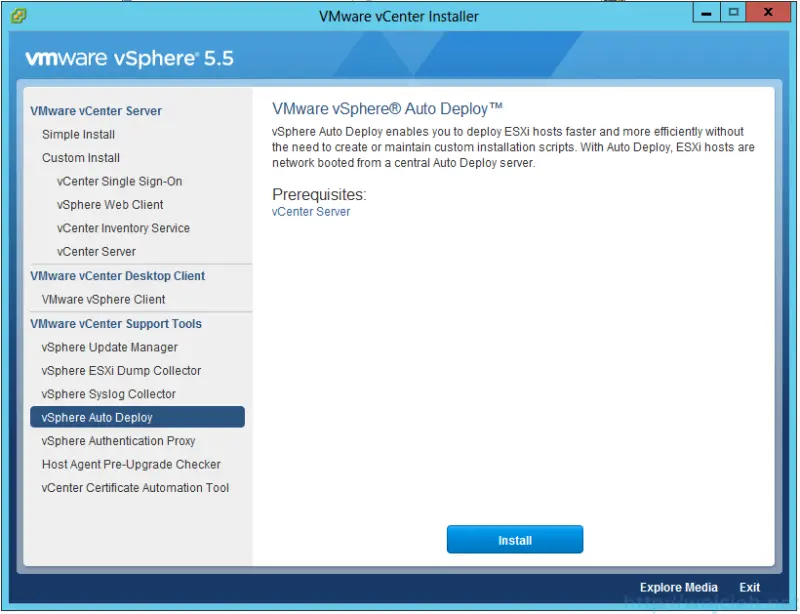
vSphere Auto Deploy installation
Insert VMware vCenter installation DVD to a server where you want to deploy Auto Deploy. I installed it on vCenter Server for simplicity.
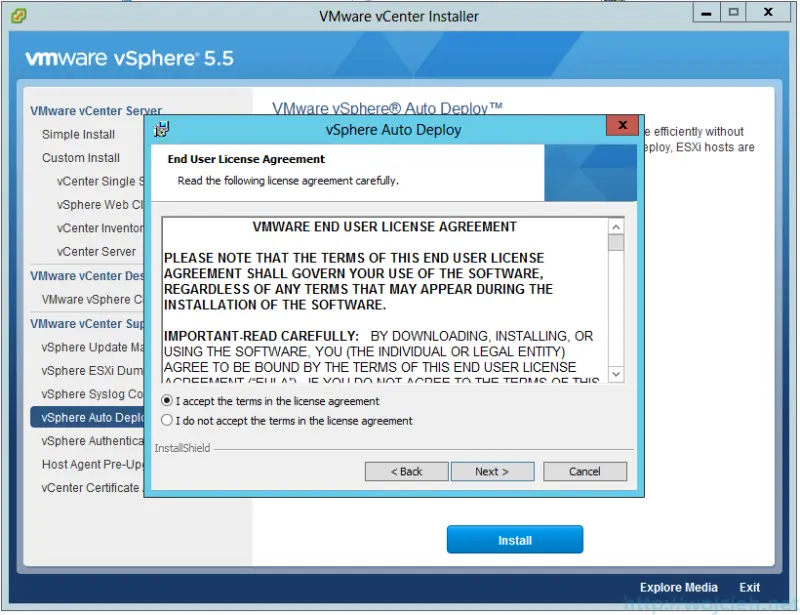
- Select vSphere Auto Deploy and click **Install.
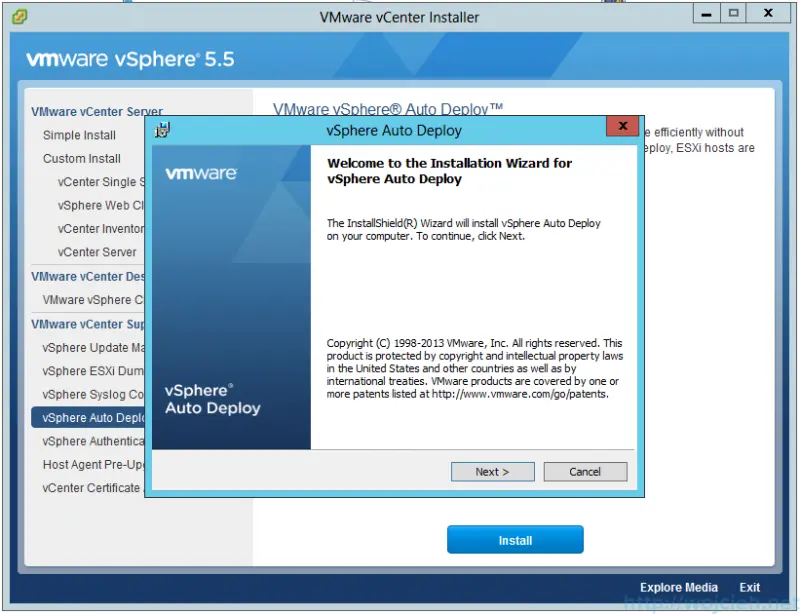
- Click Next.
- Accept End User License Agreement.
- Select installation directory for software. You can change Auto Deploy repository directory.
I strongly suggest to change defaults and point to separate disk to avoid filling up OS drive.

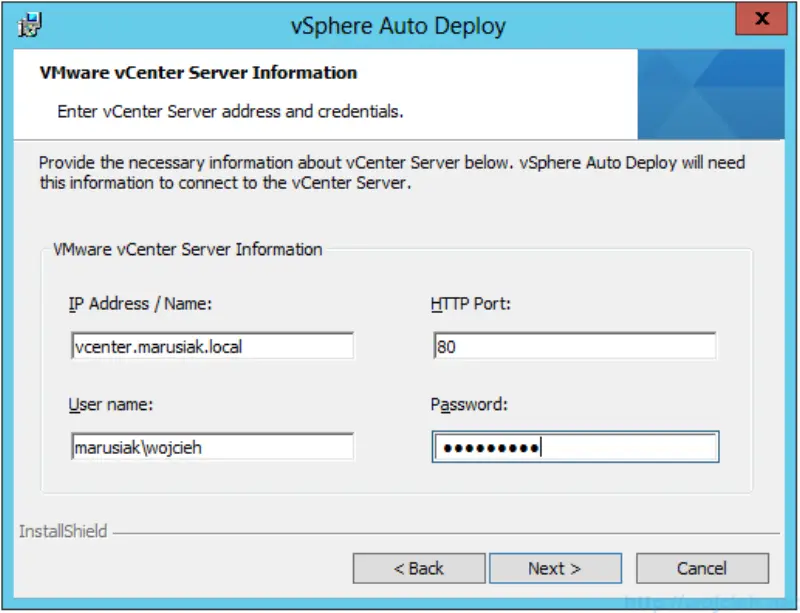
- Provide information about vCenter and Active Directory credentials.
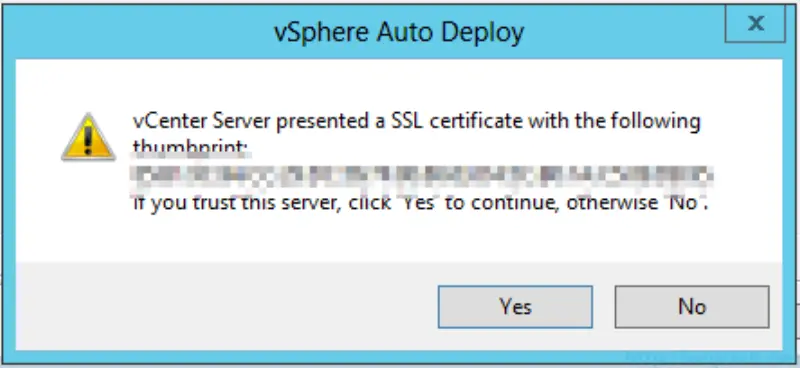
- Confirm vCenter SSL Thumbprint.
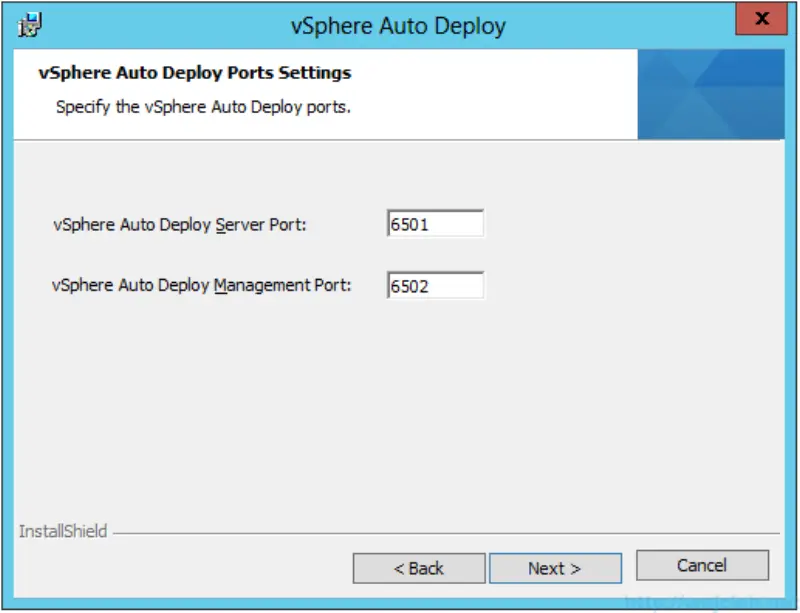
- Select default ports or change them if it is required in your environment.
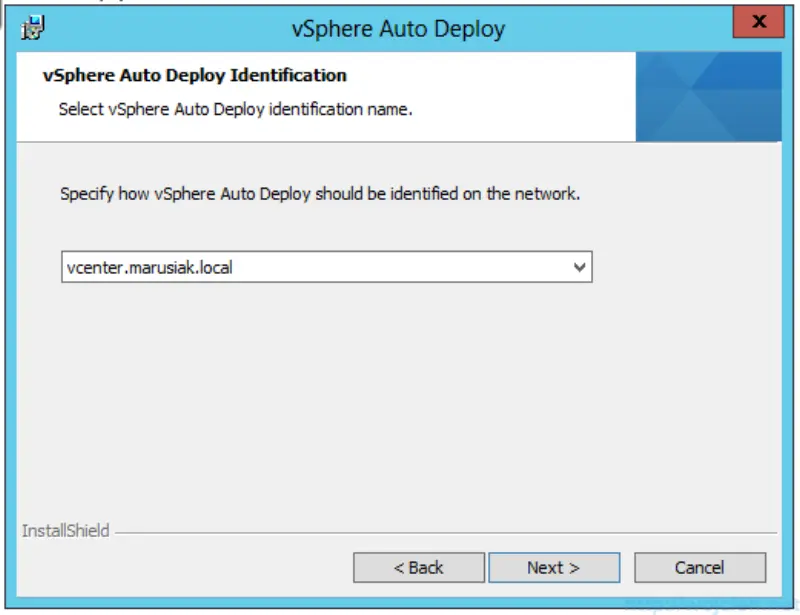
- Select vCenter Auto Deploy identification name - it can be fqdn or IP address.
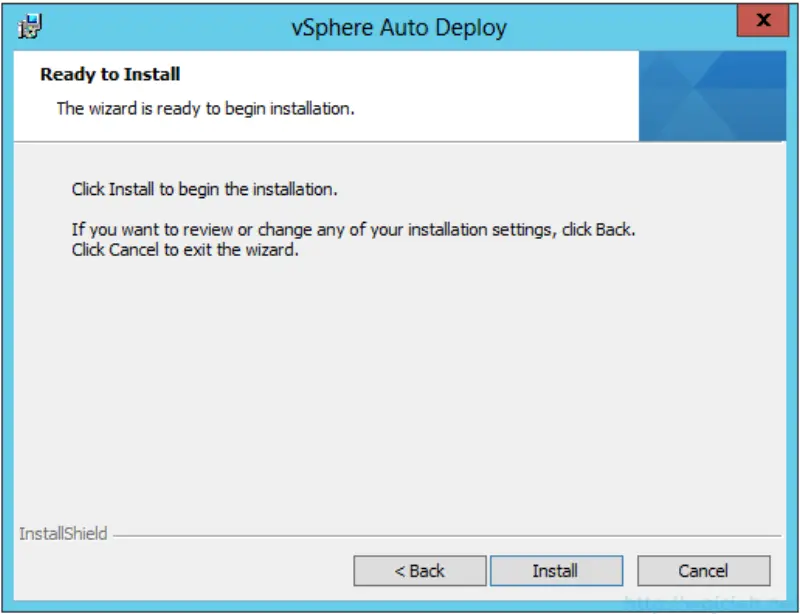
- Click Install.
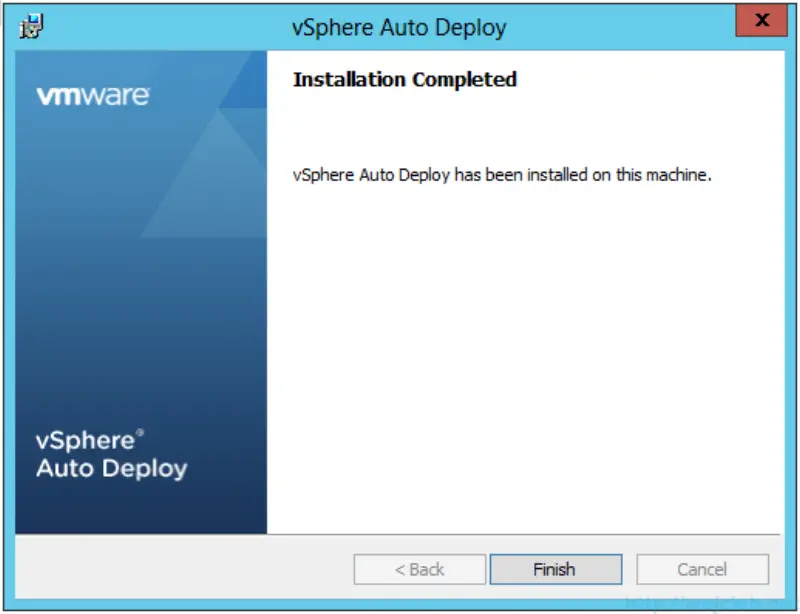
- Click Finish and close window.
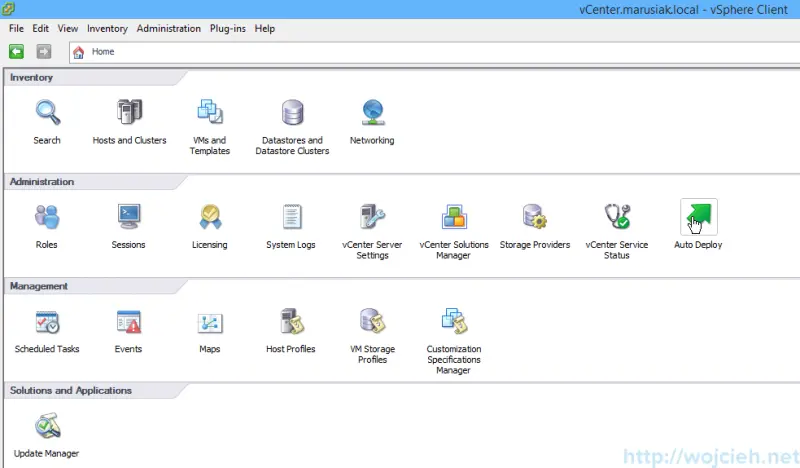
- Log in to vCenter Server and check if Auto Deploy is visible.
vSphere Auto Deploy TFTP
First prerequisite to have successful automated deployment we need to install and configure TFTP, server. There is plenty of Windows TFTP server around and I chose TFTPD64. You can download it from here.
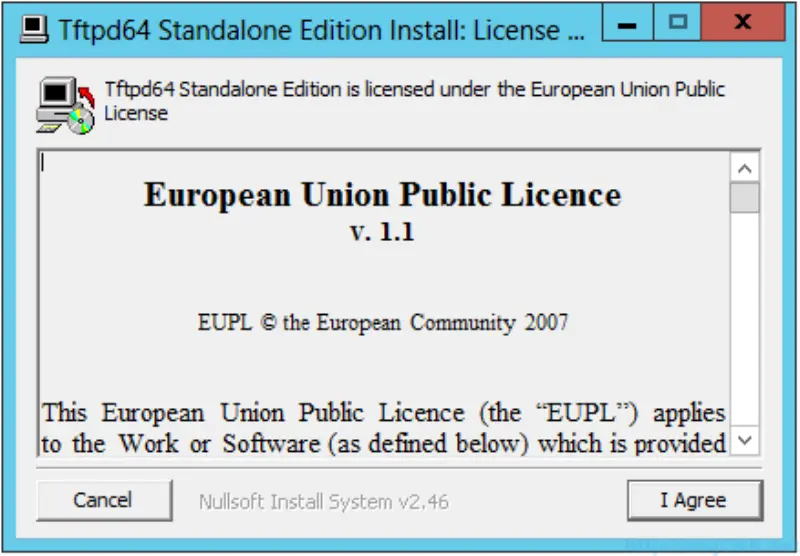
- Double click the TFTPD64 installation file and accept EULA.
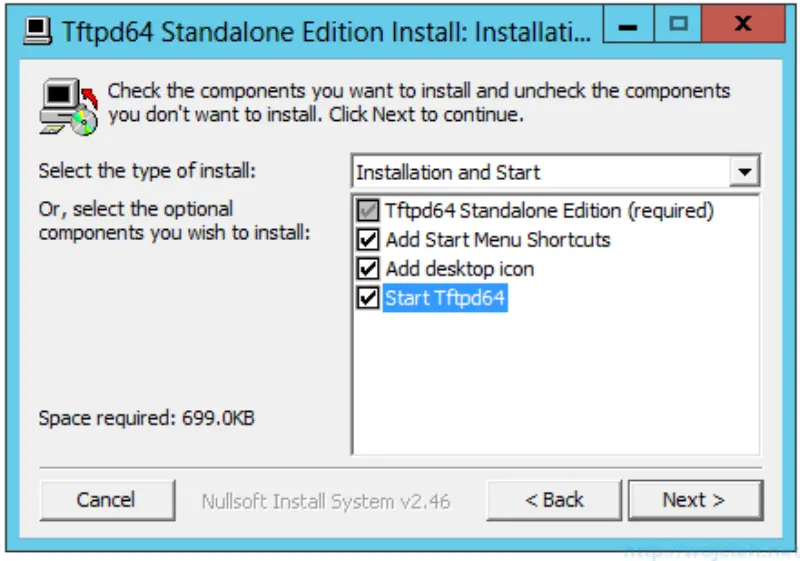
- Click Next.
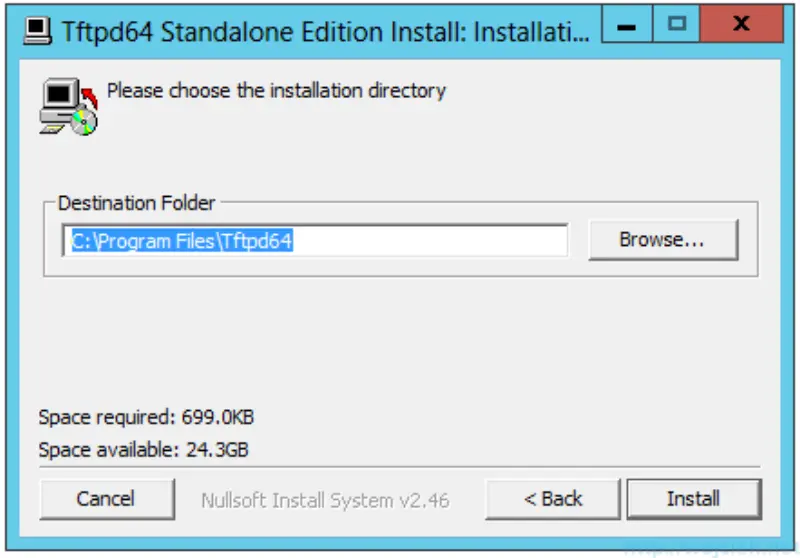
- Select directory to install TFTPD64 and click Install.
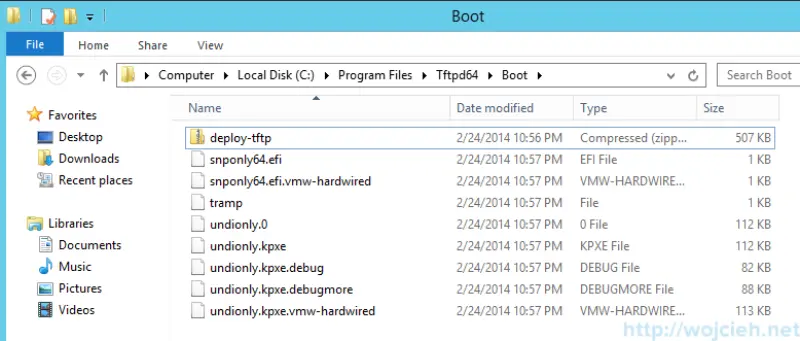
- After TFTP server is installed start it and navigate to settings. You can use it to be DHCP server as well - in my case I use Windows Server 2012 DHCP Server. In TFTP tab provide a location of TFTP base directory. In my case it is C:\Program Files\Tftpd64\Boot and we will copy here Auto Deploy boot files.
- Navigate to Auto Deploy in vSphere Client and click Download TFTP Boot Zip.
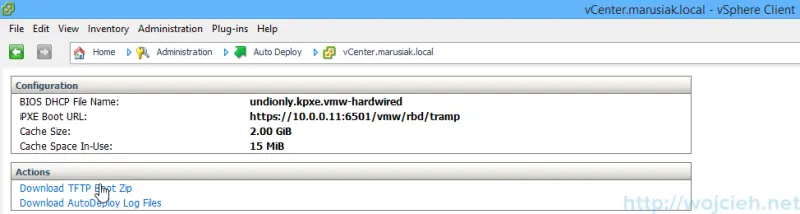
- Copy it to TFTP Boot directory and extract it.
Now we need to configure DHCP server to work with TFTP server.
vSphere Auto Deploy DHCP
After TFTP server is configured let’s configure DHCP scope to work with it. I installed DHCP Role in Windows Server 2012.
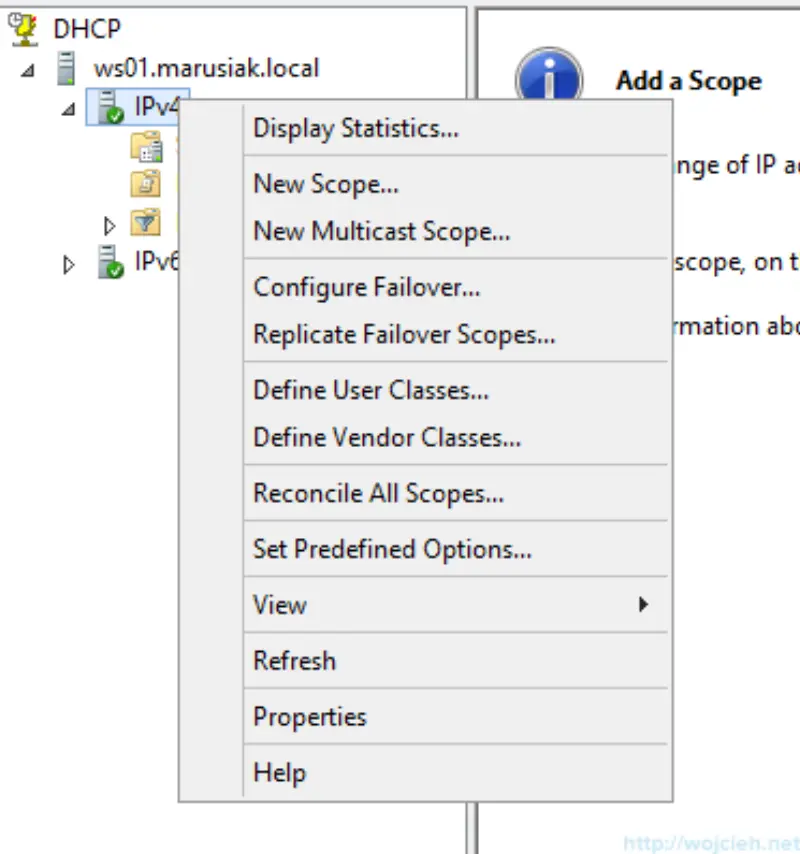
- Open DHCP MMC, select IPV4 scope and click New Scope.
- Click Next.
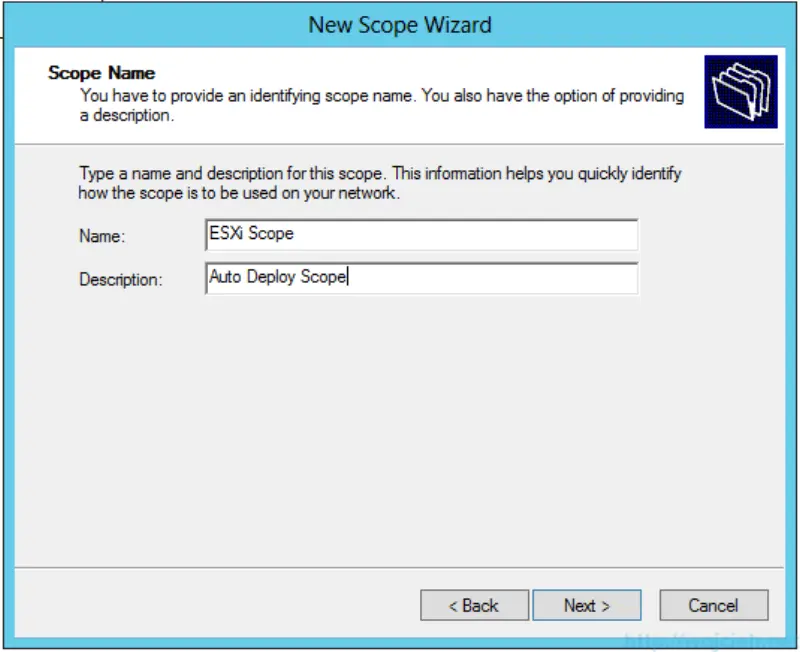
- Give the scope name and description for easier identification.
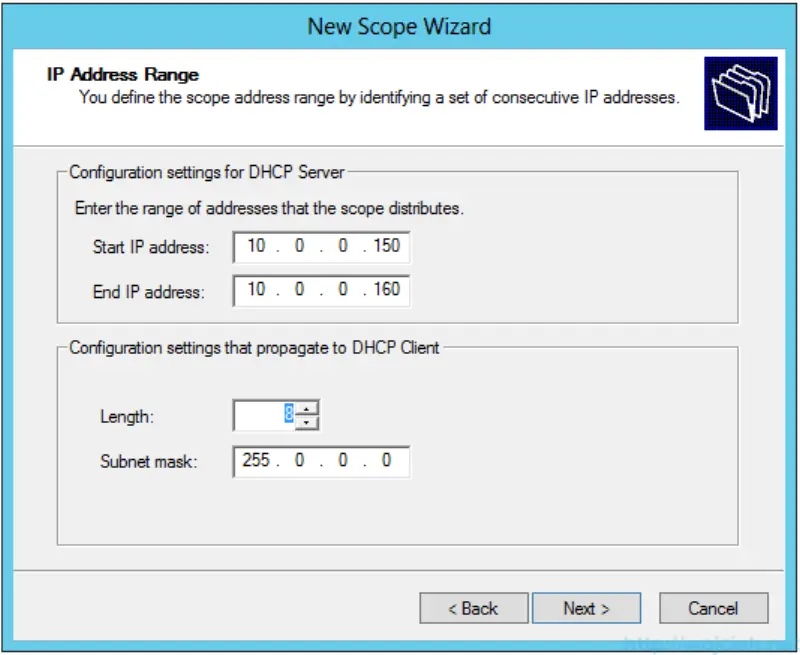
- Enter IP range for the scope.
- I skipped Exclusion and Delay section.
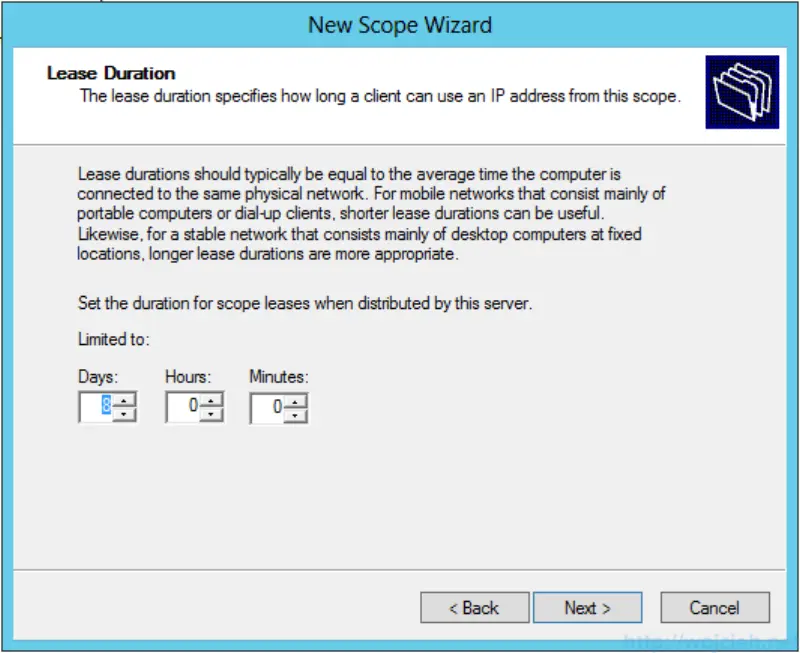
- Select desired lease duration. I selected default 8 days.
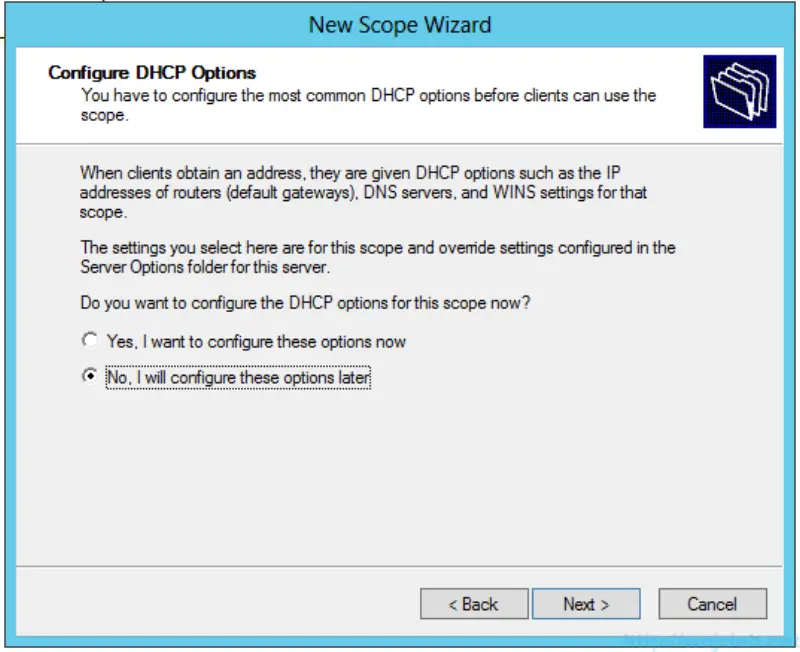
- We will configure scope options later on so we select. No. I will configure these options later.
- Click Finish.
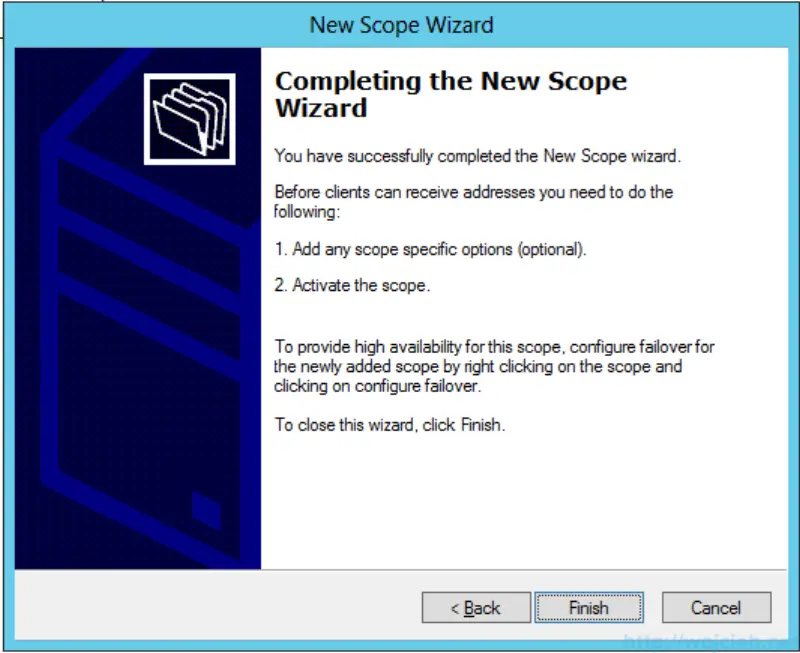
- You will see a red exclamation mark on the scope - we need to activate it. Click on the scope and select Activate.
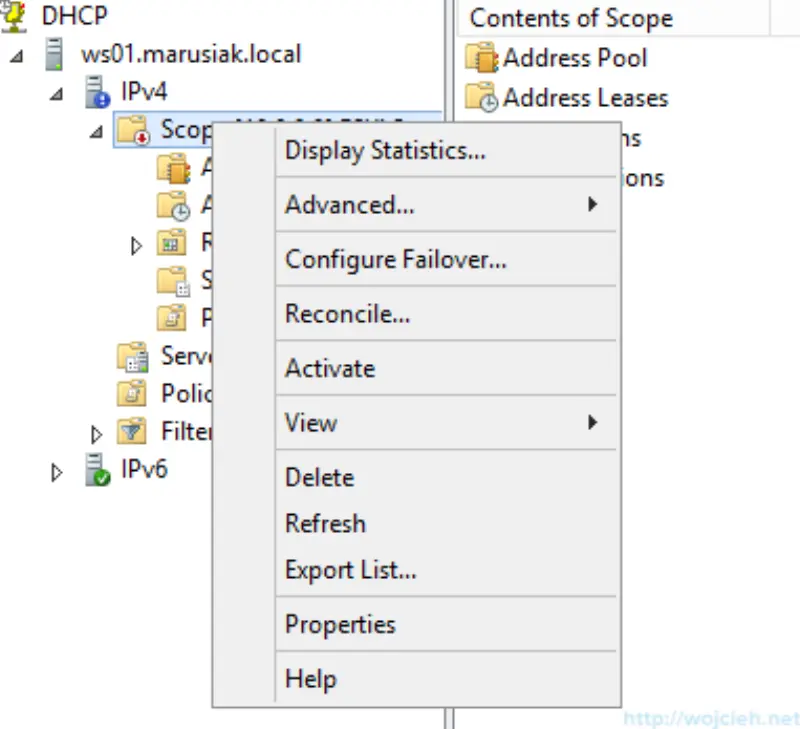
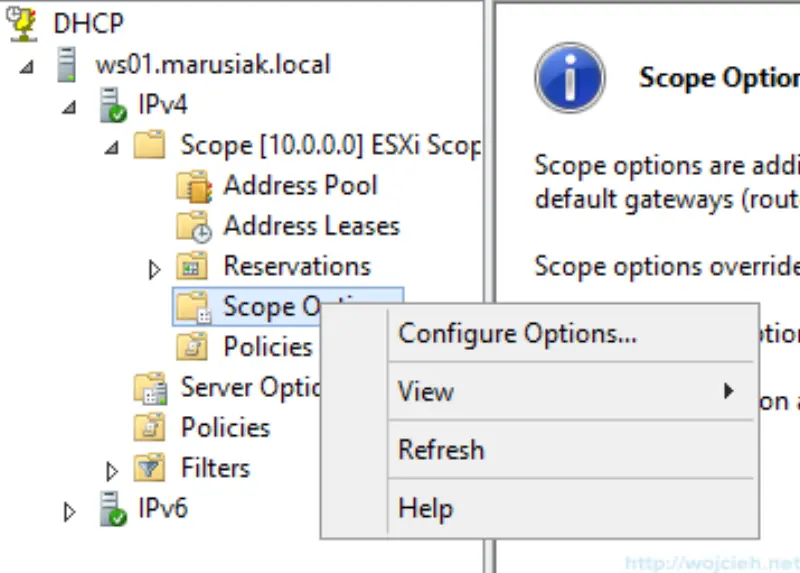
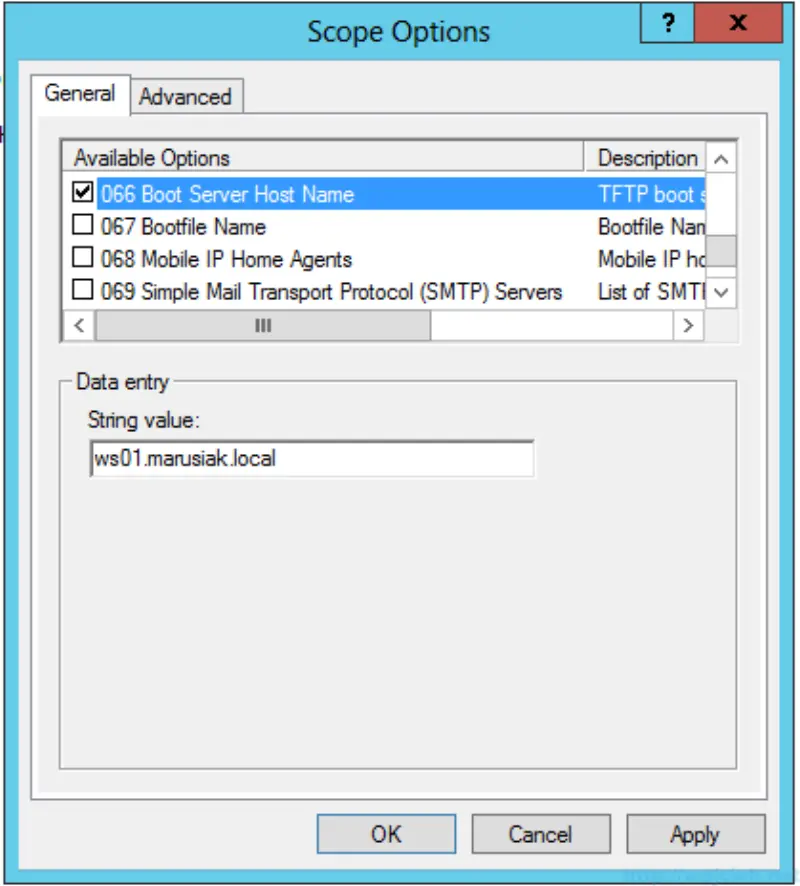
- In order to make TFTP work, we have to configure two scope options. 066 Boot Server Host Name and 067 Bootfile Name. Click Scope Options and Configure Options.
- Enter the value for option 066. It is the address of TFTP server - in my case ws01.marusiak.local.
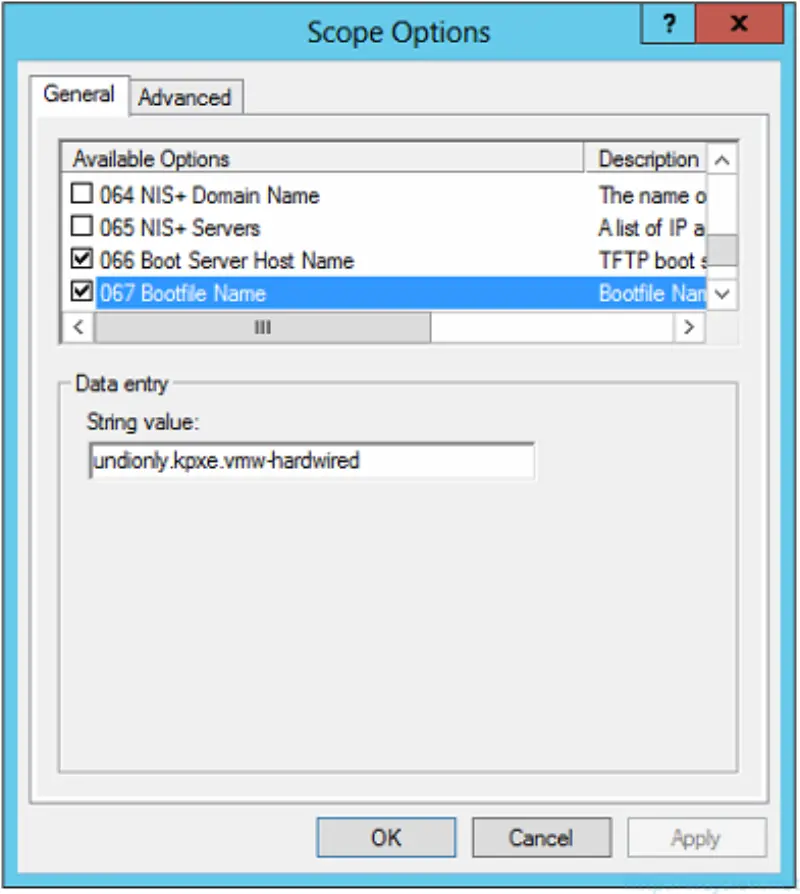
- Ener value for option 067. It is ****undionly.kpxe.vmw-hardwired.
vSphere Auto Deploy DNS
In order to boot successfully we need to create DNS entries for each ESXi host we will boot from the network. I created three entries in the primary zone with PTR records in reverse zone.
In the second part of Auto Deploy guide, we will continue configuration.
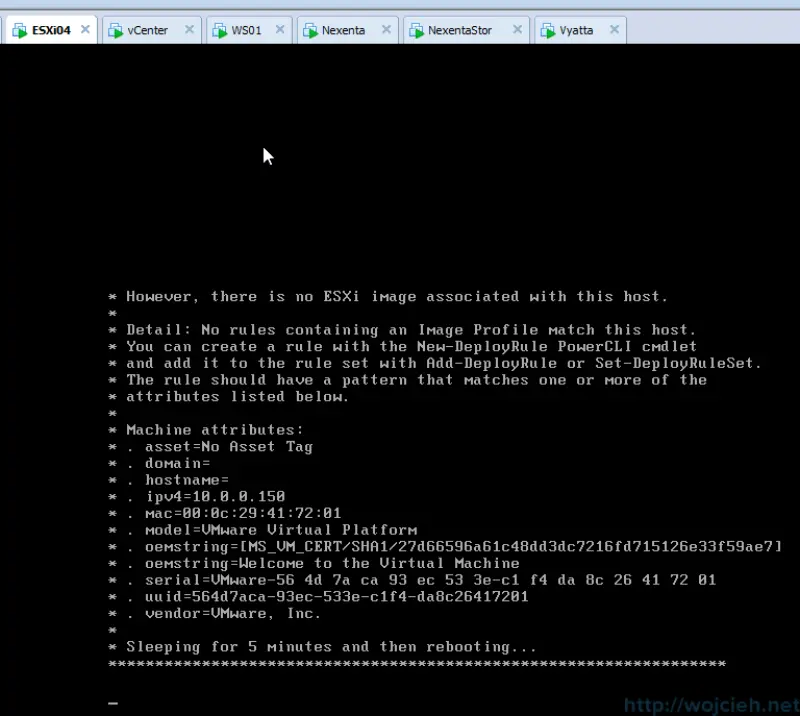
It is alive!
As you see on screenshot network boot is working.
Part2
https://www.wojcieh.net/vmware-vsphere-auto-deploy-configuration-guide-part-2/