 VMware Workstation and later on VMware Fusion (once I moved to macOS from Windows) were one of the first VMware products I used in my virtualization journey. Every release of the products brought nice enhancements and features which makes life easier with virtualizing on local PC’s.
In Today post I will guide you through VMware Fusion installation on macOS operating system. We will run as well our first virtual machine.
Prerequisites
As any software VMware Fusion has as well some requirements.
General Requirements
Hardware
All Intel-based Macs launched in 2012* or later are supported, as well as:
- 2010 Mac Pro “Six Core,” “Eight Core” and “Twelve Core.”
With exception, the following Macs are not supported:
- Macs based on Apple Silicon CPUs
- 2012 Mac Pro “Quad Core” using the Intel Xeon W3565 Processor
Software
Fusion 12 supports Macs with macOS 11.0 Big Sur and macOS 10.15 Catalina. Fusion 12 does not function on macOS 10.14 and earlier.
Metal Host Graphics Rendering Engine
The Metal rendering engine requires an Apple Mac computer which supports Metal. See Apple’s documentation regarding Metal supported Macs: https://support.apple.com/en-us/HT205073
Requirements to support DirectX 11 3D Acceleration in a virtual machine:
Hardware
- Mac Pro 2013 and later
- iMac 27-inch 2014 and later
- MacBook Pro 13-inch 2015 and later
- MacBook Pro 15-inch 2015 with dual graphics and later
- MacBook Air 2015 and later
- MacBook 2015 and later
- iMac 21-inch 2015 and later
- iMac Pro 2017 and later
- MacMini 2018 and later
Source: VMware Fusion Installation Requirements
VMware Fusion installation
- Once the VMware Fusion installer has been downloaded simply run it by double clicking on it.
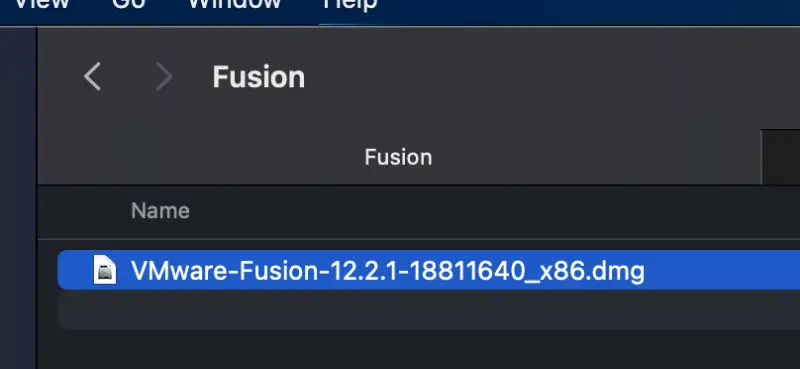
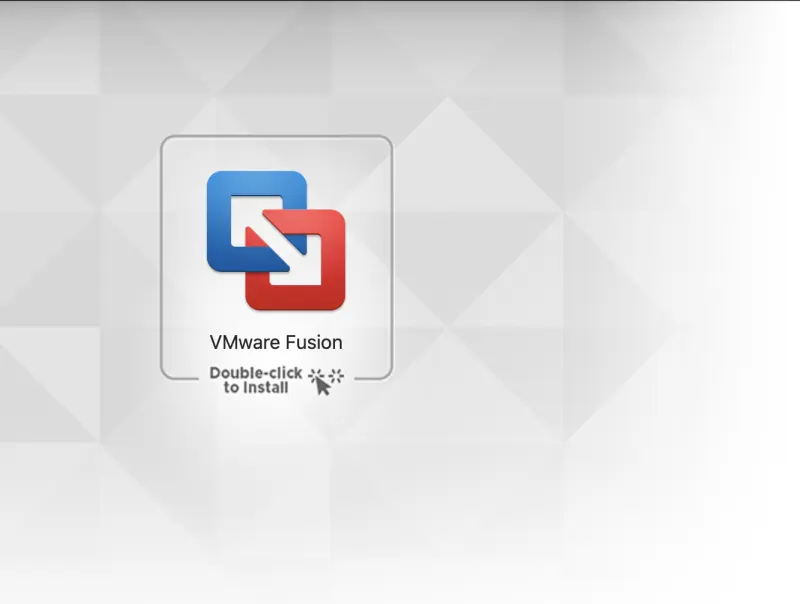
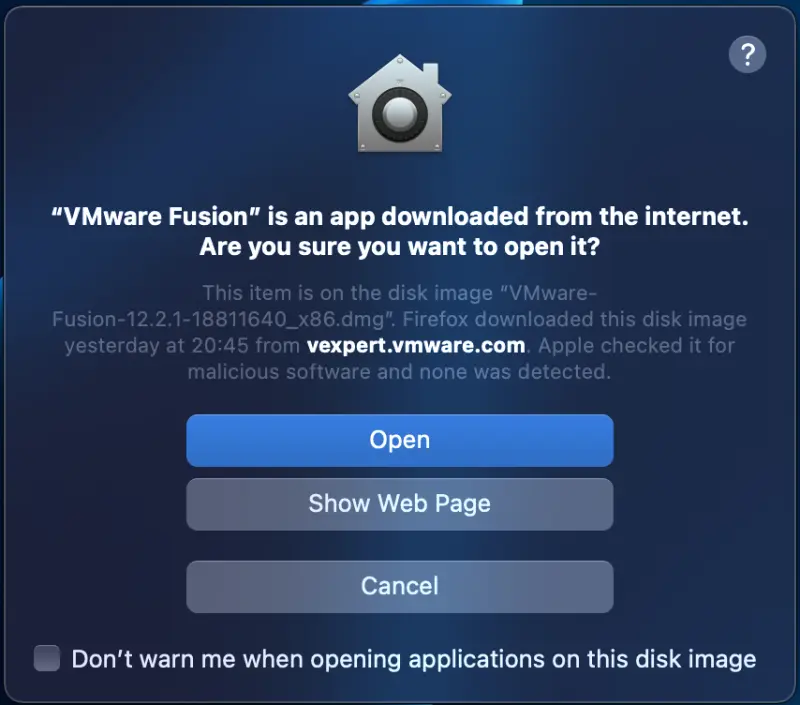
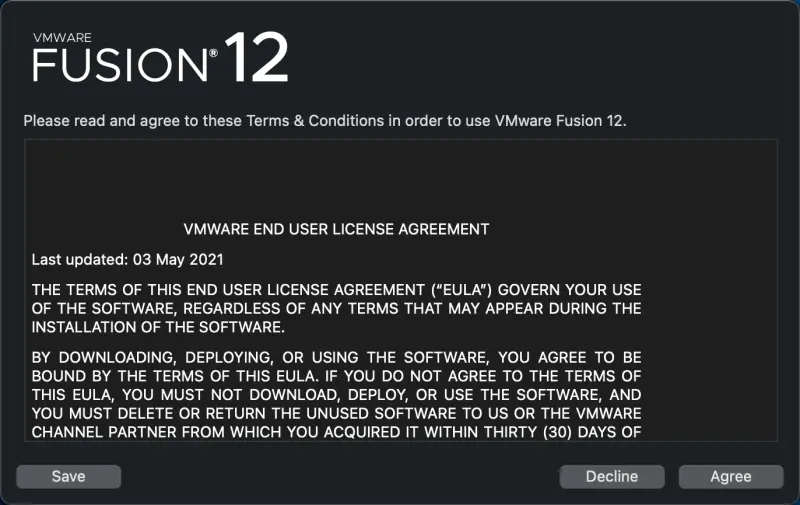
- License Agreement must be accepted. Click Agree
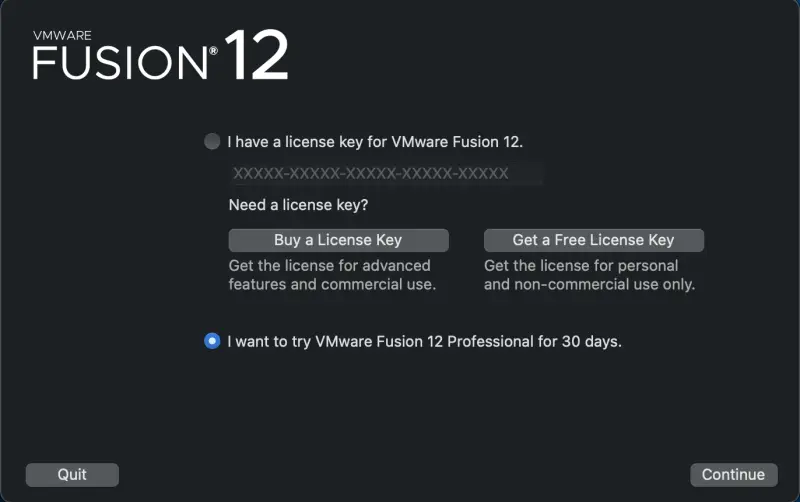
- If you have VMware Fusion license key enter it here. If not you can always enter it later and continue with Trial version. Click Continue.
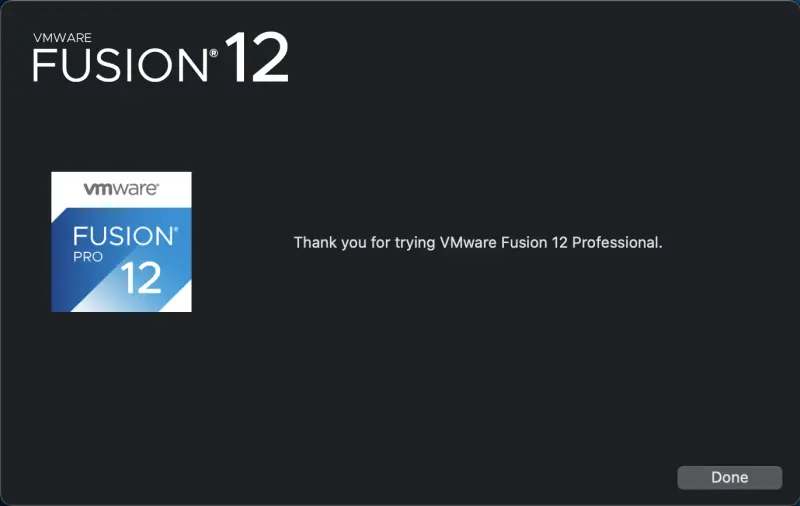
- VMware Fusion is installed.
- If you wish you can enable control of system events and control of Accessibility settings of macOS.
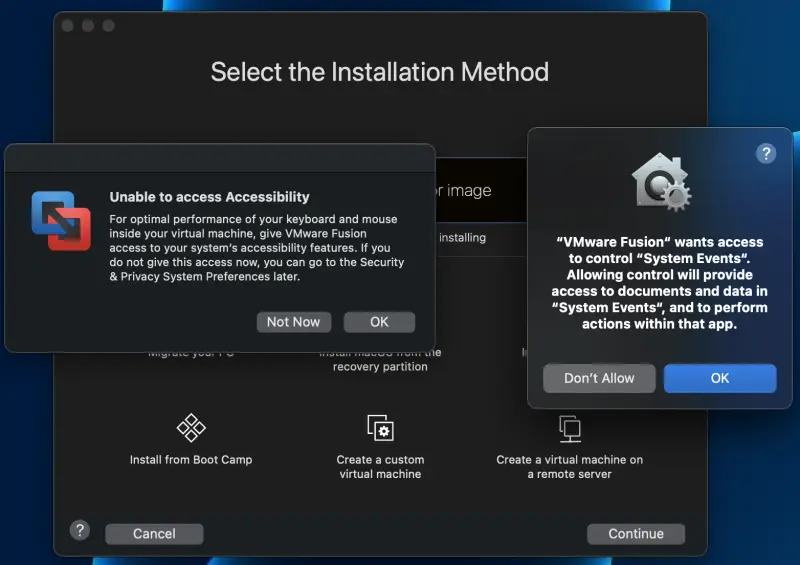
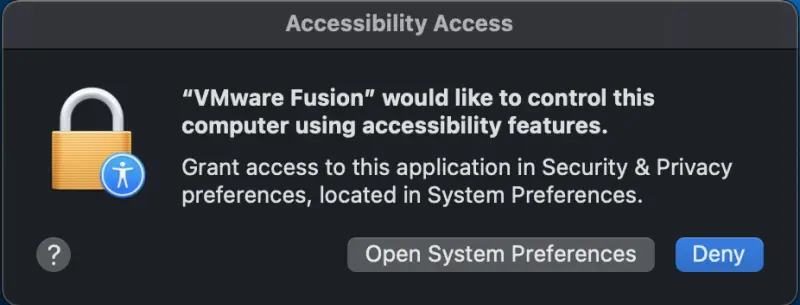
- We are being prompted about Accessibility settings. Click Open System Preferences to adjust them.
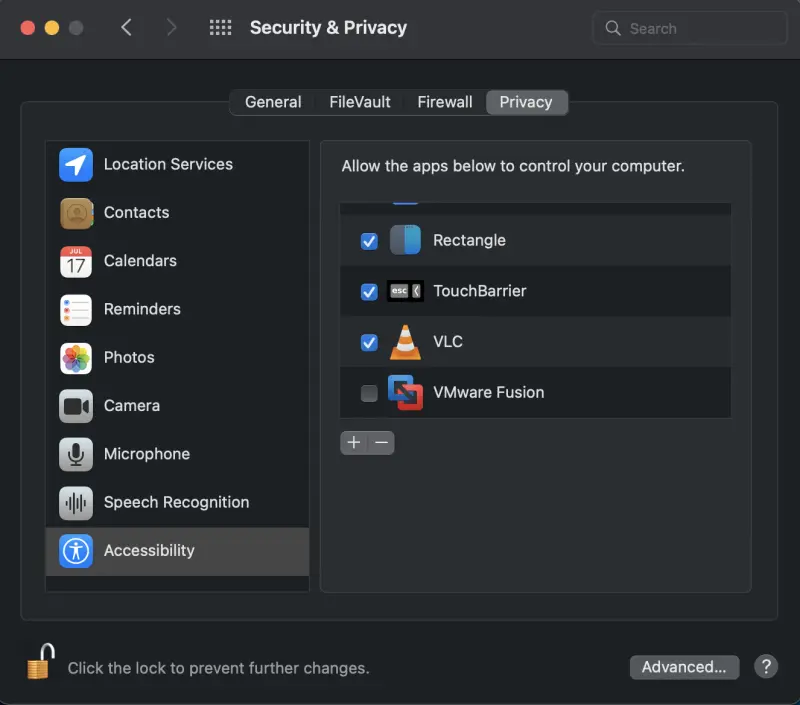
- Unlock the settings and grant VMware Fusion required accessibility rights.
Virtual Machine creation
Creating Virtual Machine in VMware Fusion is very simple process. Let’s go through it.
- We need to choose installation method. In my case it will be installtion from ISO.
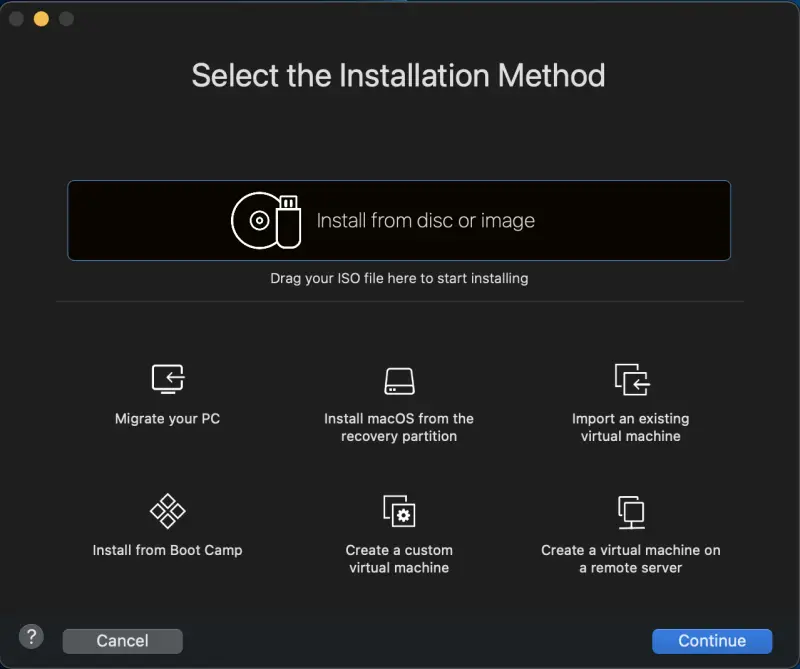
- Select ISO.
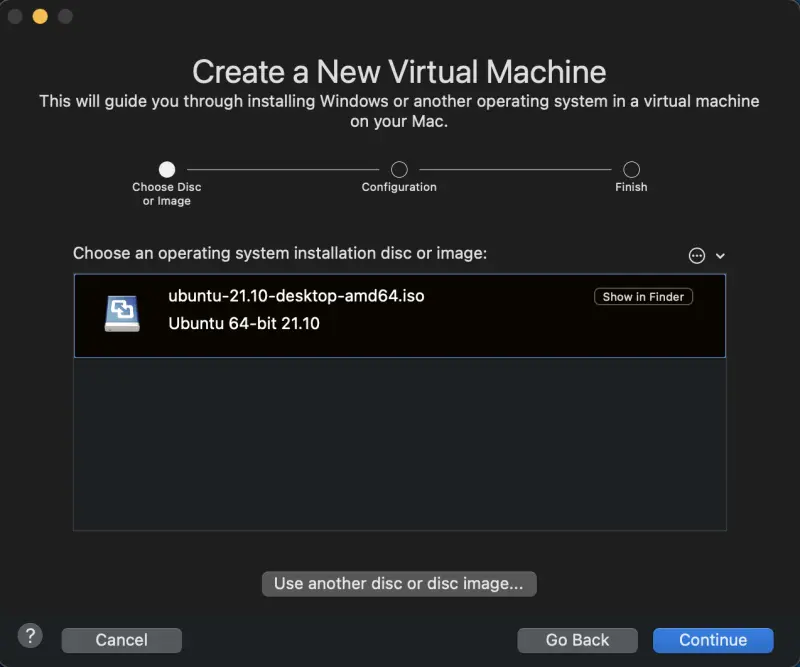
- You can choose an Easy Install or continue without it. I selected normal installation process.
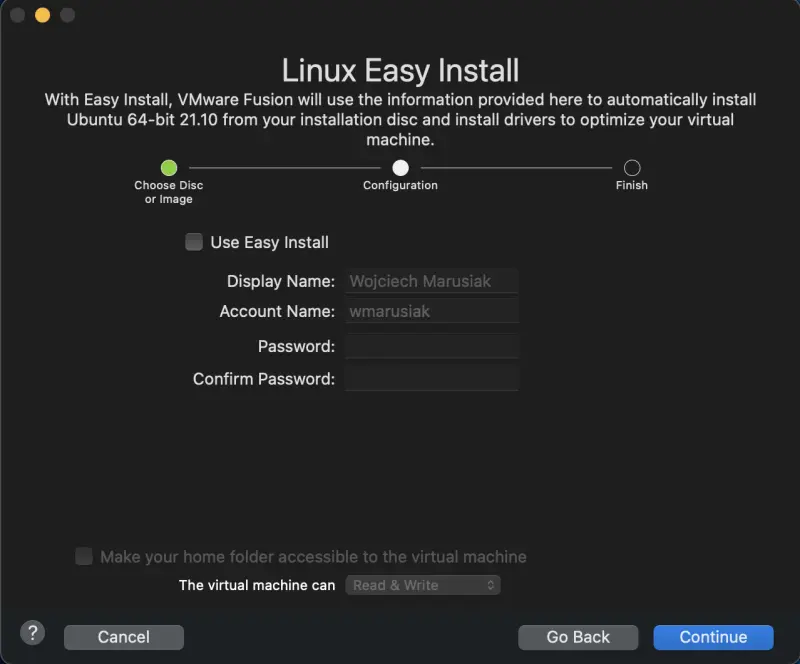
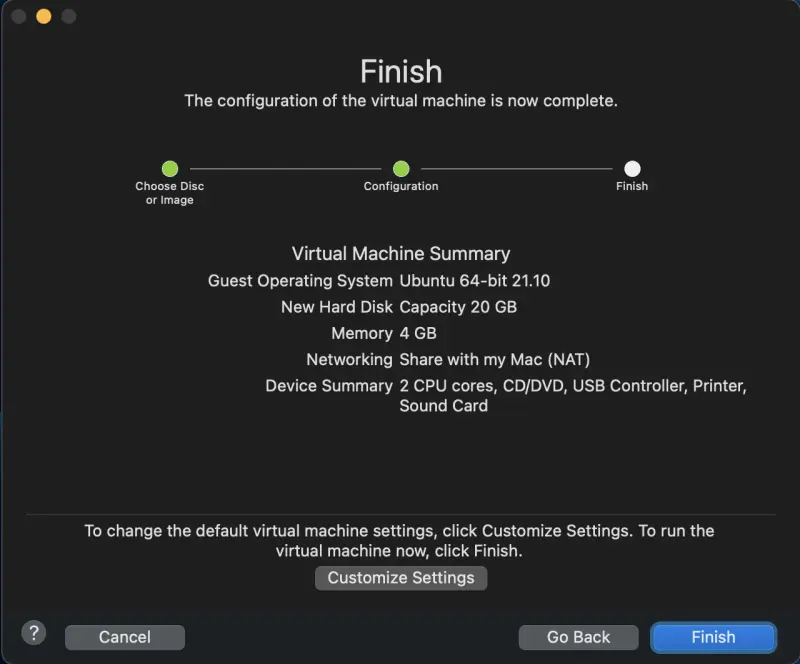
- We can as well customize settings.
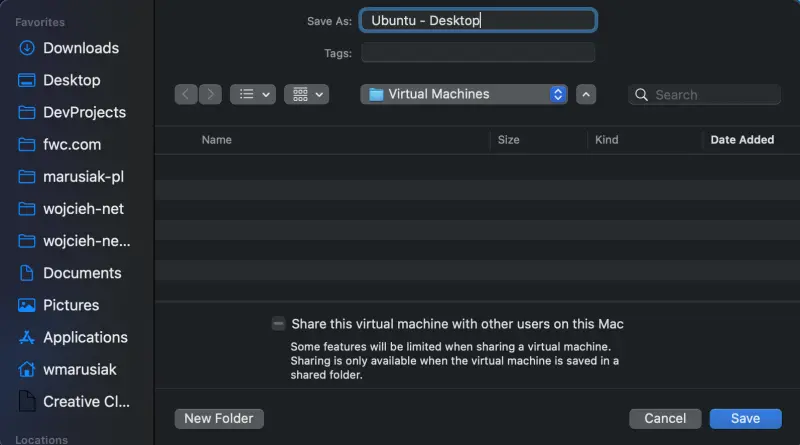
- I decided to change Virtual Machine name.
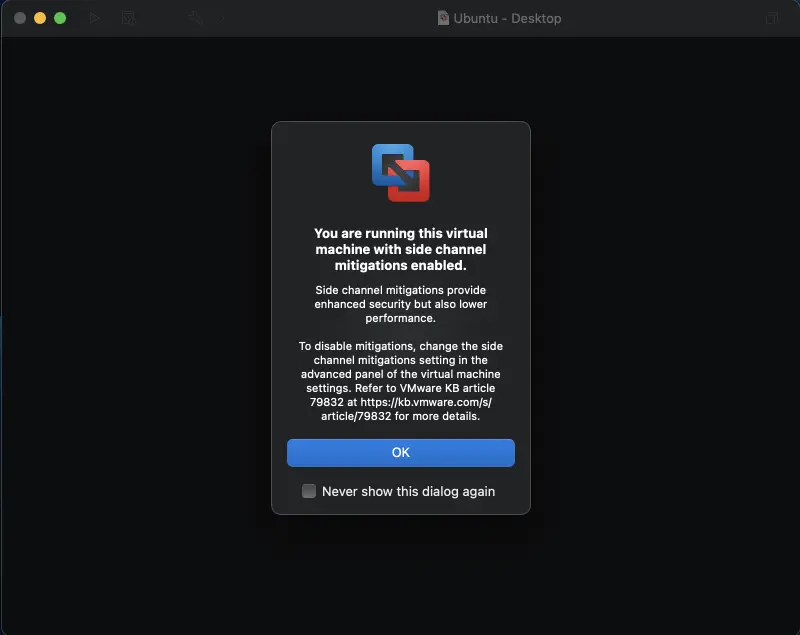
- We received notification about side channel mitigations enabled. See https://kb.vmware.com/s/article/79832.
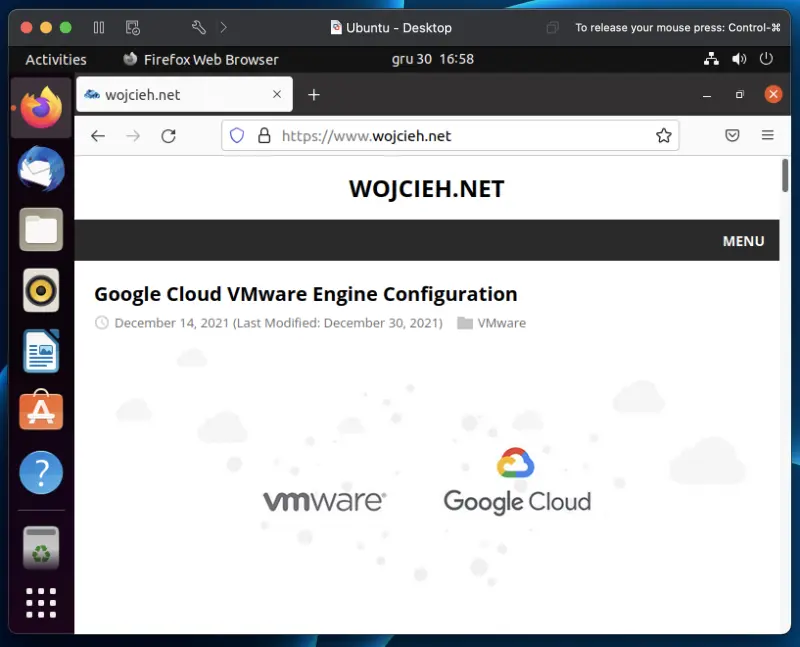
- After several minutes Ubuntu Desktop is installed and can be used as a Virtual Machine in VMware Fusion Pro.
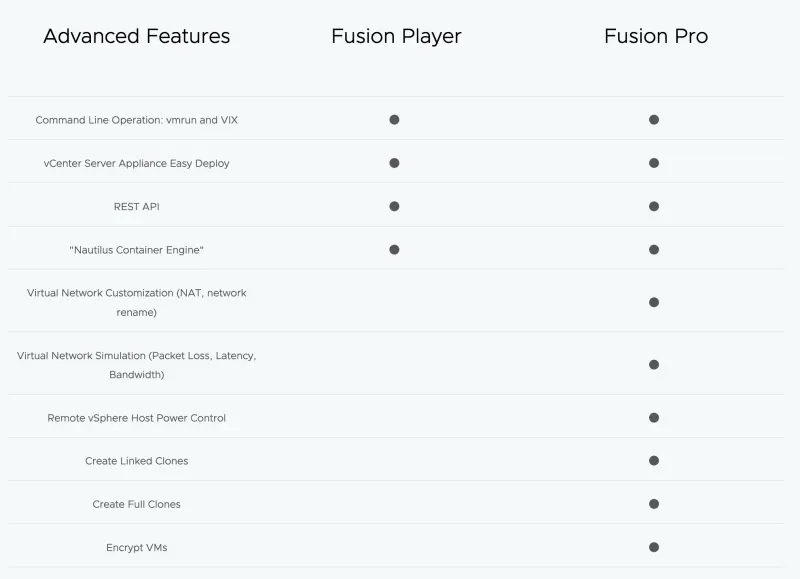
Is VMware Fusion Player or Pro right for me?
Well it really depends how do you use the product and which features do you require. From VMware Fusion webpage VMware Fusion Features Fusion Pro has more networking features and more virtual machine types creation.
Summary
In this post I guided you through VMware Fusion installation instruction on macOS. I am using macOS Monterey - Version 12.1 (21C52) and the process went flawless. Installation was easy and steps were easy to follow.