In Today post I will focus on installation of vCenter Server Appliance 6.5 with External Platform Services Controller. As I am working with more complex customer environments there was a need to make my lab a bit more advanced as it was in the past.
Platform Services Controller 6.5 installation
Let’s start with Platform Services Controller 6.5 installation. After ISO download simply start installer using you favorite Operating System. I will use Windows based install.
Platform Services Controller 6.5 installation - Stage 1
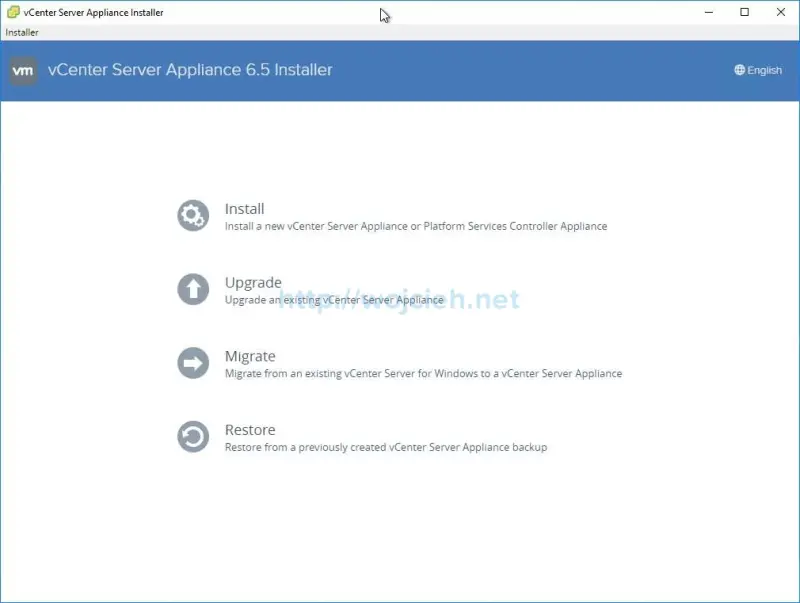
- Once ISO has mounted start installer.
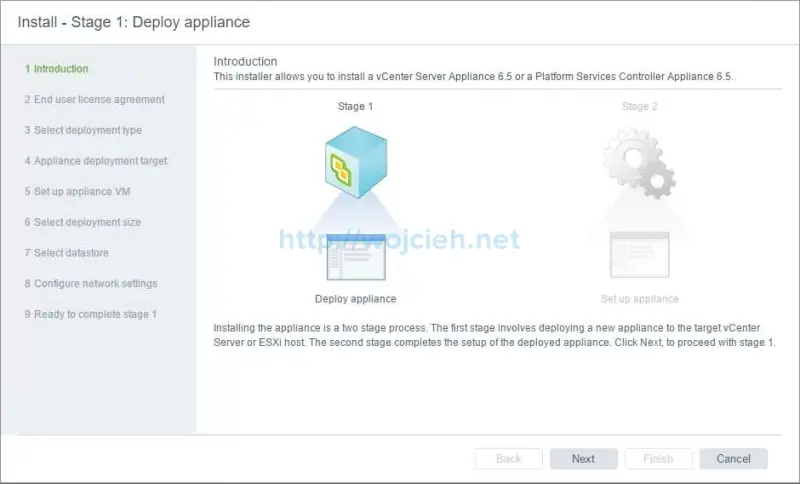
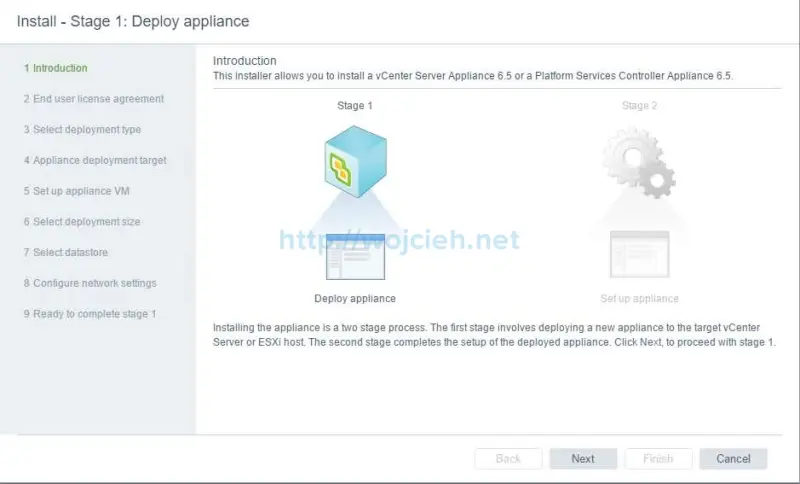
- In the first step, we are informed that appliance deployment is a two stage process. The first stage is appliance deployment on the ESXi and second stage is a configuration of the deployed appliance.
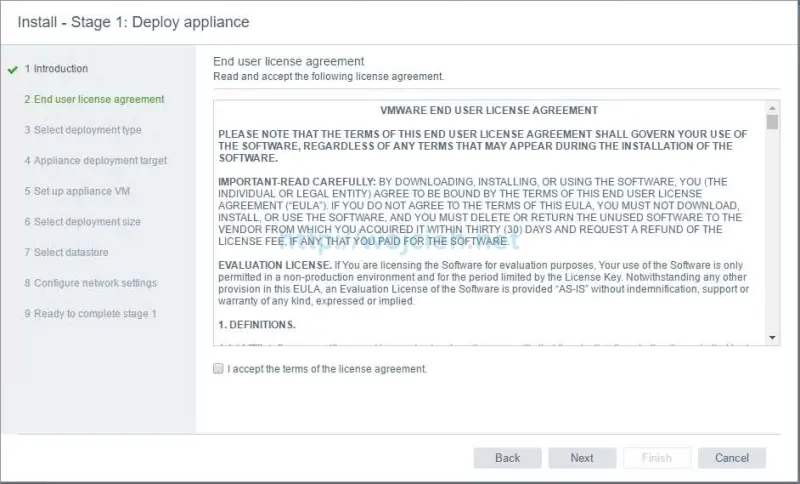
- As usual, we must accept End User License Agreement.
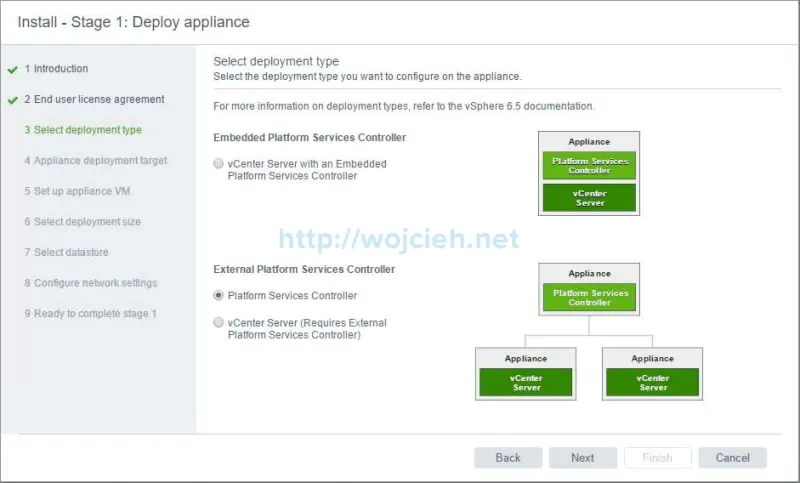
- Now we must select Platform Services Controller. This will be external Platform Services Controller deployment.
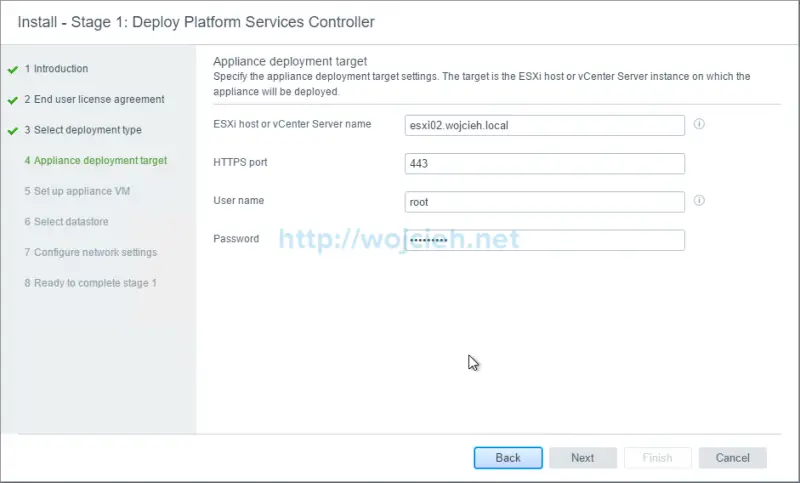
- In the next step, we must provide FQDN or IP address of ESXi host where Platform Services Controller appliance will be deployed.
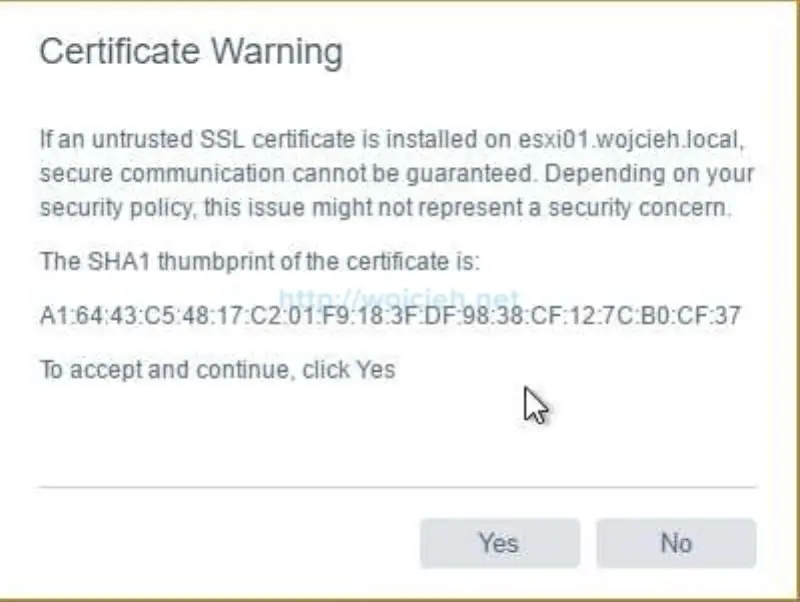
- If prompted, accept Certificate Warning.
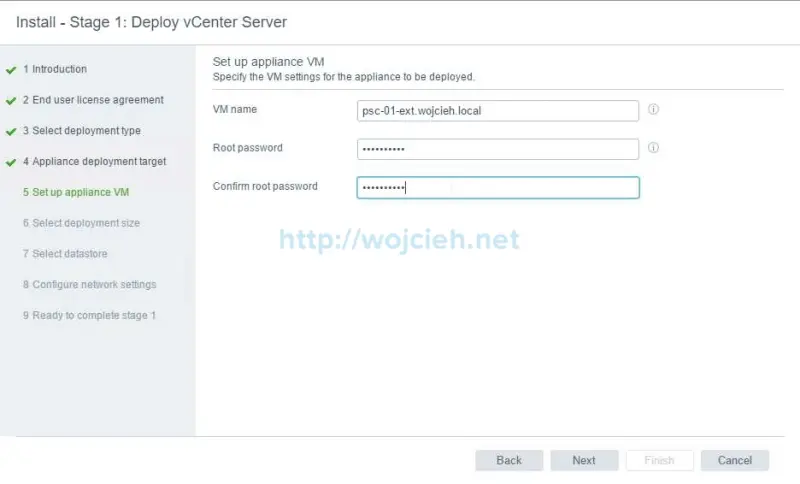
- In the next step, we must provide Virtual Machine name with the root password.
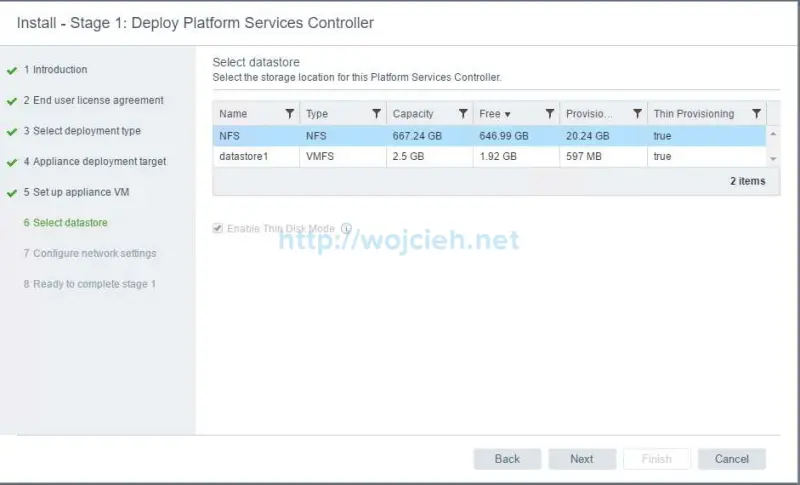
- Choose datastore where Virtual Machine will be installed.
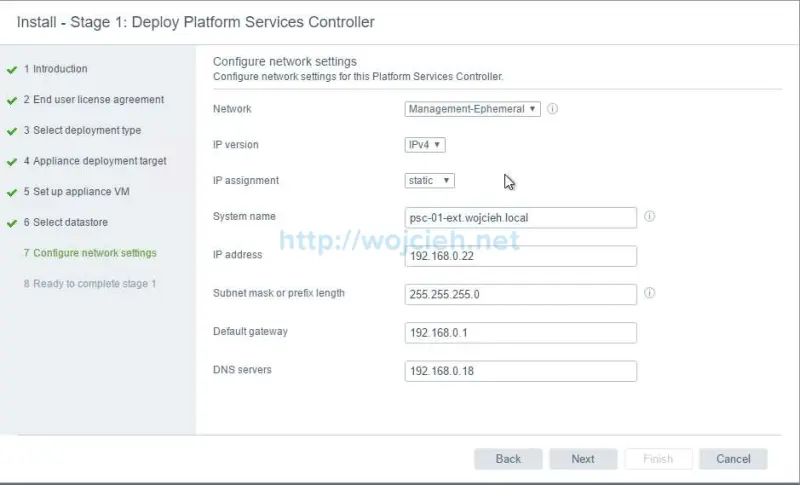
- Choose Virtual Machine network.
Important - you will need either vSS portgroup or vDS ephemeral PortGroup.
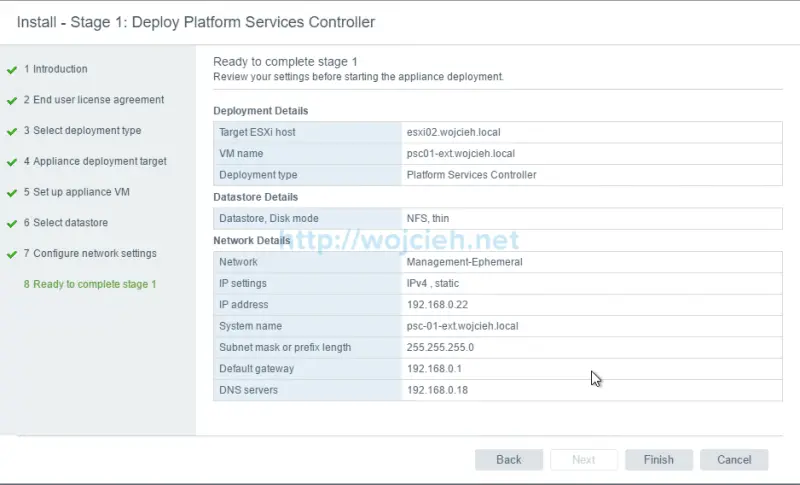
- On the final screen, we see the summary of PSC deployment.
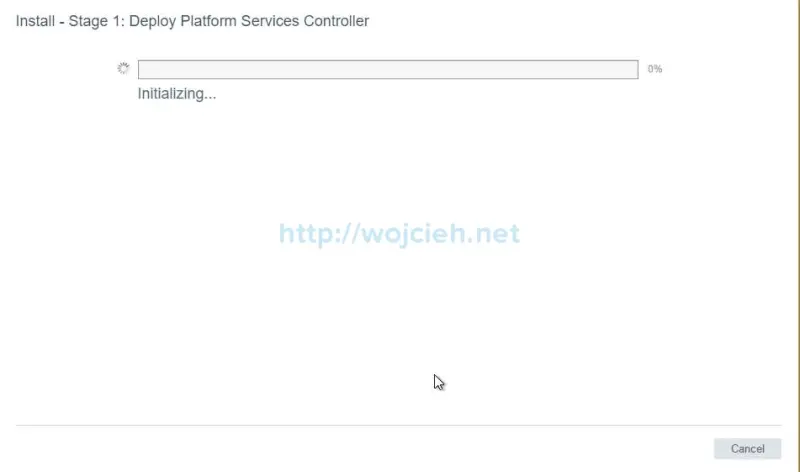
- Click Finish to complete the first stage of the deployment.
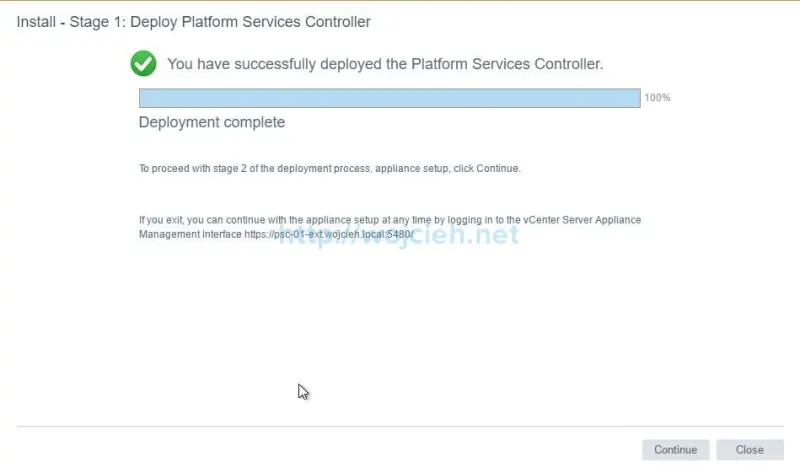
- Finally, we completed the first stage of the deployment.
Platform Services Controller 6.5 installation - Stage 2
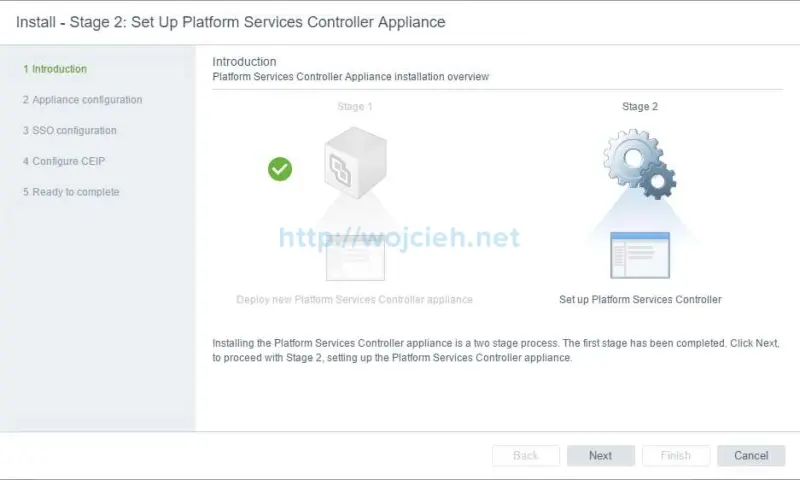
Once successfully deployed we can continue with the second stage of Platform Services Controller installation.
- On the last screen, click Continue to proceed with the installation.
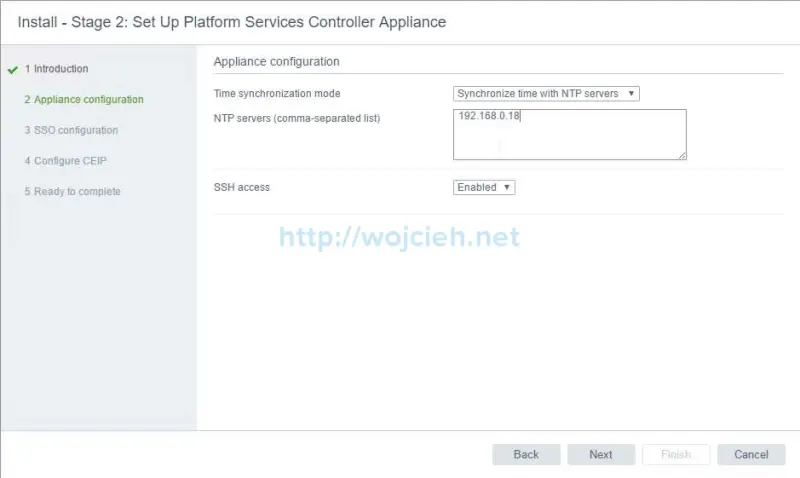
- Choose if you want to synchronize Time with NTP servers or with ESXi and if you would like to enable SSH access.
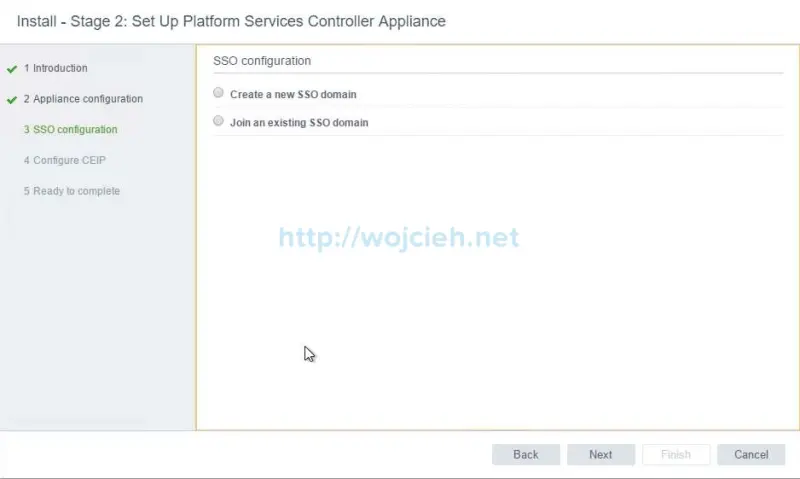
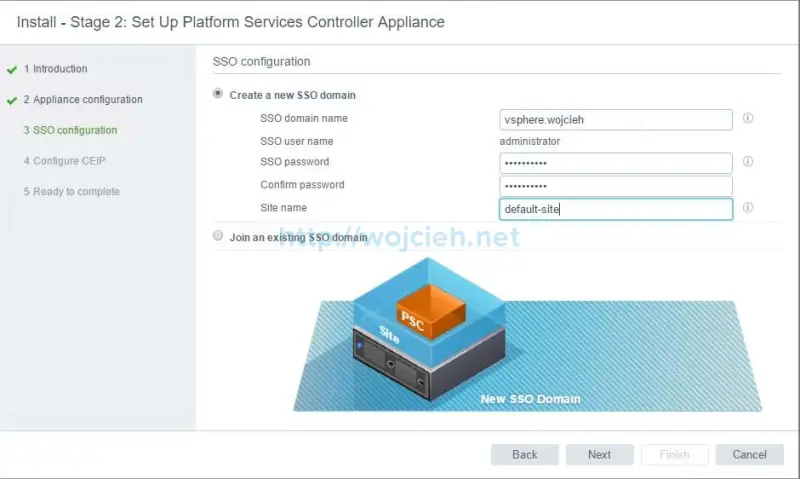
- On the next screen, select Create a new SSO domain.
- Choose your SSO domain name, SSO username password and site name.
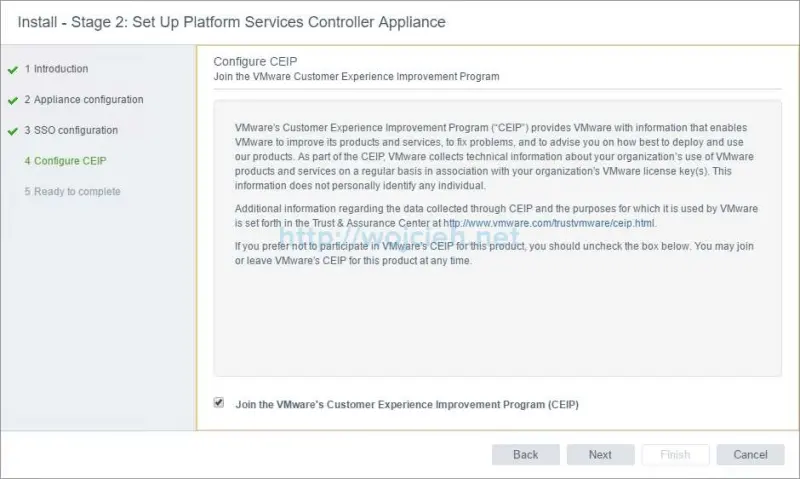
- If you wish you can join Customer Experience Improvement Program (CEIP).
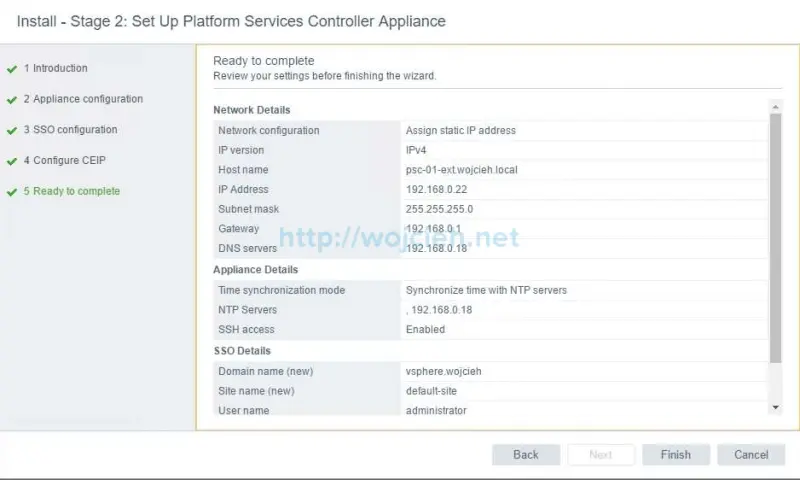
- On the last screen, we can review settings before finishing the wizard. Click finish to complete second stage deployment.
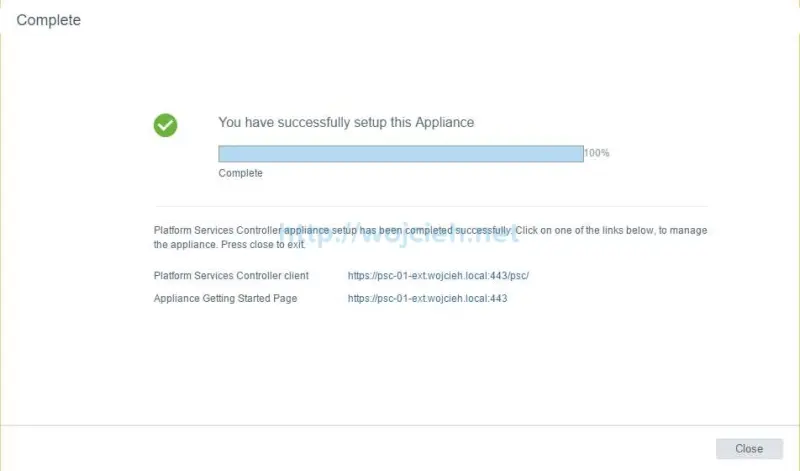
- After few minutes we have installed **External Platform Services Controller.
vCenter Server Appliance 6.5 installation
vCenter Server Appliance 6.5 installation - Stage 1
We are almost there. The next step is to install vCenter Server Appliance 6.5 and connect it to External Platform Services Controller deployed previously.
- Let’s start the installer again.
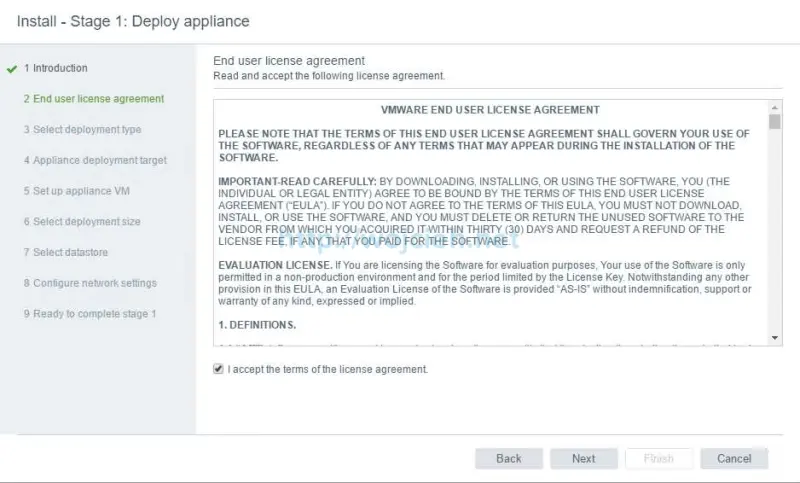
- We must accept EULA.
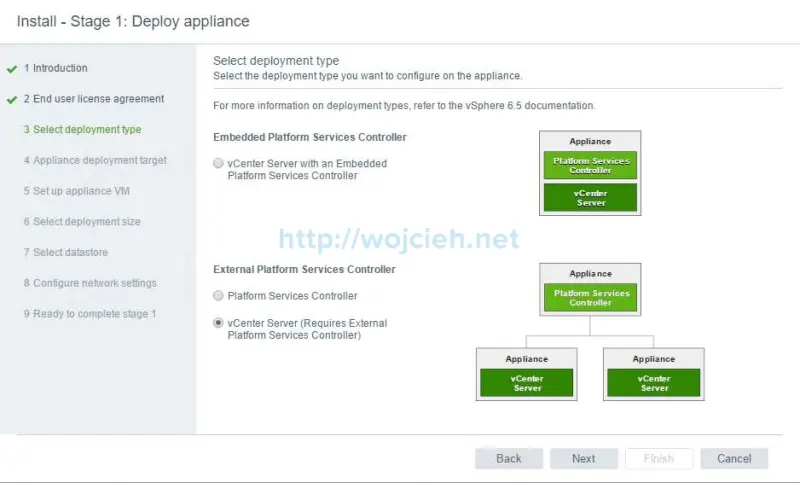
- Next step is quite important. We must select vCenter Server.
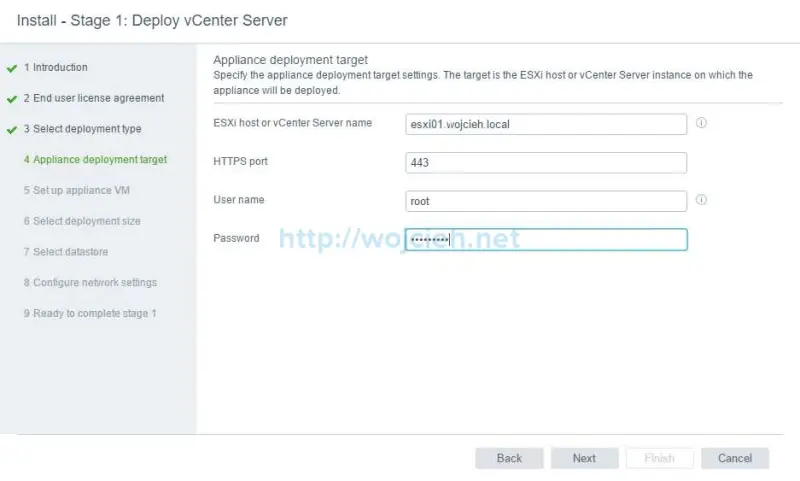
- We must provide appliance deployment target.
- We must specify the VM settings for the appliance.
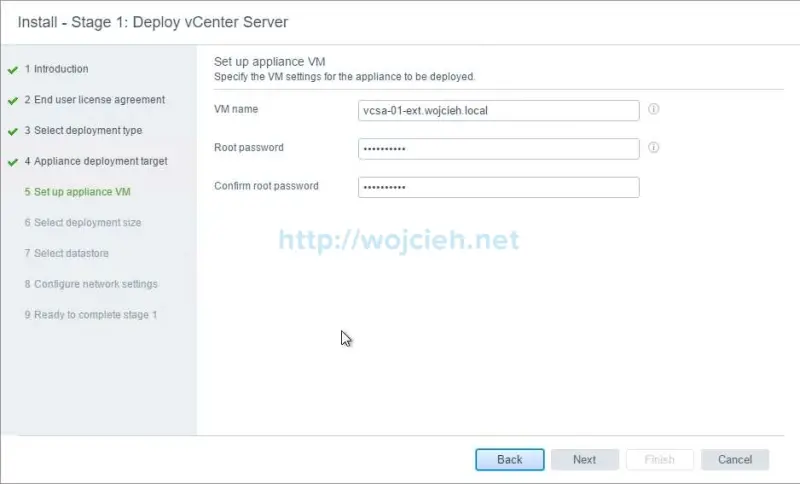
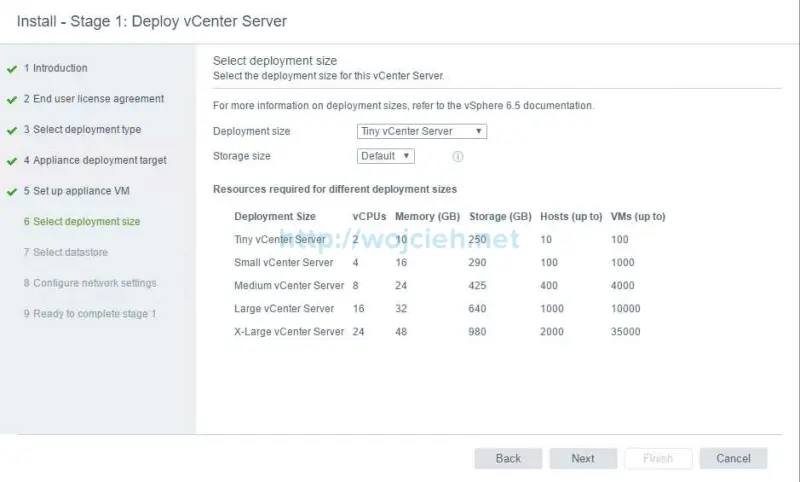
- We must choose vCenter Server deployment size. I will choose Tiny deployment which is sufficient for Lab.
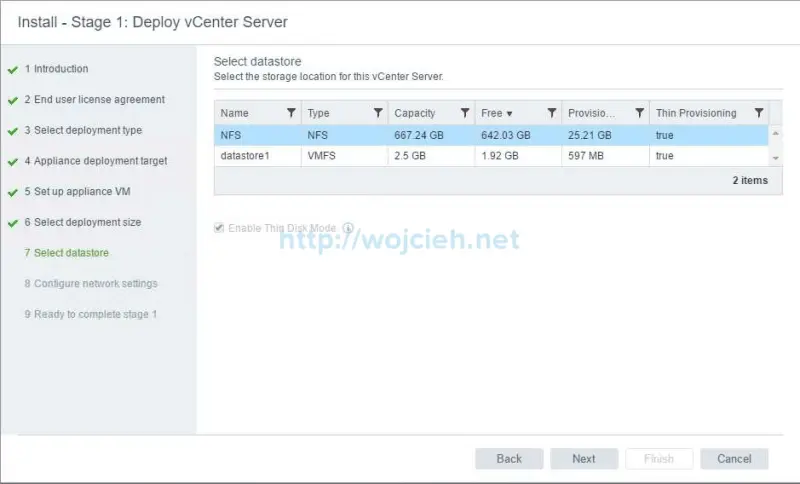
- We must select datastore for vCenter Server Appliance.
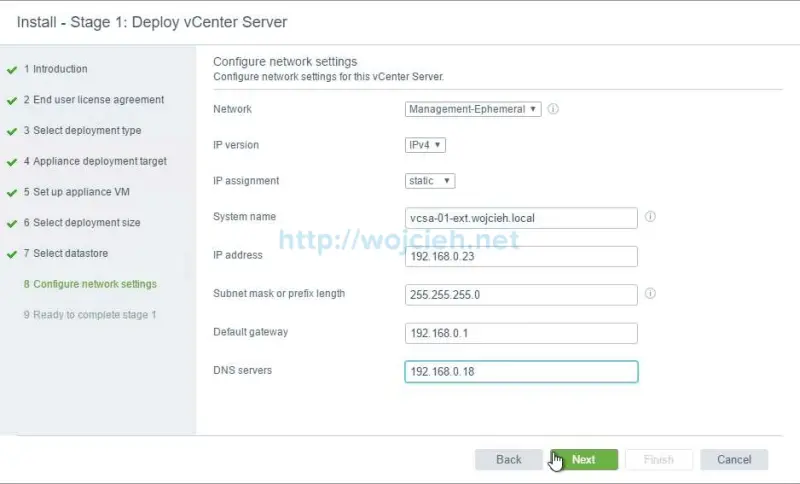
- On the last screen, we need to provide IP address, FQDN, Subnet mask, default gateway and DNS server.
- On the last screen, we can review settings which will be used for vCenter Server Appliance configuration.
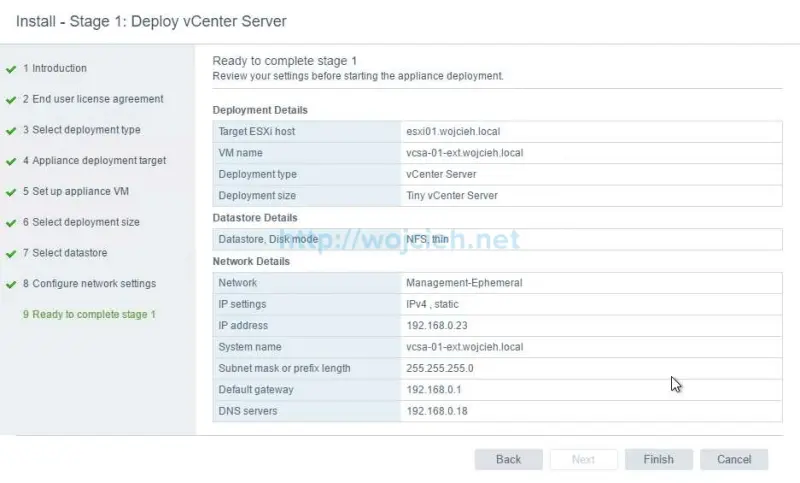
- Once we click Finish Virtual Machine deployment starts.
- After a while, vCenter Server Appliance deployment is finished.
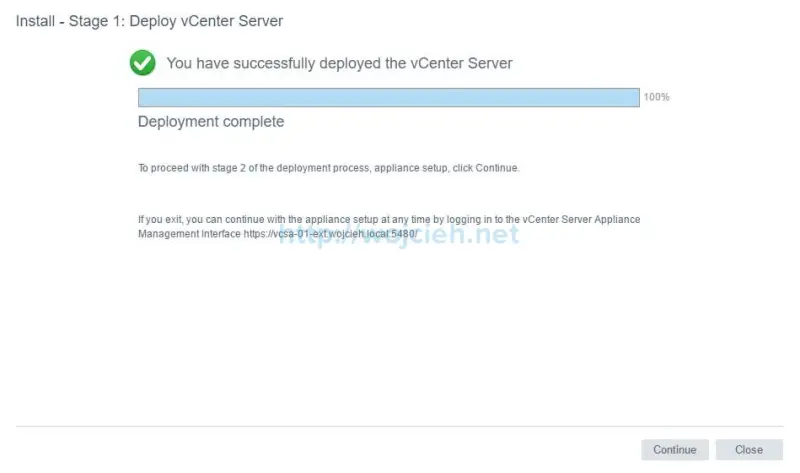
vCenter Server Appliance 6.5 installation - Stage 2
- Click next on the first screen.
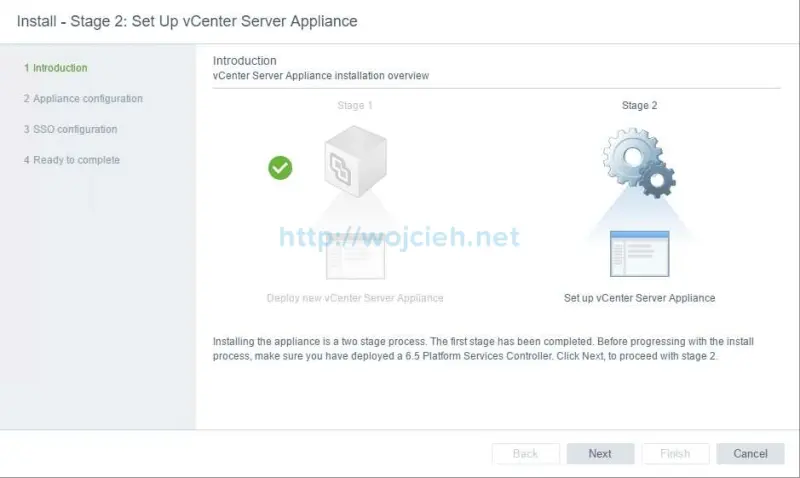
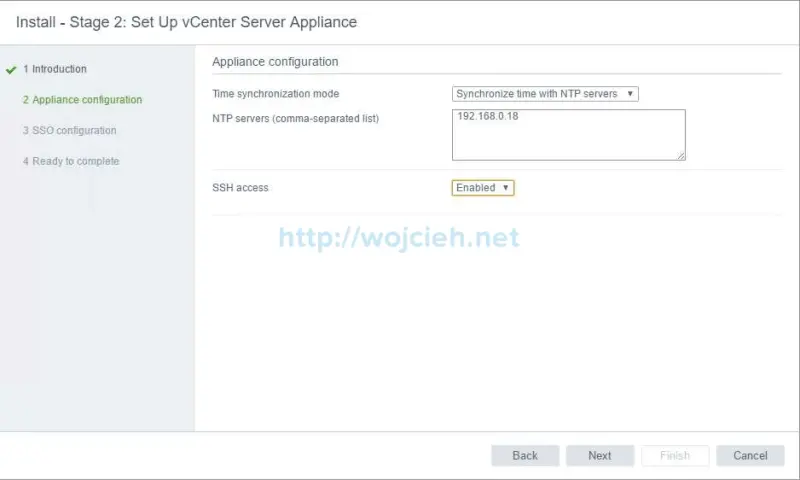
- Choose if you wish to enable SSH access and provide NTP server for time synchronization.
- Provide SSO details from previously deployed Platform Services Controller.
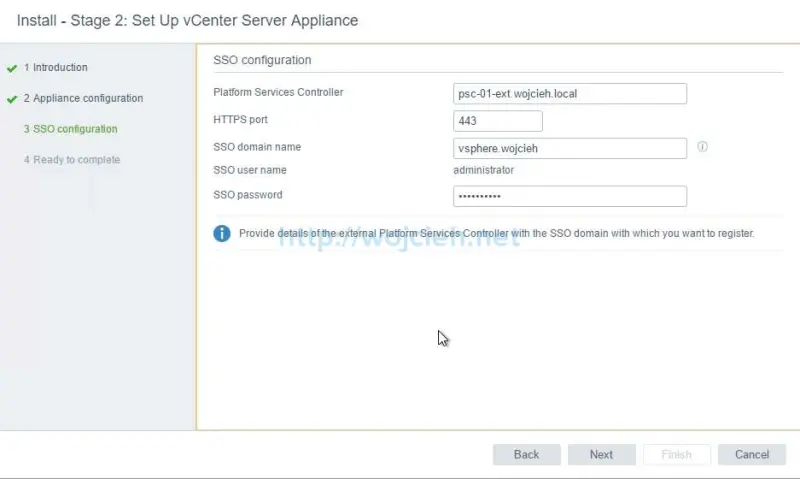
- SSO domain settings will be checked and at the last screen, we can review vCenter Server Appliance 6.5 Stage 2 settings.
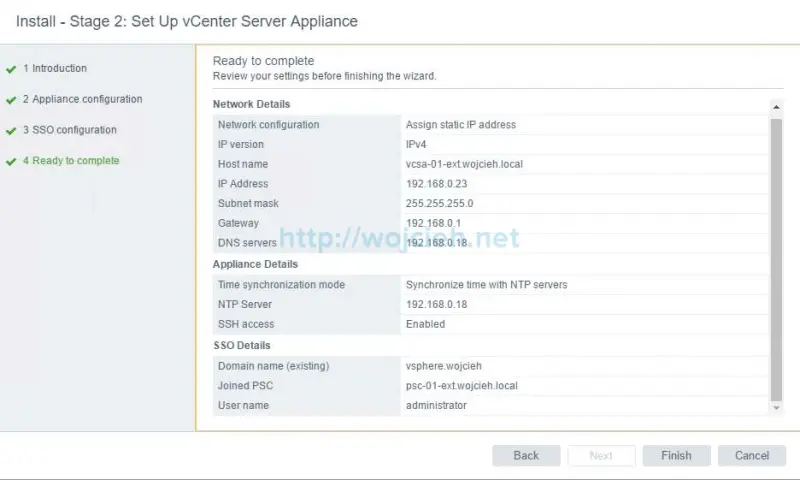
- Once we click Finish configuration will be applied on vCenter Server Appliance and all services started.
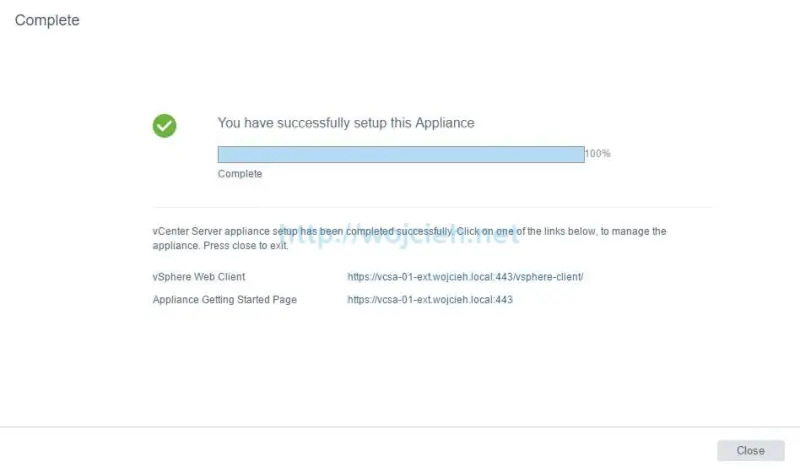
Summary
We deployed one External Platform Services Controller with vCenter Server Appliance. In my Lab, I will deploy one more Platform Services Controller and one additional vCenter Server Appliance.