In last post, I will cover installation of vCenter Server on Windows Server 2012 R2 with SQL Server 2014. To recap - we installed SQL Server 2014, we created vCenter Server Database and we created ODBC connectivity.
vCenter Server components installation
vCenter Single Sign-On
- Insert ISO into your server and start the installer.
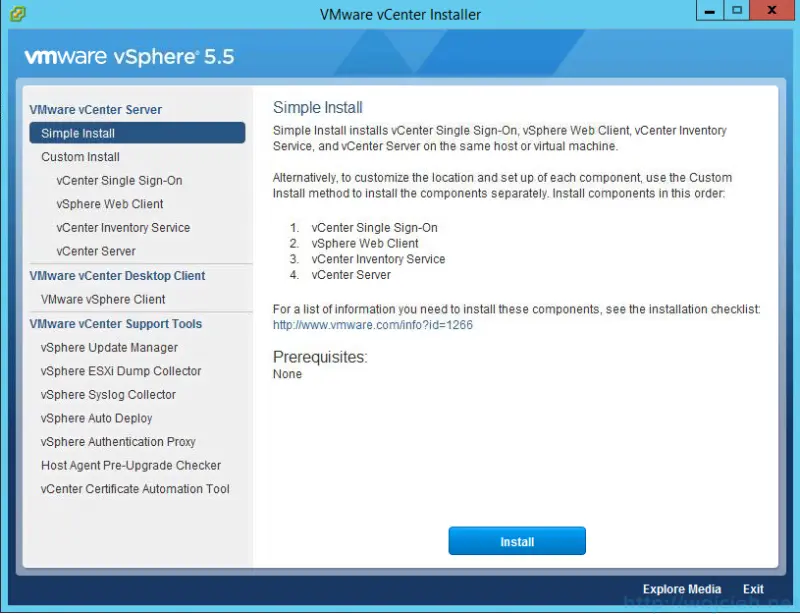
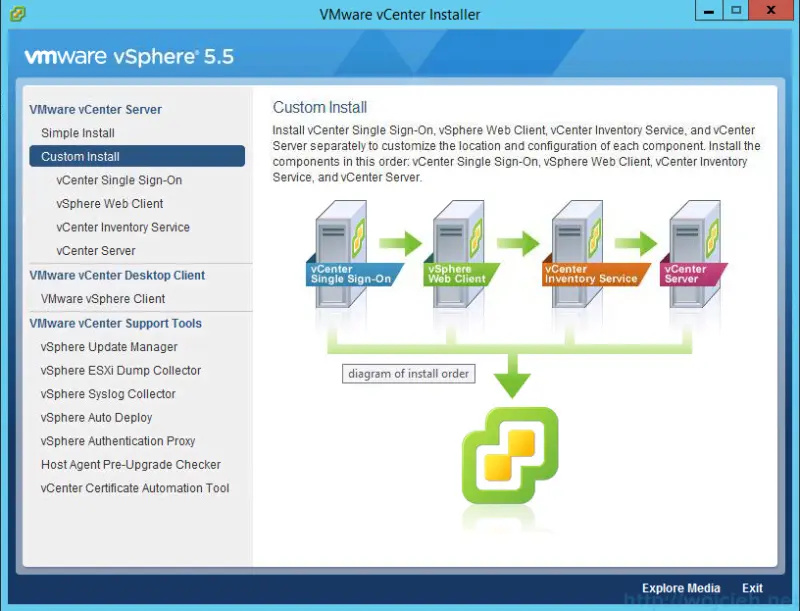
- Select Custom Install and start with vCenter Single Sign-On installation.
- Click Install and then Next.
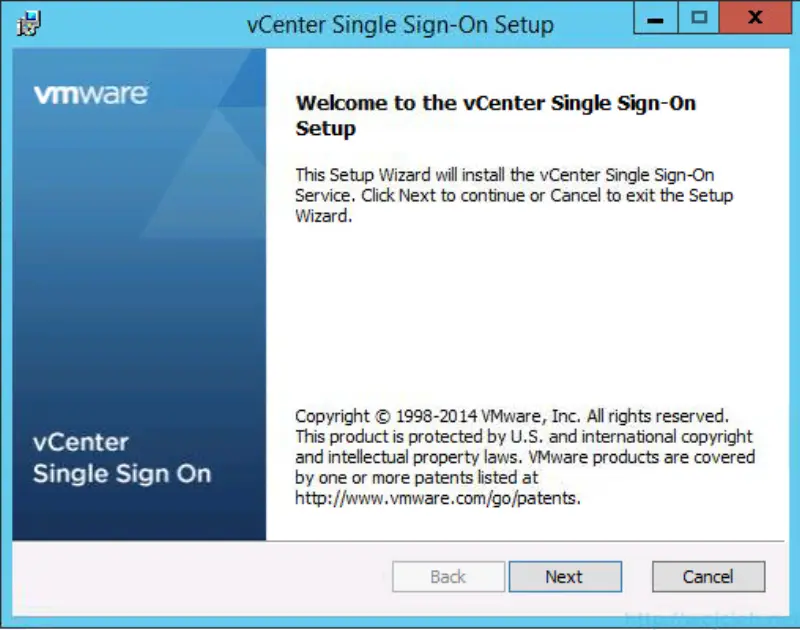
- Accept EULA and click Next.
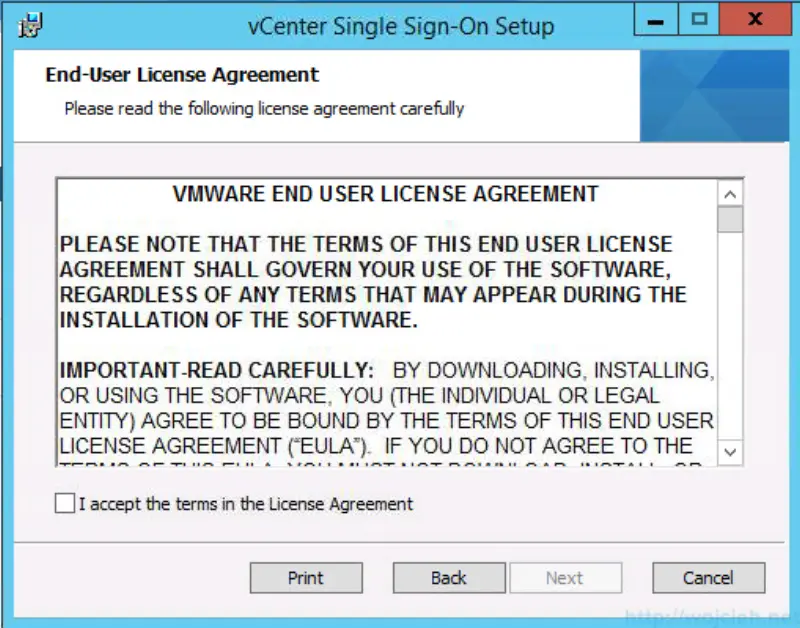
- On the next screen, you will see vCenter Single Sign-On Prerequisites Check where you see all details and click Next.
- On the next screen, you will see three options to select from:
- Standalone vCenter Single Sign-On server
- High availability
- Multisite
- Select In this tutorial I will select first option Standalone vCenter Single Sign-On server. If you want to read more about other options follow this KB’s:
- Multisite kb.vmware.com/kb/2034074
- High availability http://kb.vmware.com/kb/2033588
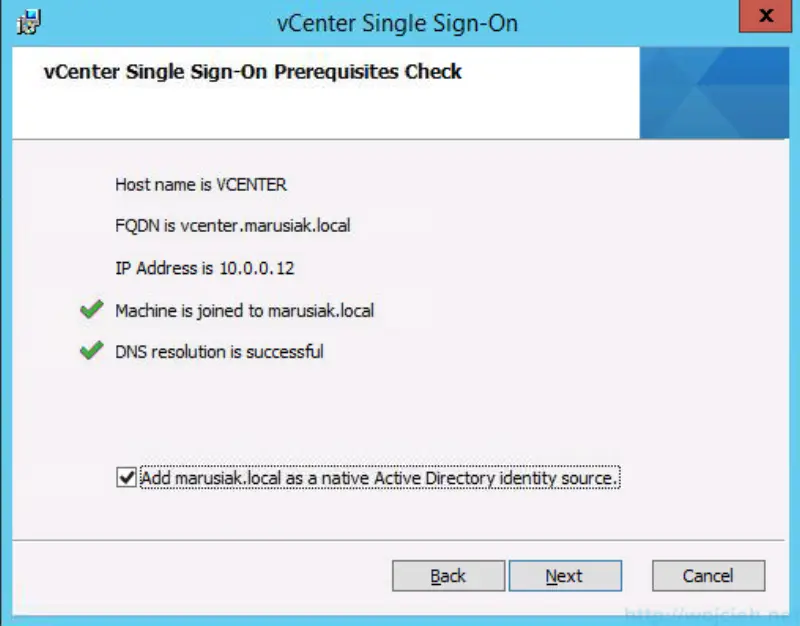
- Provide SSO password and click Next.
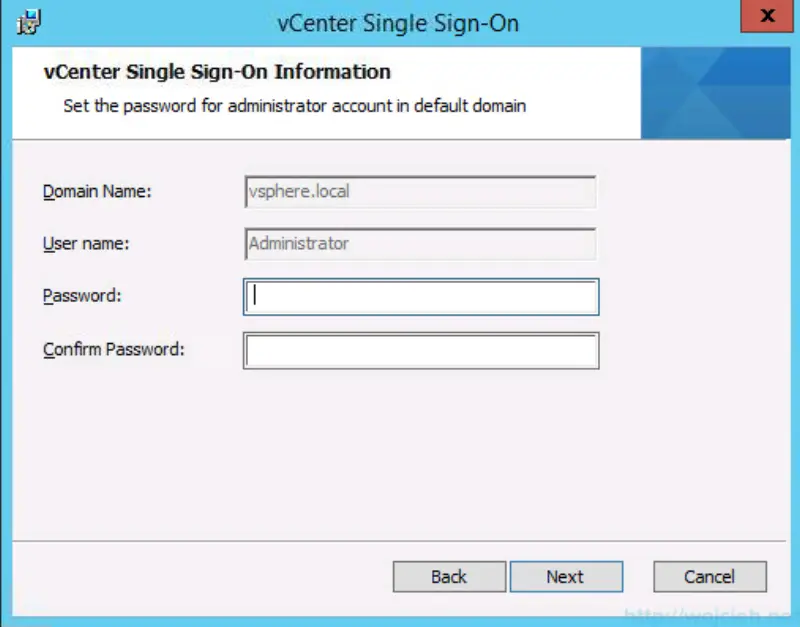
- Provide Site name. I selected default one.
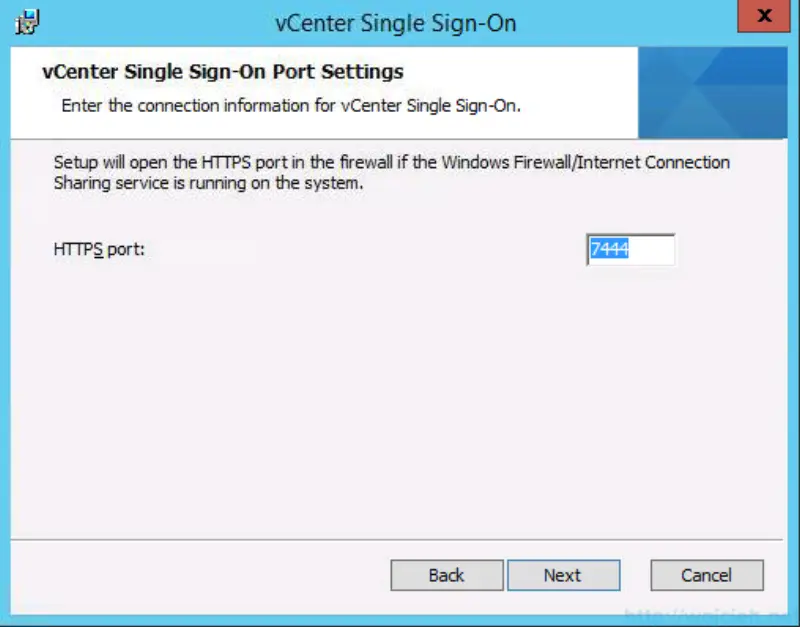
- I didn’t change SSO port. If you want to change it you can do it here.
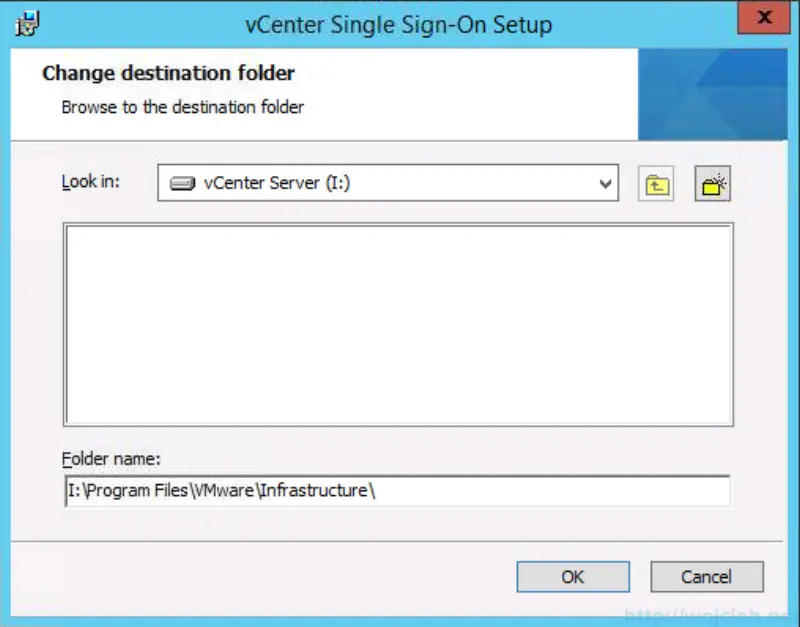
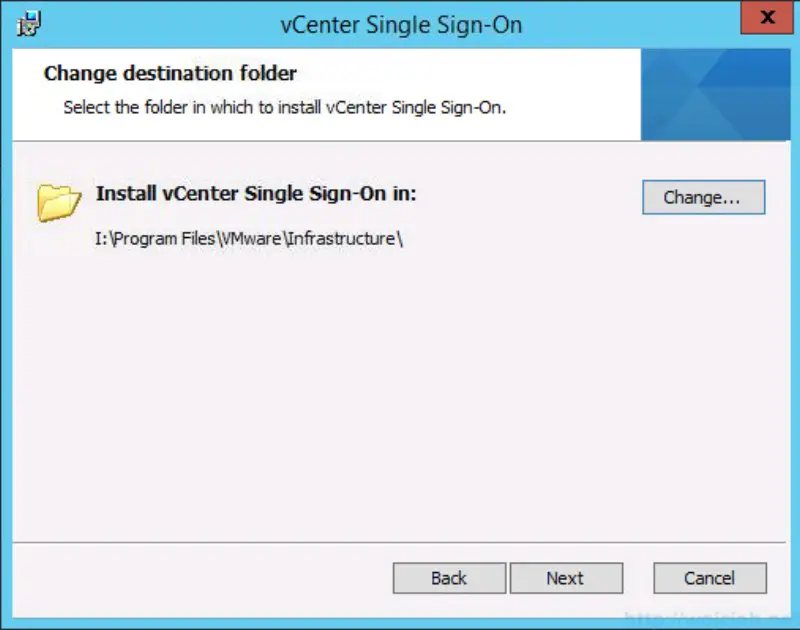
- Provide path where do you want to have vCenter Server binaries installed. I selected dedicated disk to avoid filling it up with Operating System files.
- Click next.
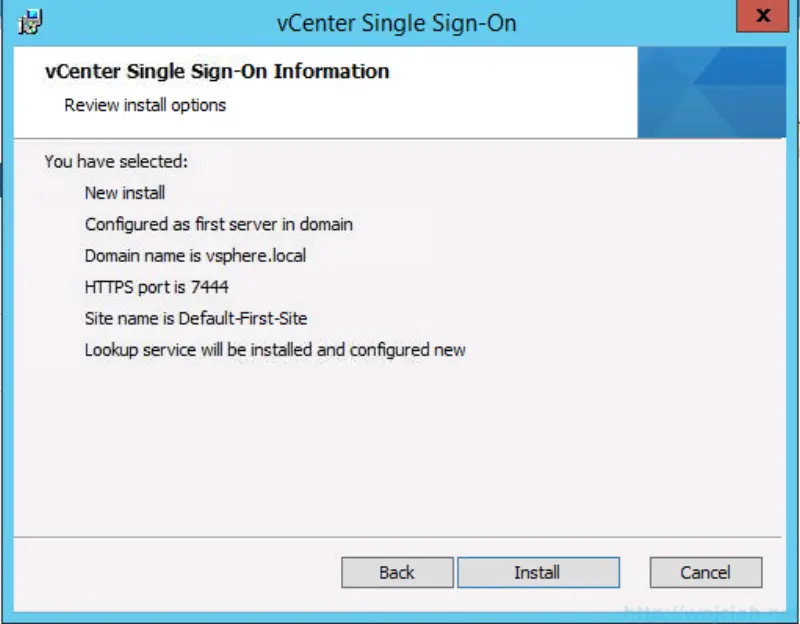
- On the last screen, we will see the summary of SSO installation.
- Wait for the installer to finish.
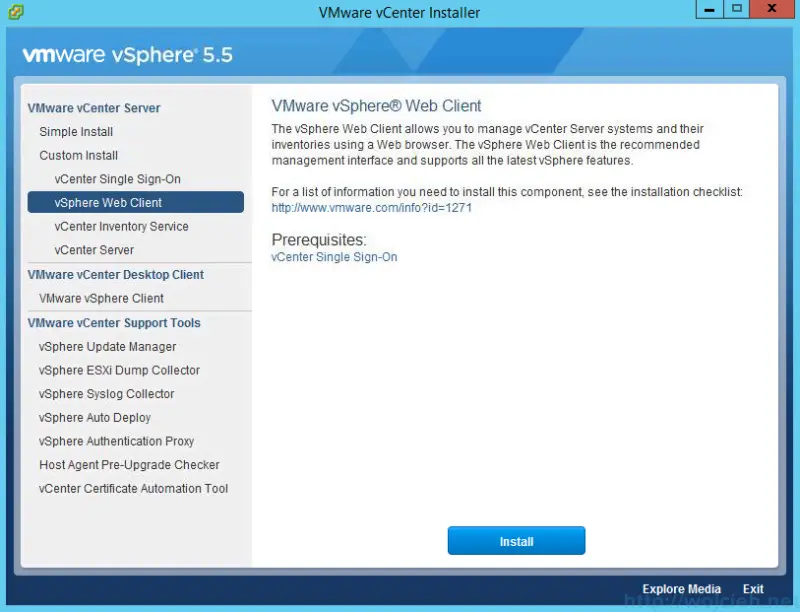
VMware vSphere Web Client
- Click the install button and follow installer.
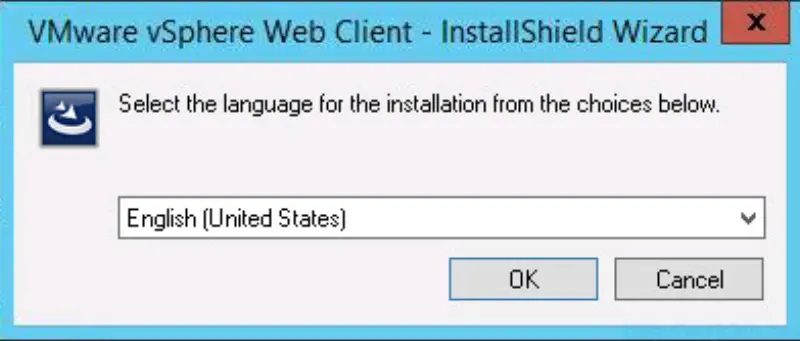
- Select language to install.
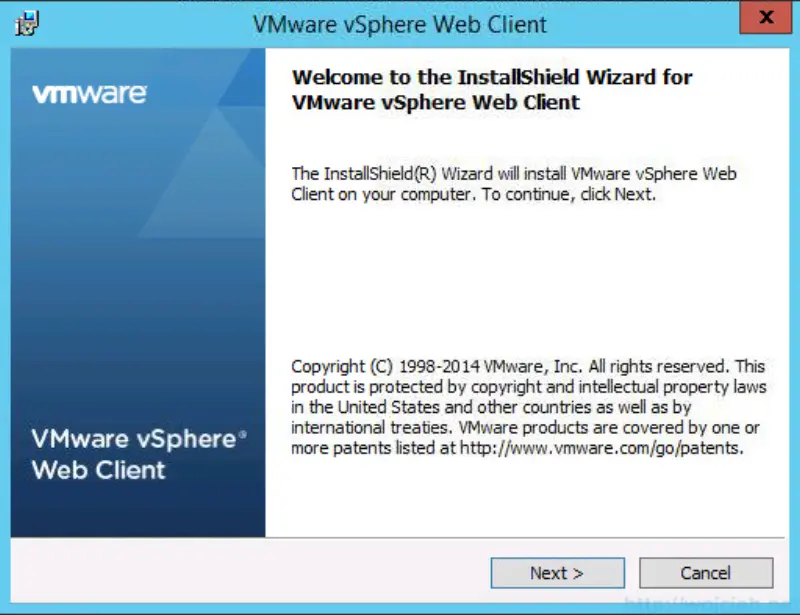
- Click next and continue to next screen.
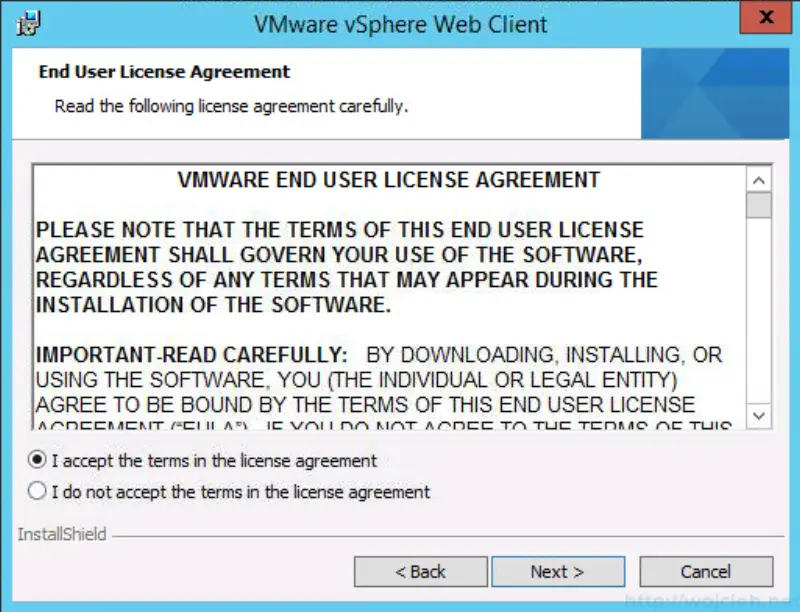
- Accept EULA and click next.
- Install Web Client into default directory. If you will select different directory than default one you will receive HTTP Error 404. There is VMware KB which describes issue in depth: kb.vmware.com/kb/2044953.
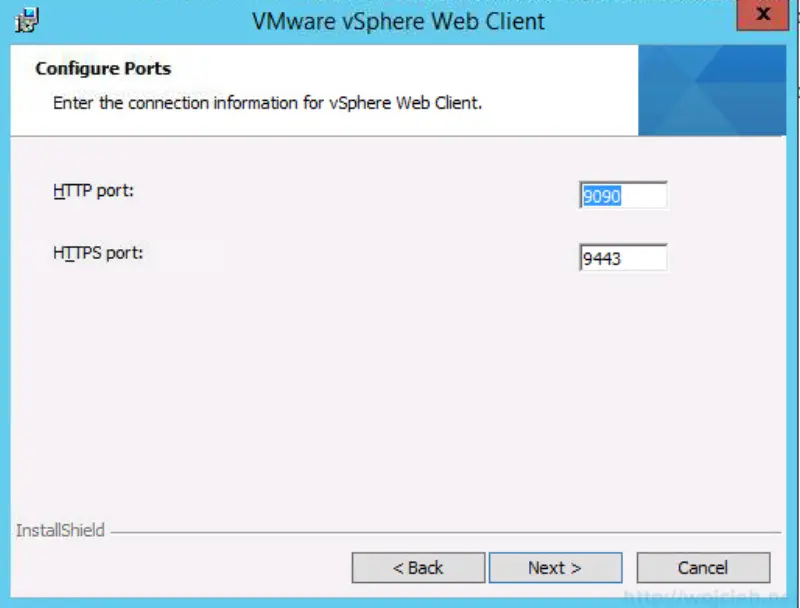
- Configure ports if needed.
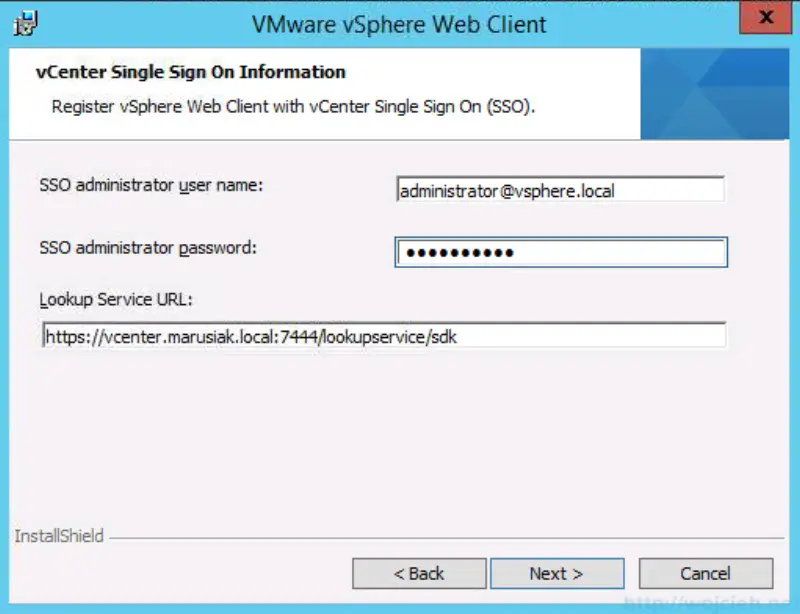
- Provide Single Sign-On credentials and click Next.
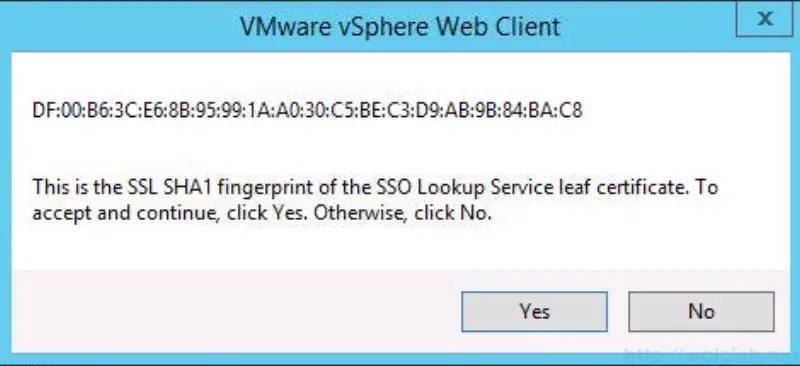
- Accept SSL SHA1 fingerprint and click Next.
- Install certificates.
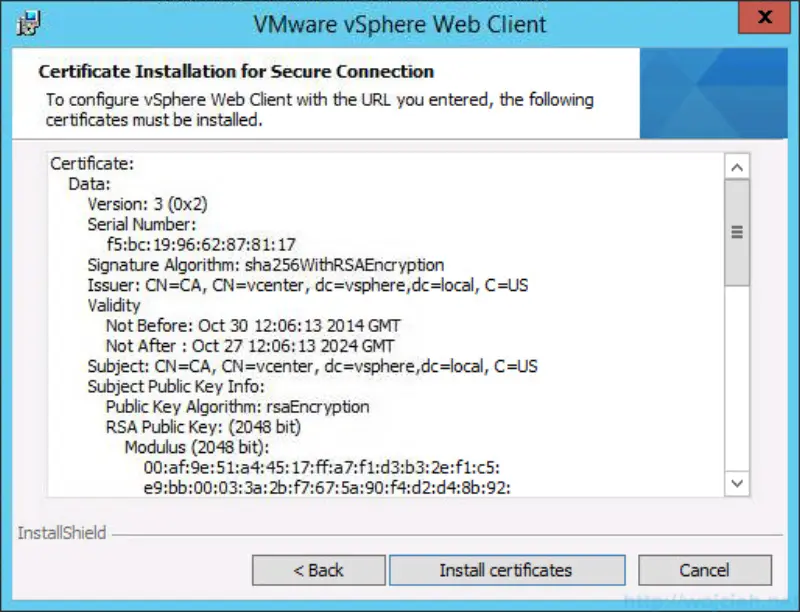
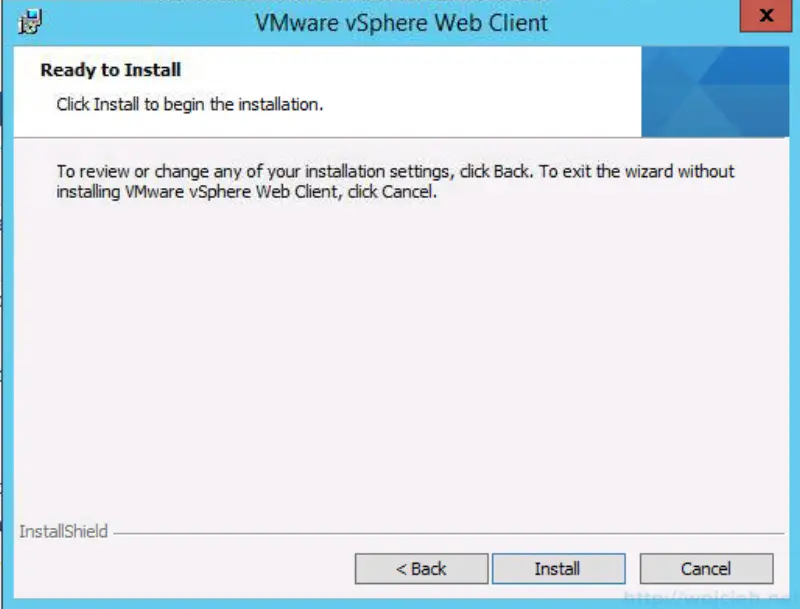
- Click install and wait for it to finish.
vCenter Inventory Service
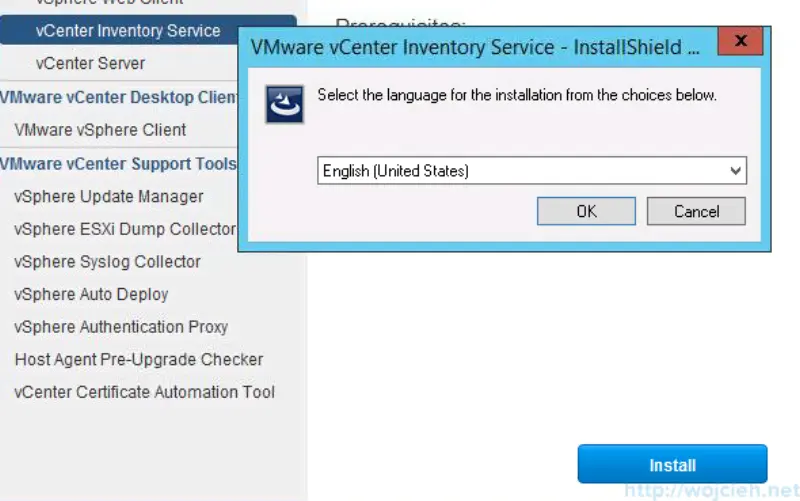
- Start installer and select language to install.
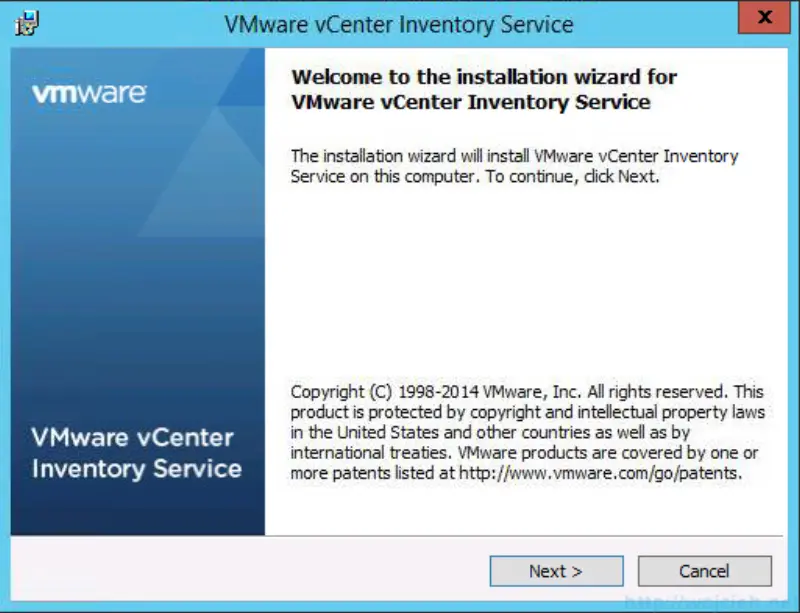
- Click Next and proceed with the installation.
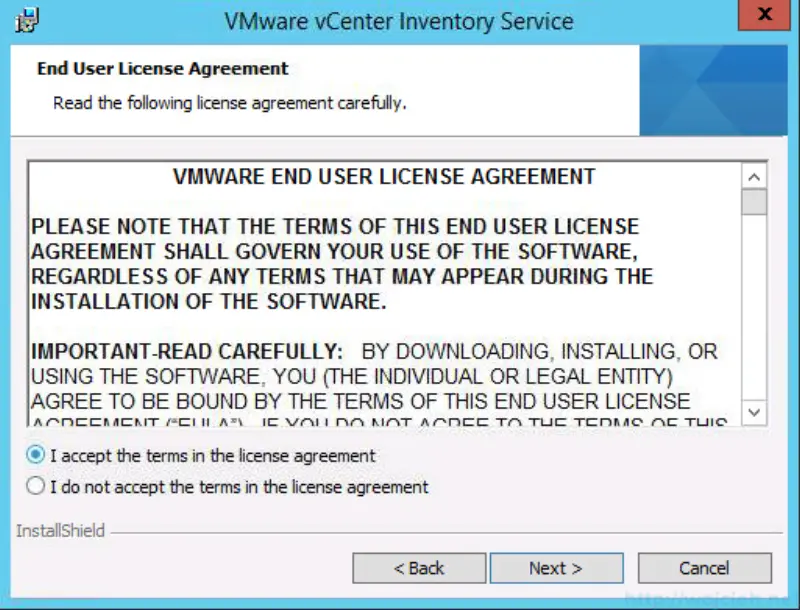
- Accept EULA and click Next.
- Change destination of binaries to be installed.
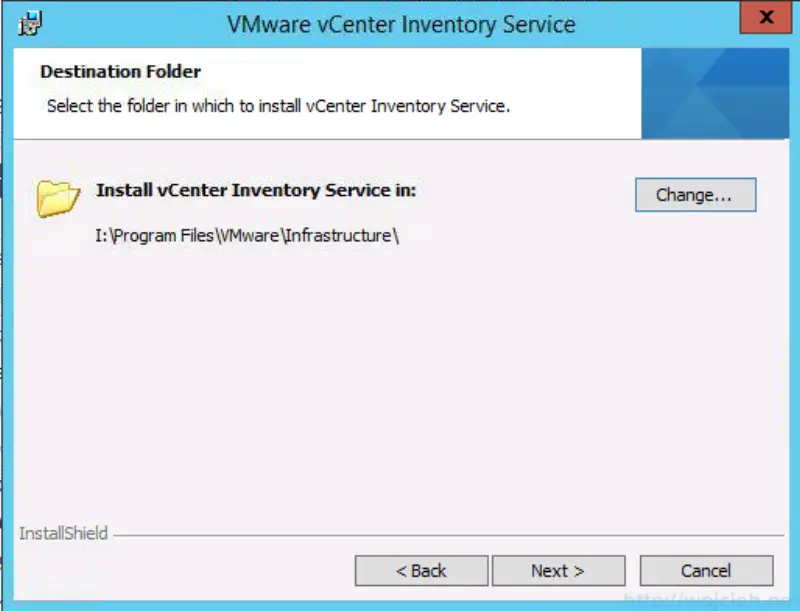
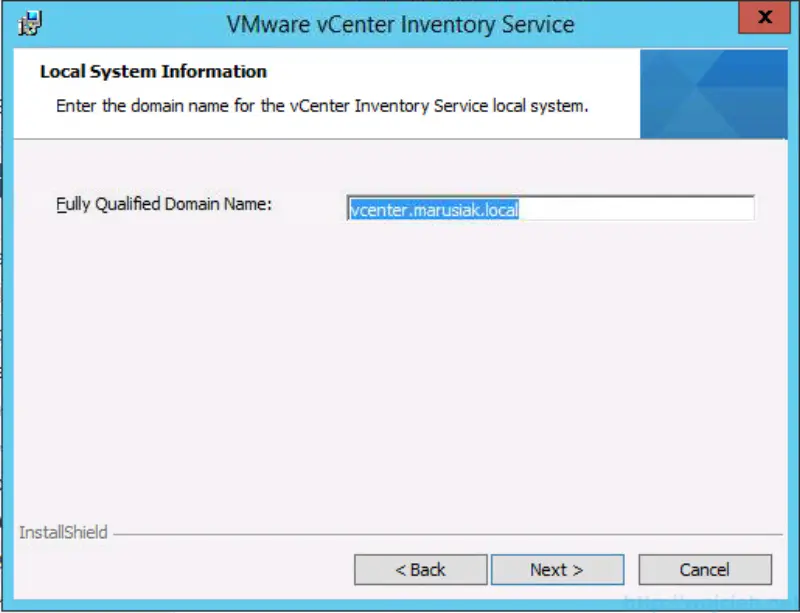
- Enter the domain name of vCenter Inventory Service local system.
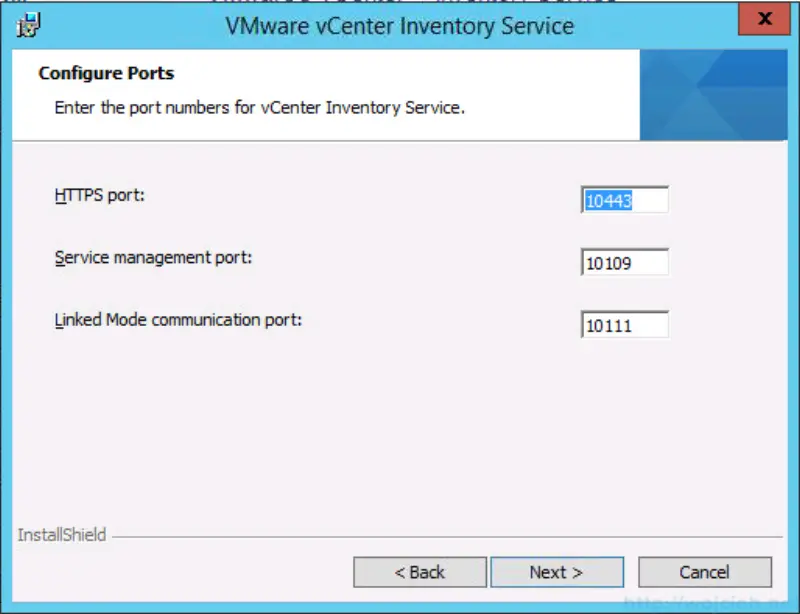
- Provide ports for vCenter Inventory Service.
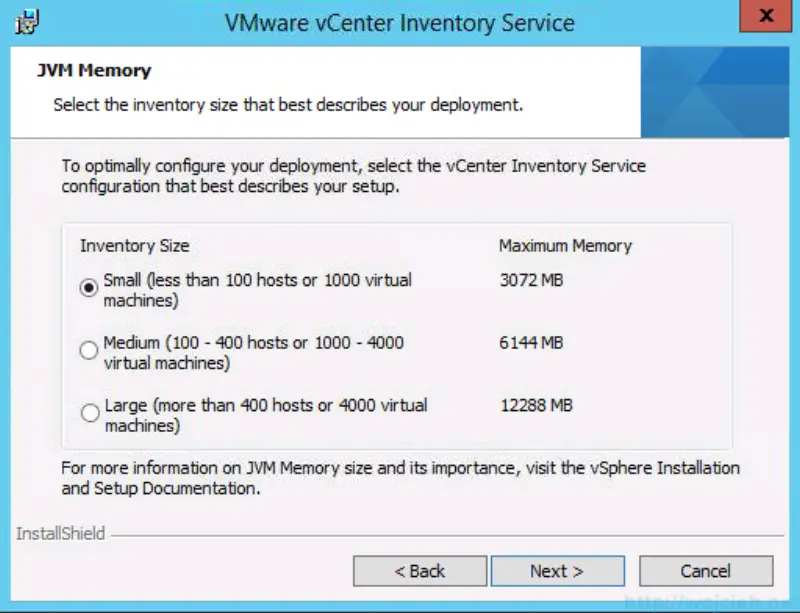
- Select inventory size to adjust JVM Memory settings.
- Insert Single Sign On credentials and click Next.
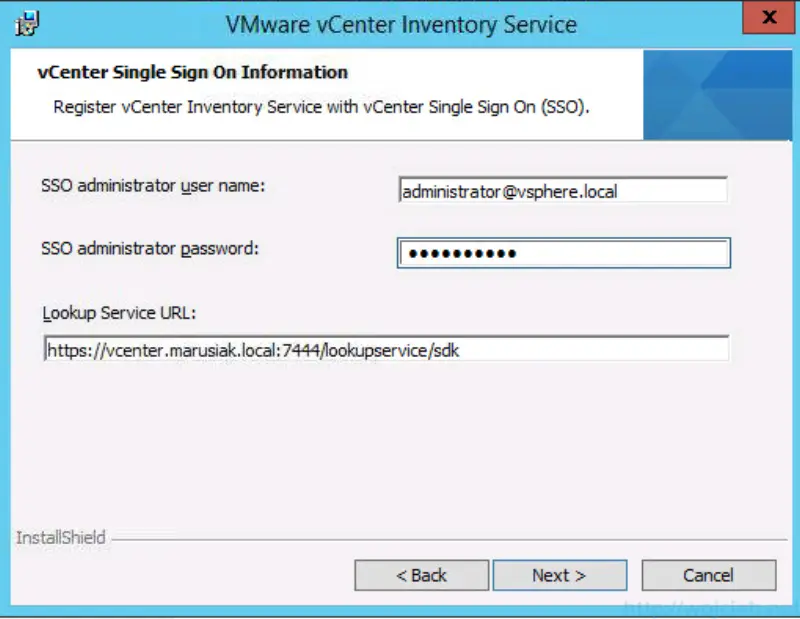
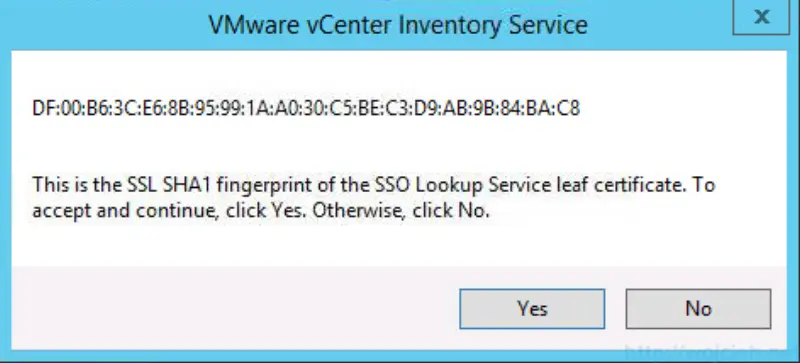
- Accept SSL SHA1 fingerprint and click Yes.
- Click Install and wait for it to finish.
- Click Finish.
vCenter Server
- Select install and wait for Installer to appear.
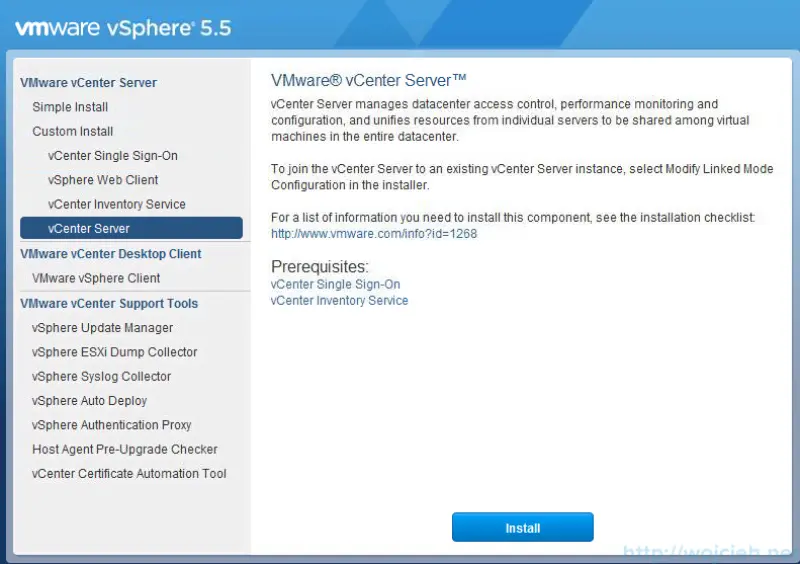
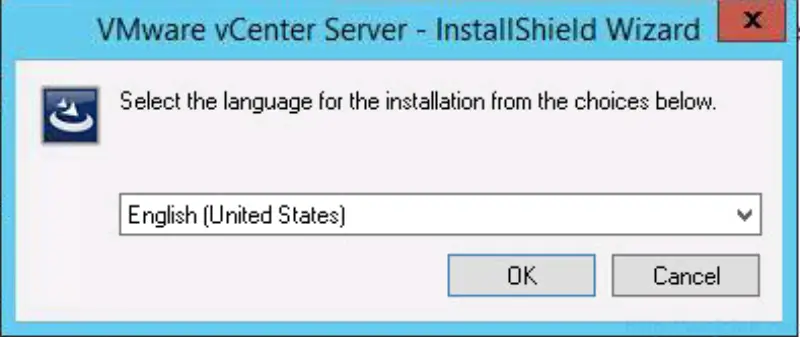
- Select language to install and click OK.
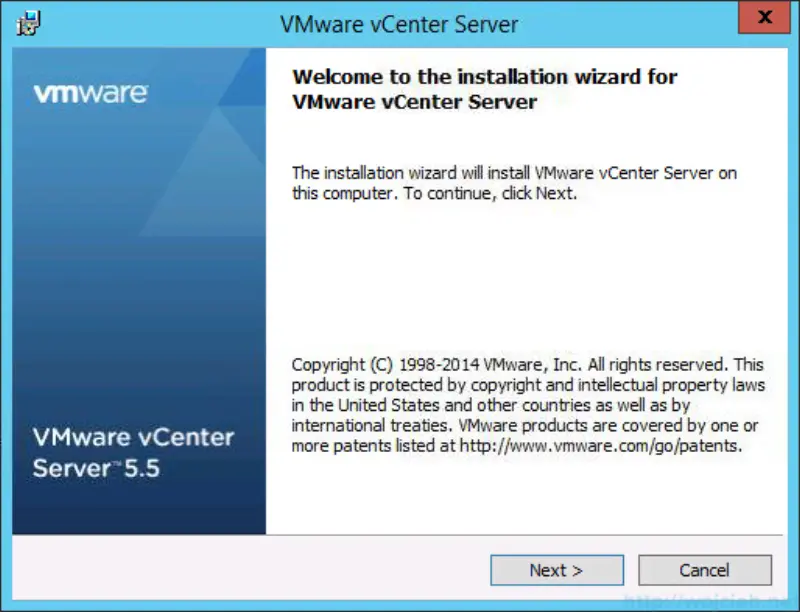
- Click Next and proceed to next screen.
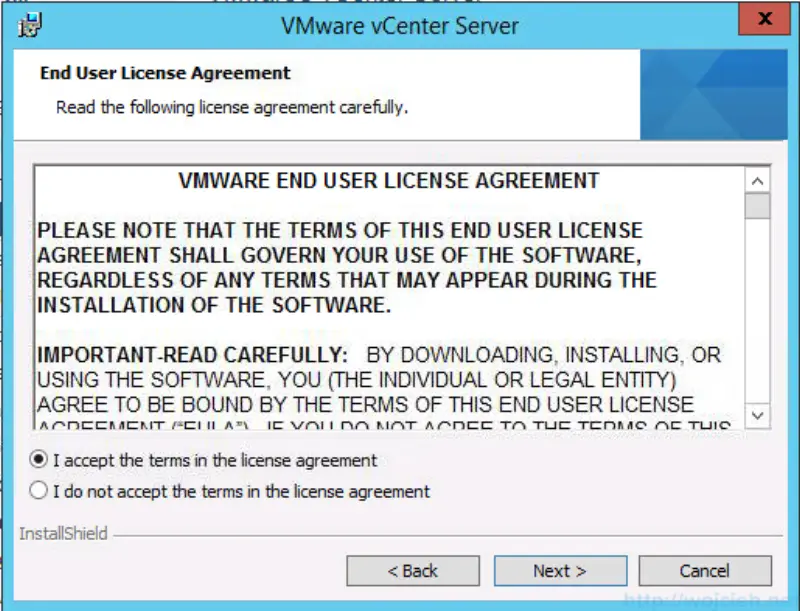
- Accept EULA and click Next.
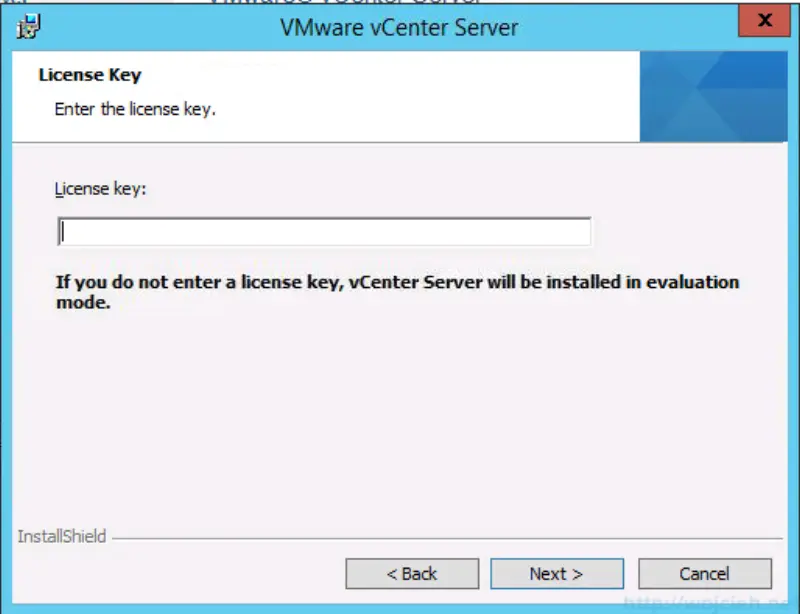
- Provide vCenter Server key or skip it to be installed in evaluation mode.
- Select vCenter Server Database which was installed earlier.
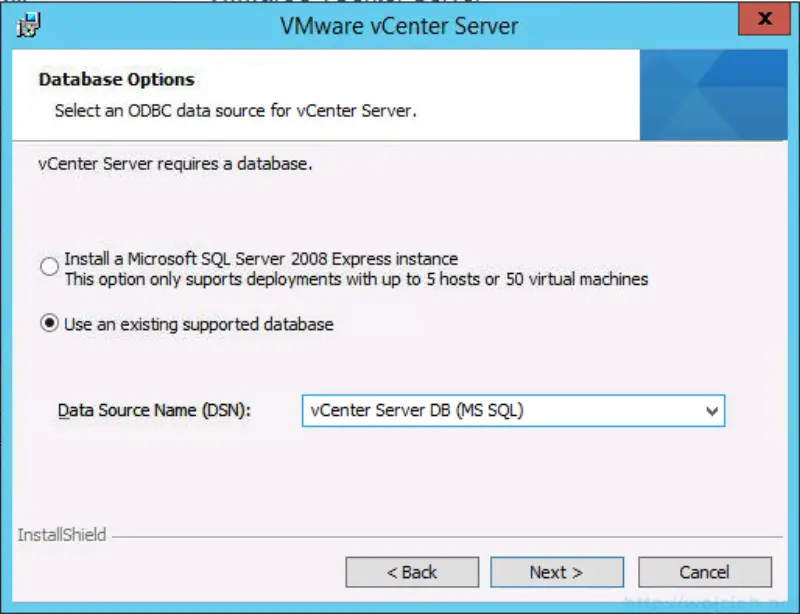
- Click Next.
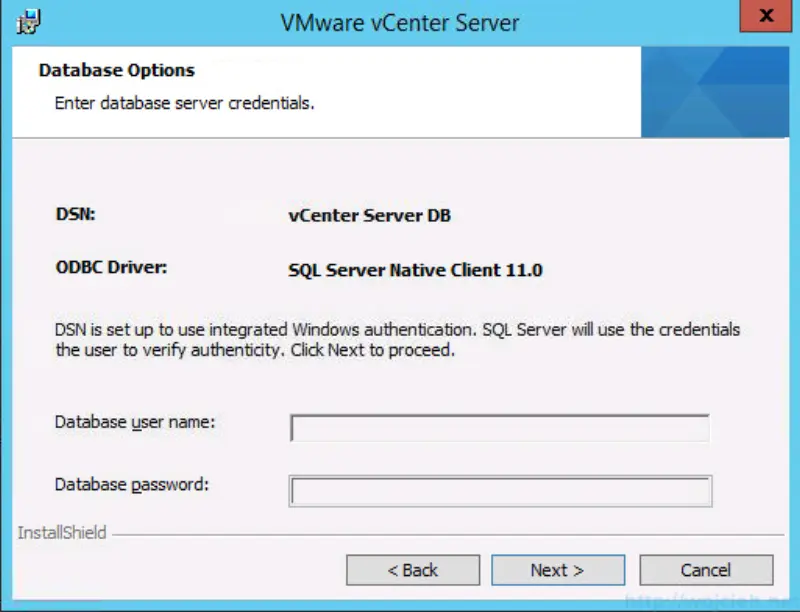
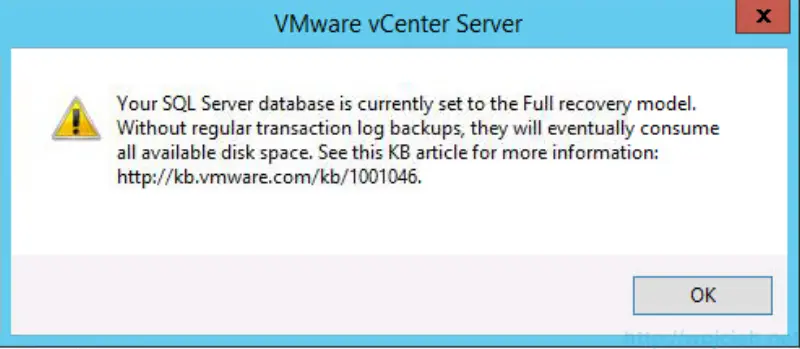
- We selected during Database creation to use Full recovery model and this is why we received this warning screen.
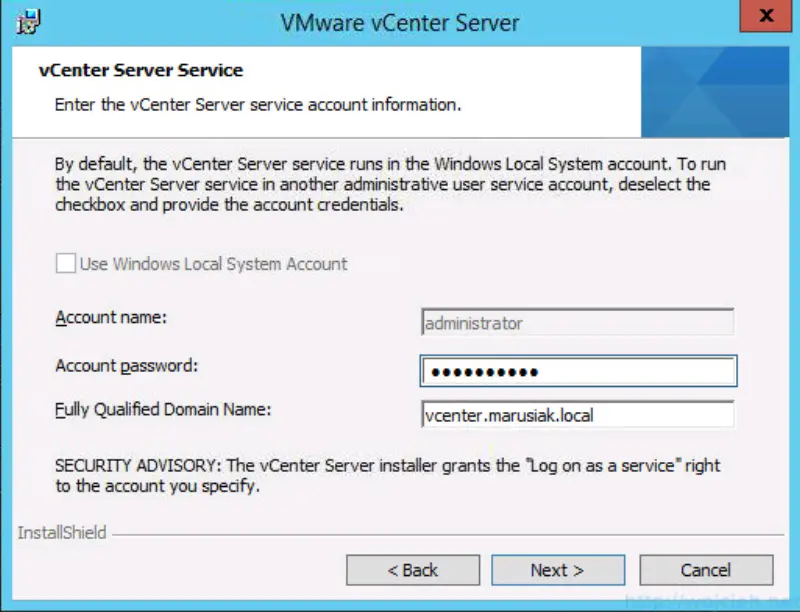
- Provide local administrator credentials and click next.
- If you want to install vCenter Server in linked mode select it here. Otherwise, select Create a standalone VMware vCenter Server instance.
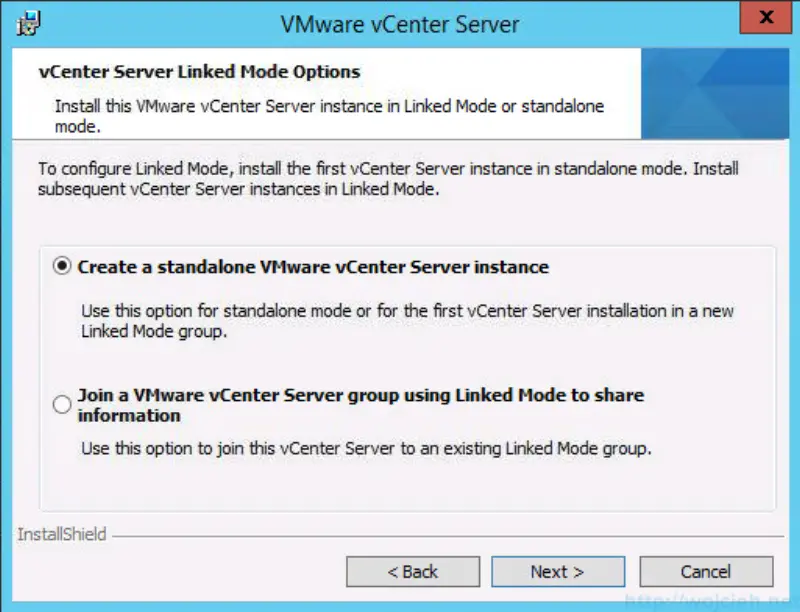
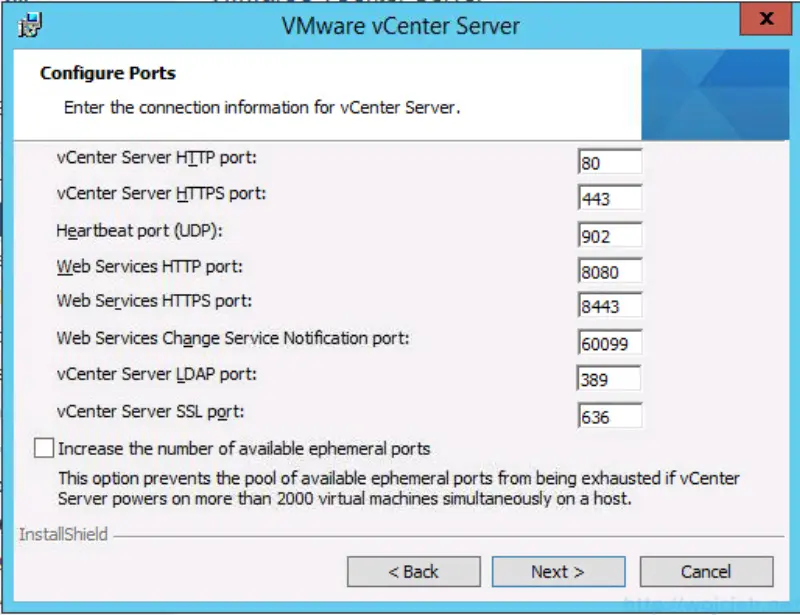
- Change ports configuration if needed.
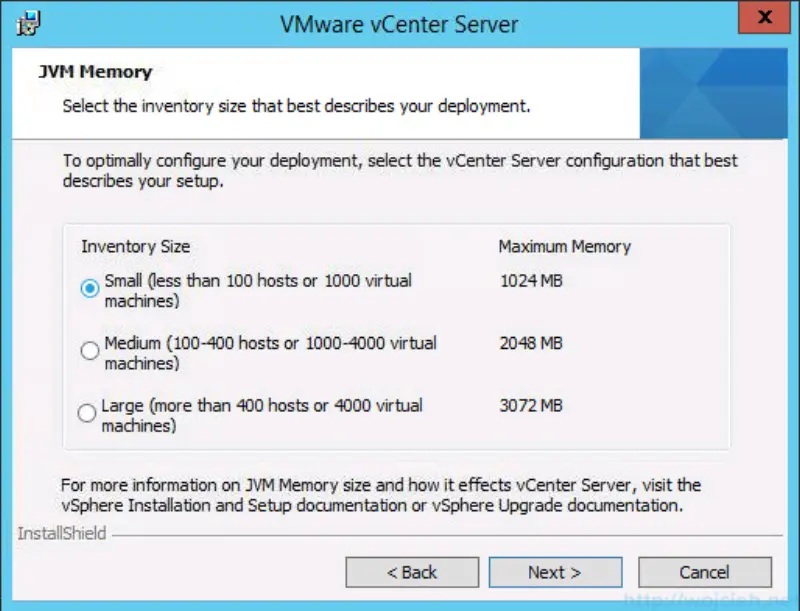
- Select right size of your environment to correctly setup Java JVM for vCenter Server.
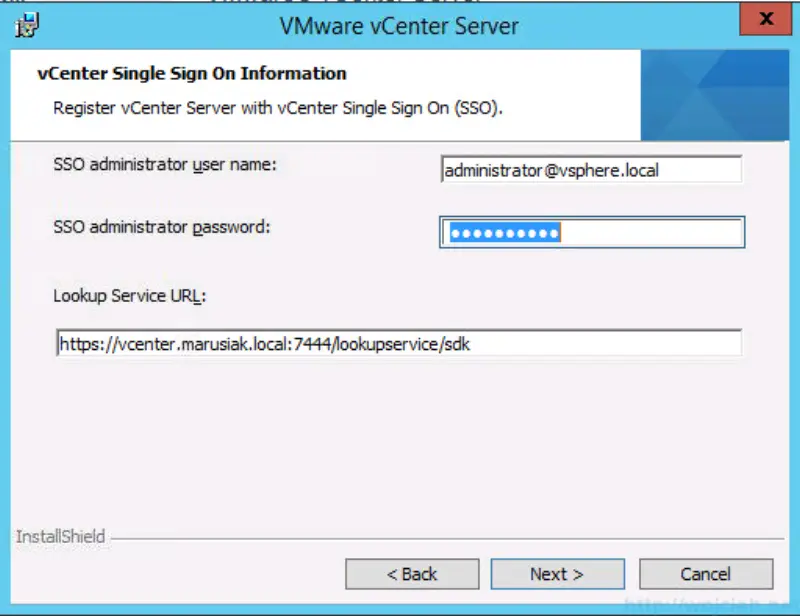
- Enter SSO credentials and click Next.
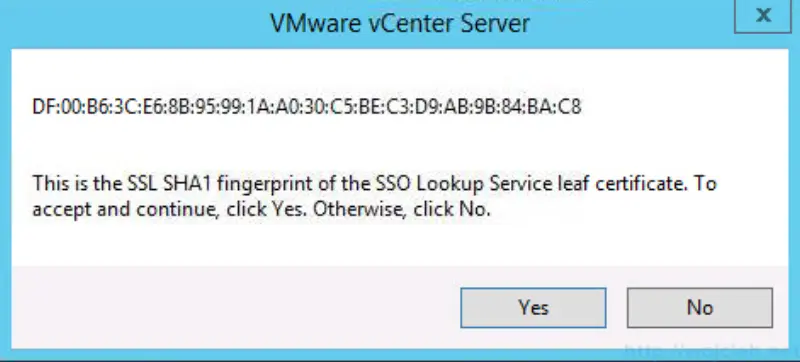
- Accept SSL SHA1 fingerprint and click Yes.
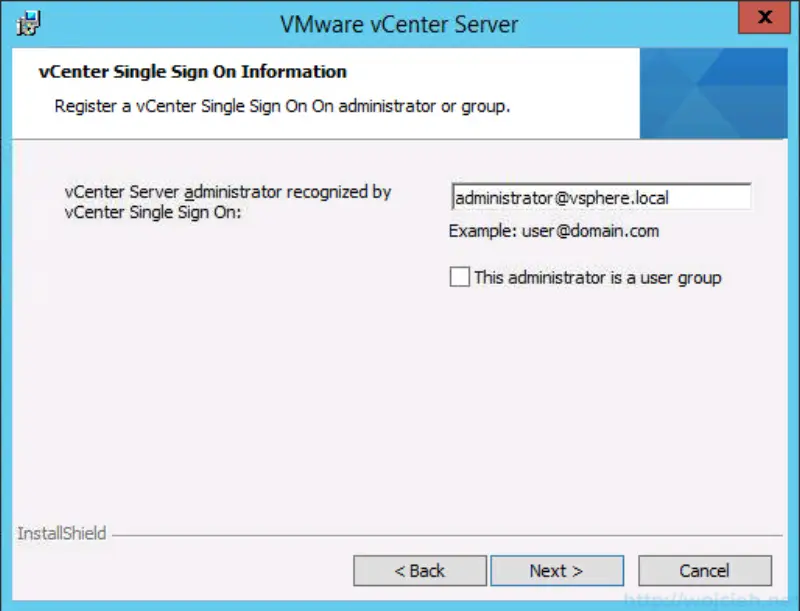
- Register vCenter Single Sign-On administrator.
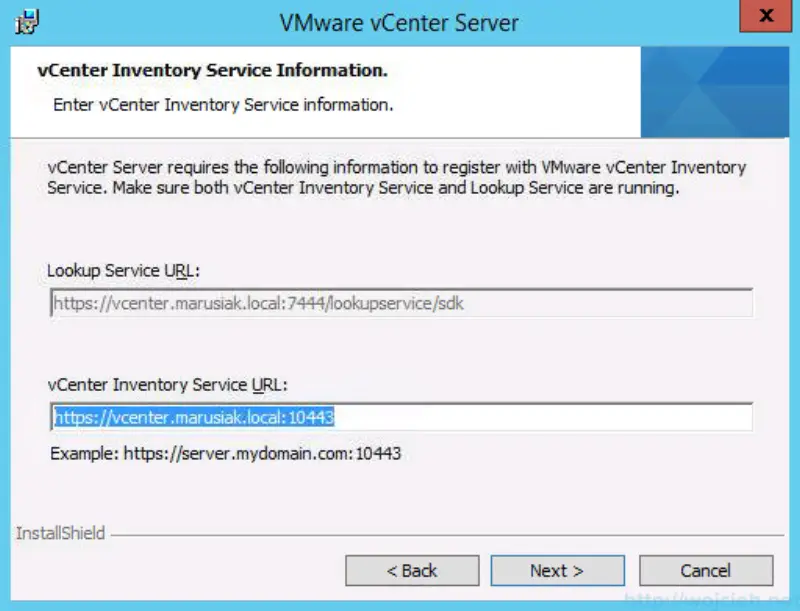
- Enter vCenter Inventory Service URL (if changed before) and click Next.
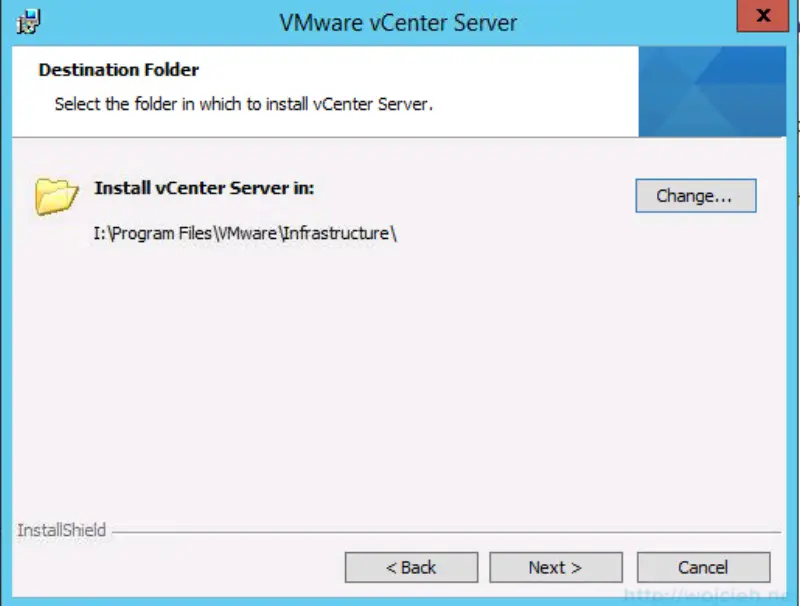
- Change the location of vCenter Server binaries to a different drive than Operating System.
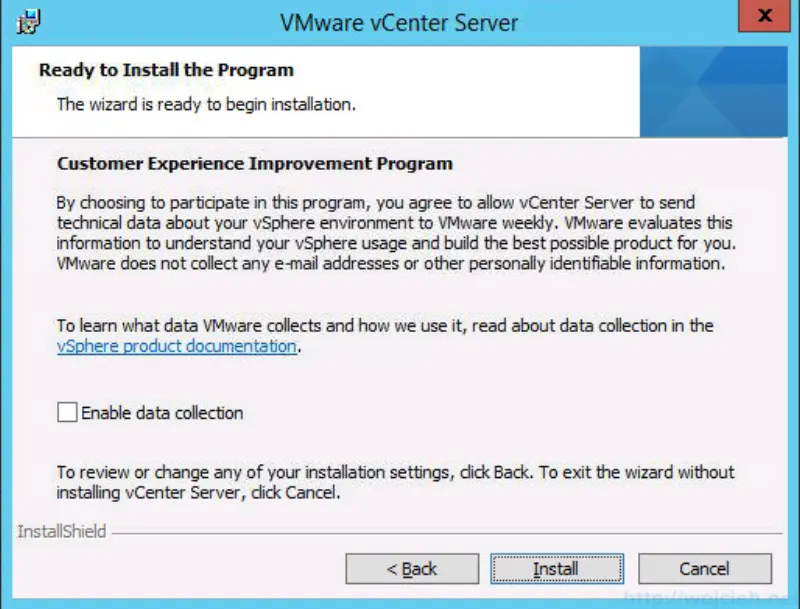
- Accept or not participation in CEIP and click Next.
- After successful installation, I changed all VMware services to use ap-vcenter credentials.
- If you plan to use application user as I did, don’t forget to add your application user to local administrator group or grant this user administrator rights on vCenter Server.
- Open vSphere Web Client or vSphere Client and connect to vCenter Server we just installed.
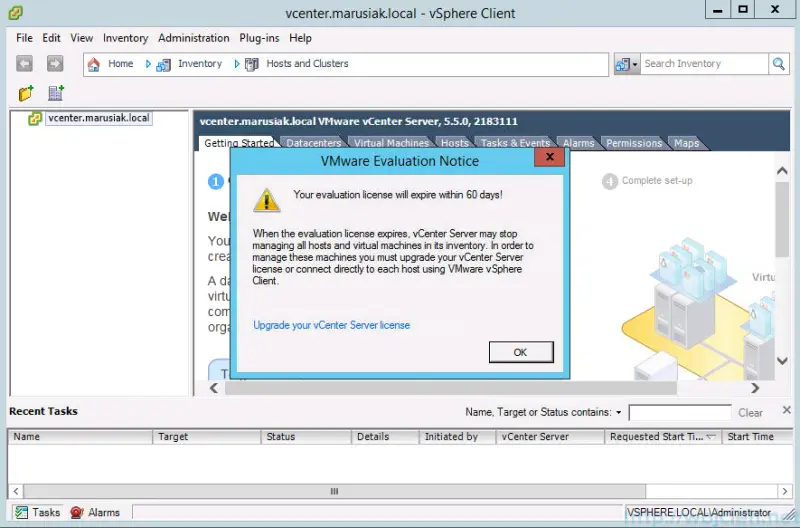
This concludes the installation of vCenter Server 5.5 with Microsoft SQL Server 2014 on Windows Server 2012 R2.