Today VMware finally released vSphere 6.0 with all components. As VMware fan I couldn’t wait until I will finally have my hands on newest version.
With Today post I will start series of post covering various components of VMware vSphere stack.
Nested ESXi 6.0 Virtual Machine creation
Process of creating Virtual Machine is quite simple and straight forward.
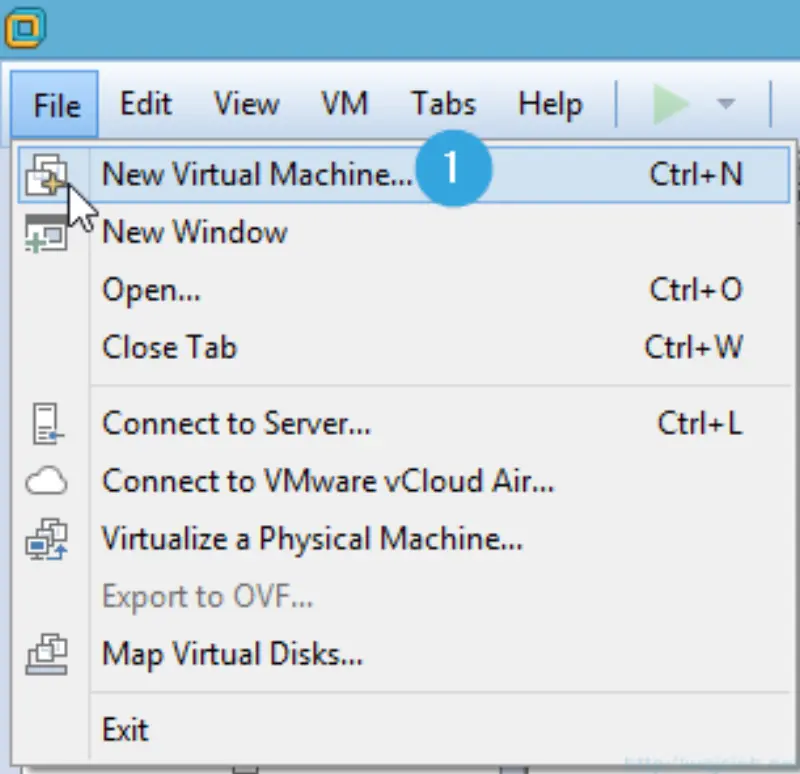
- Start VMware Workstation and click File \ New Virtual Machine.
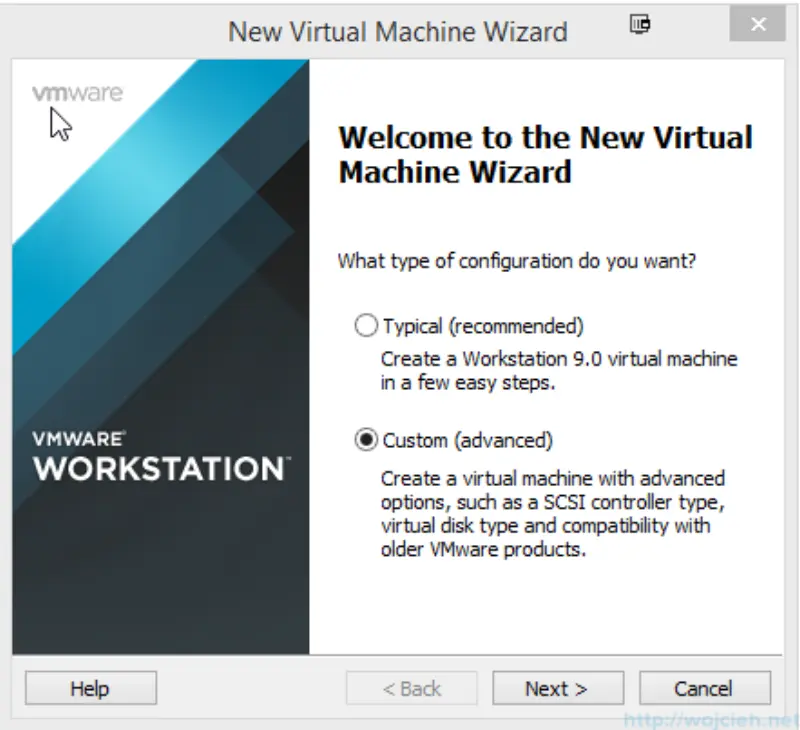
- Select Custom (advanced) and click Next.
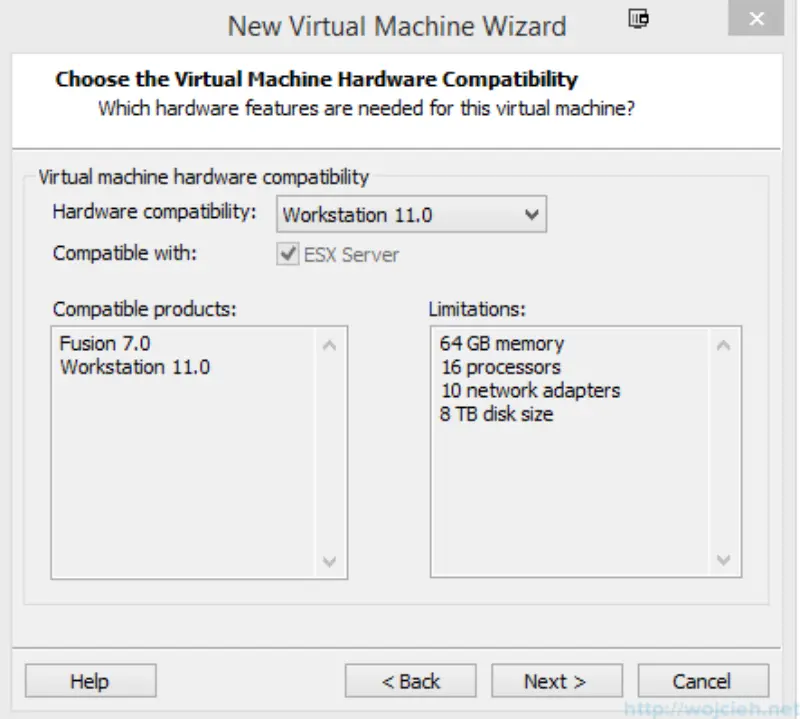
- Select desired hardware compatibility version. I selected Workstation 11.0.
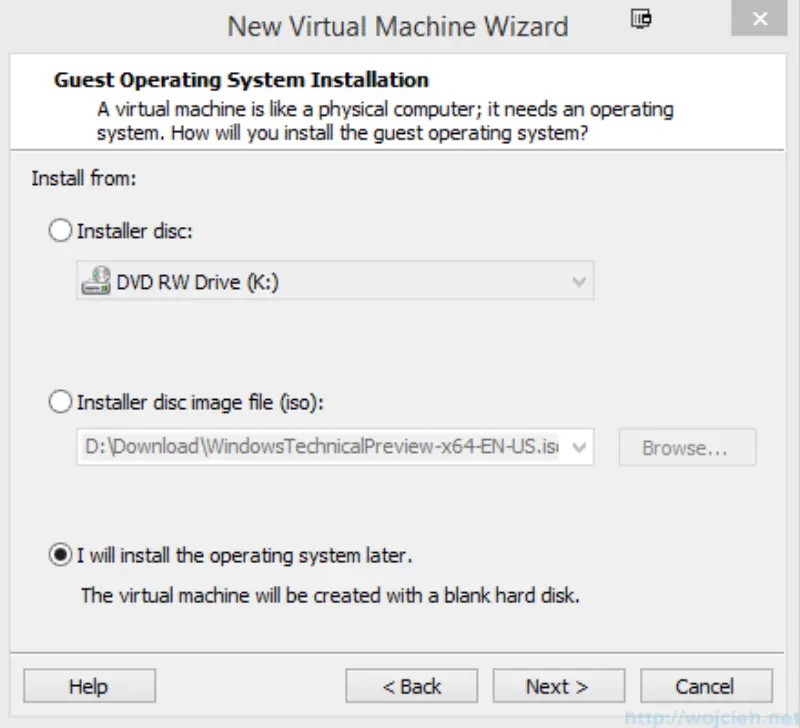
- Select I will install the operating system later.
 ]
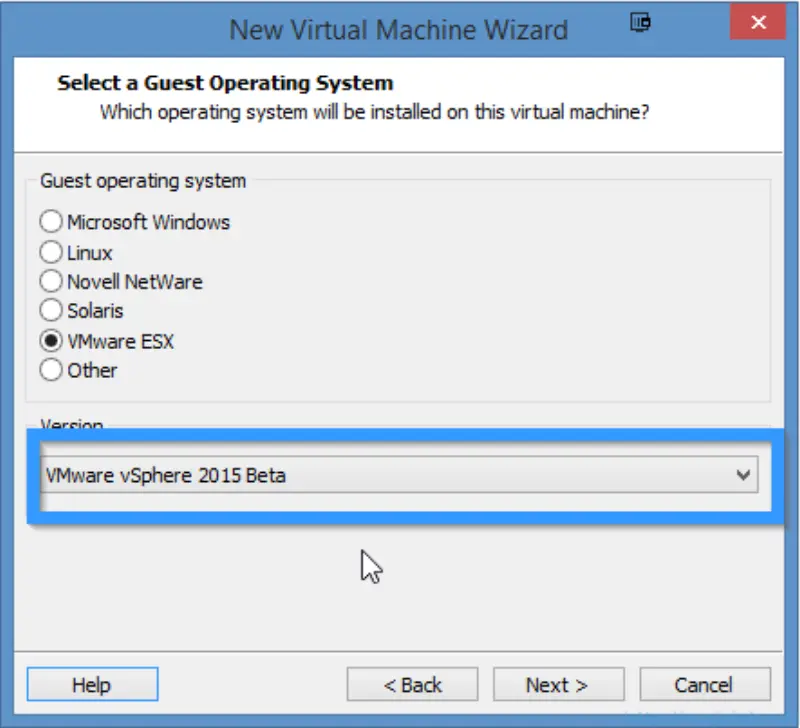
] - Select VMware vSphere 2015 Beta - I know funny name 😉
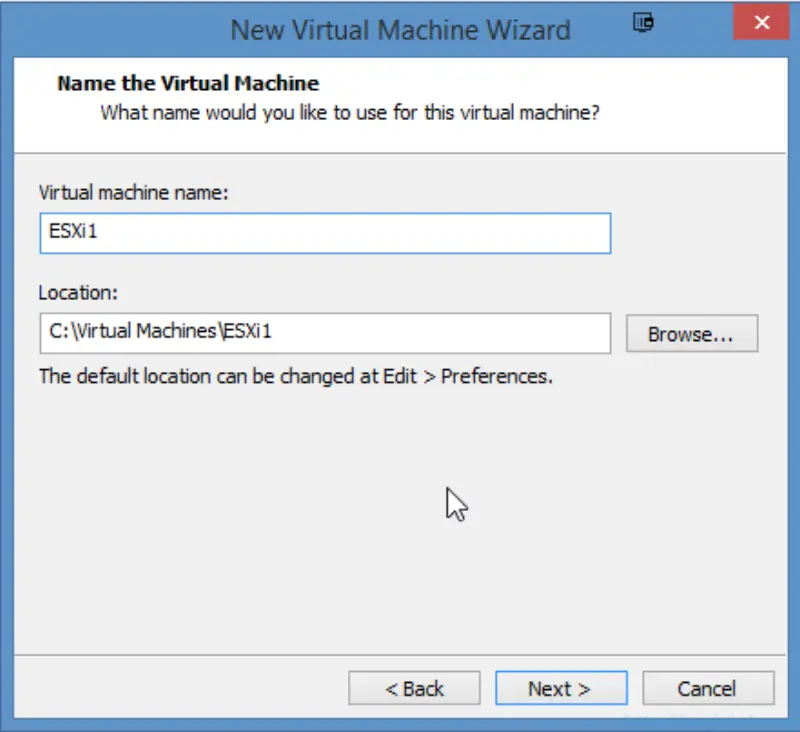
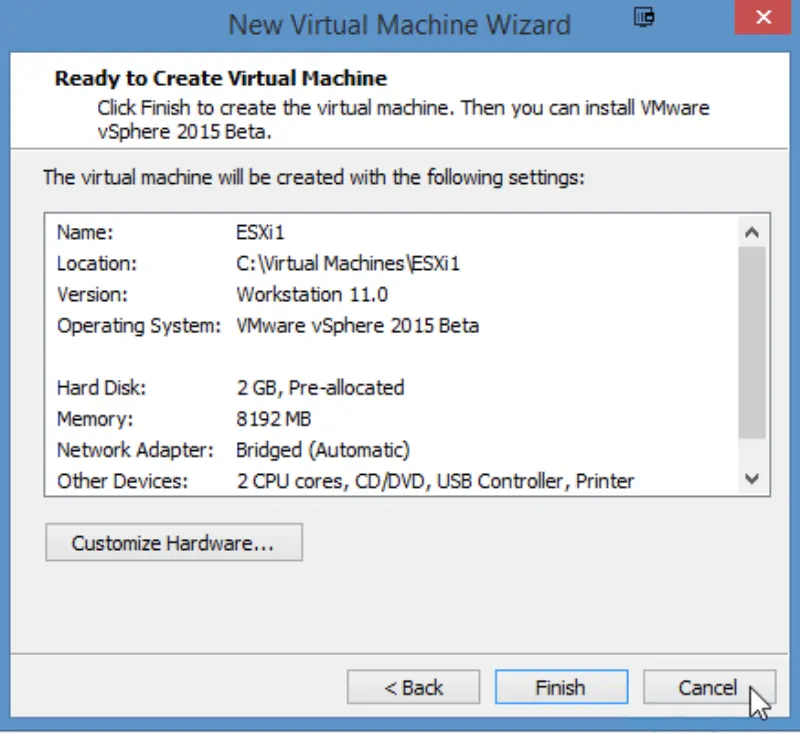
- Give Virtual Machine name and select desired location.
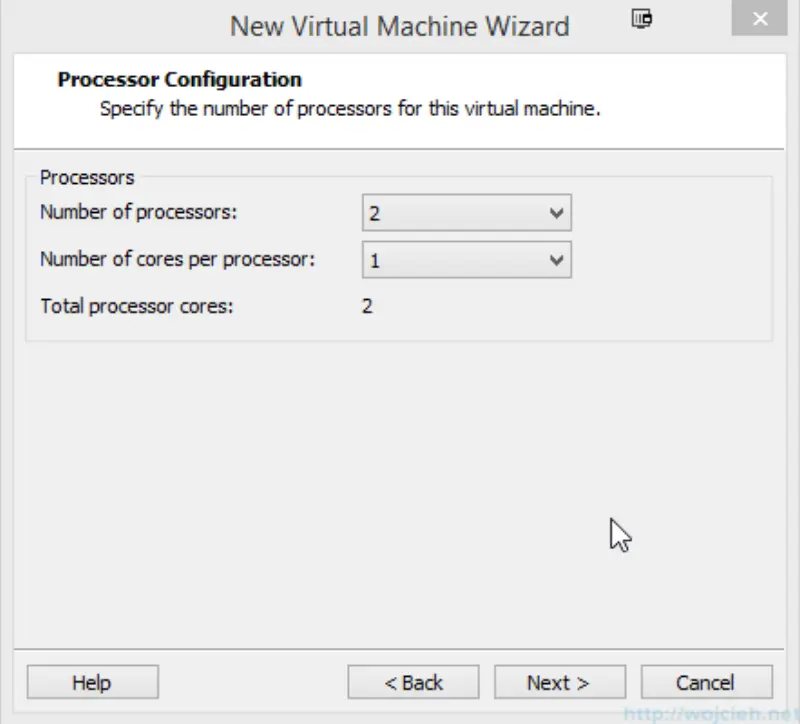
- Select 2 processors and click Next.
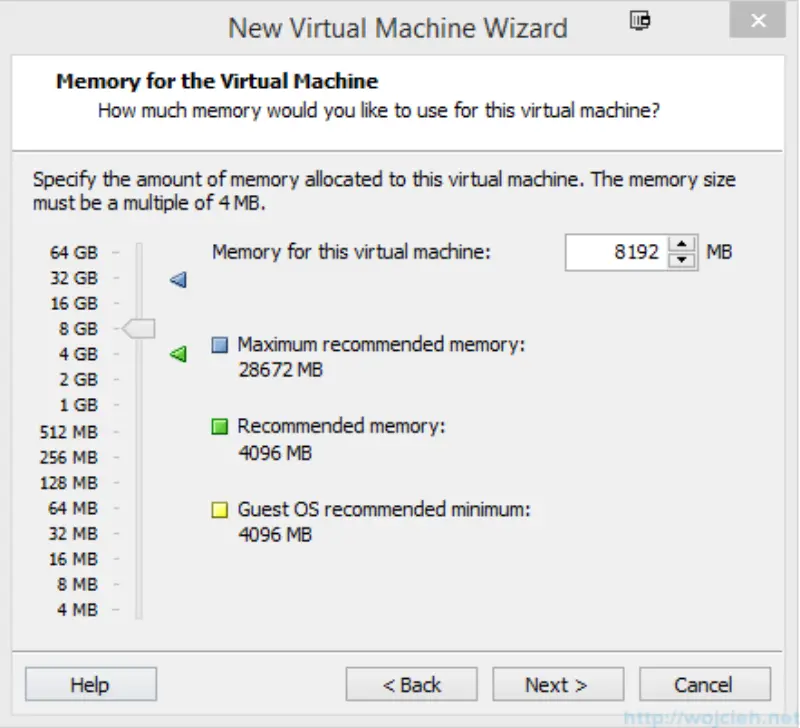
- Choose proper amount of memory. I went with 8GB.
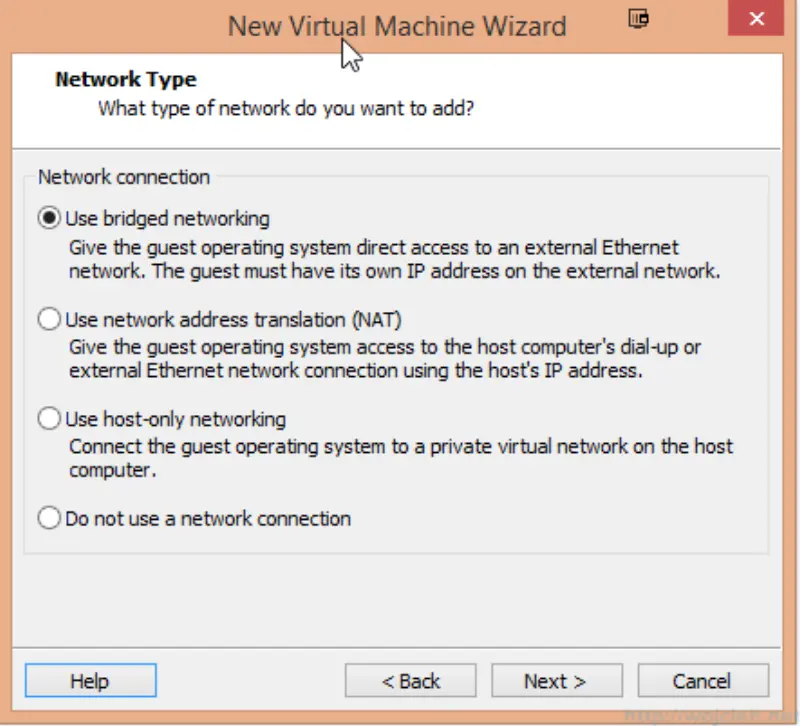
- Select desired network connection. I selected Use bridged networking just for the installation purposes.
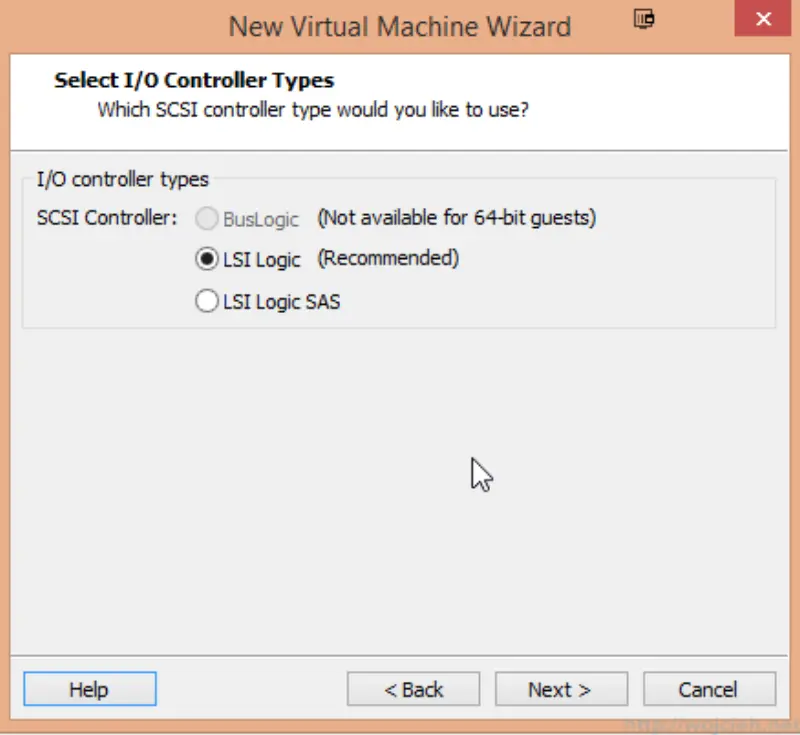
- Proceed with default I/O controller type.
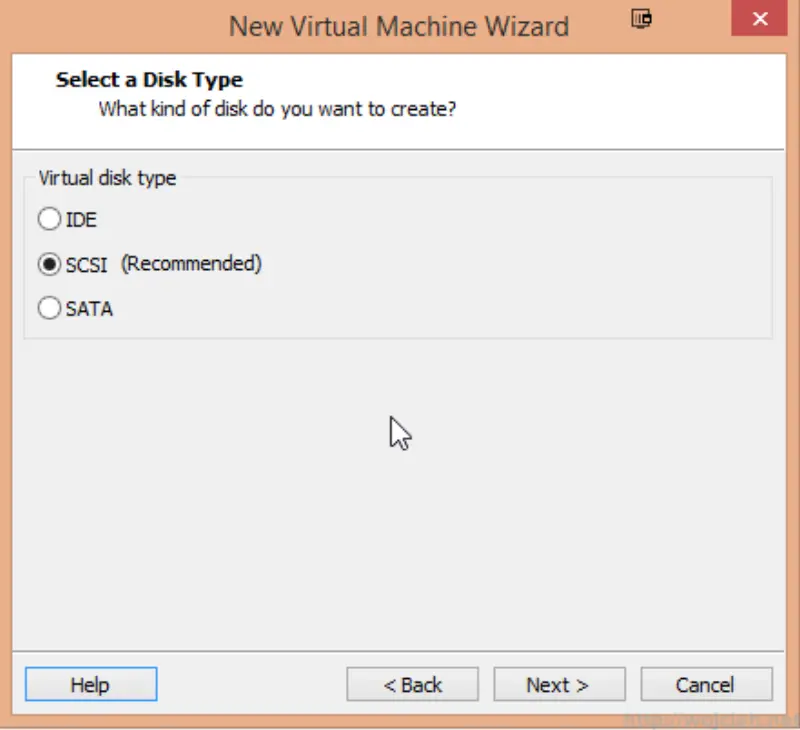
- Select SCSI disk type.
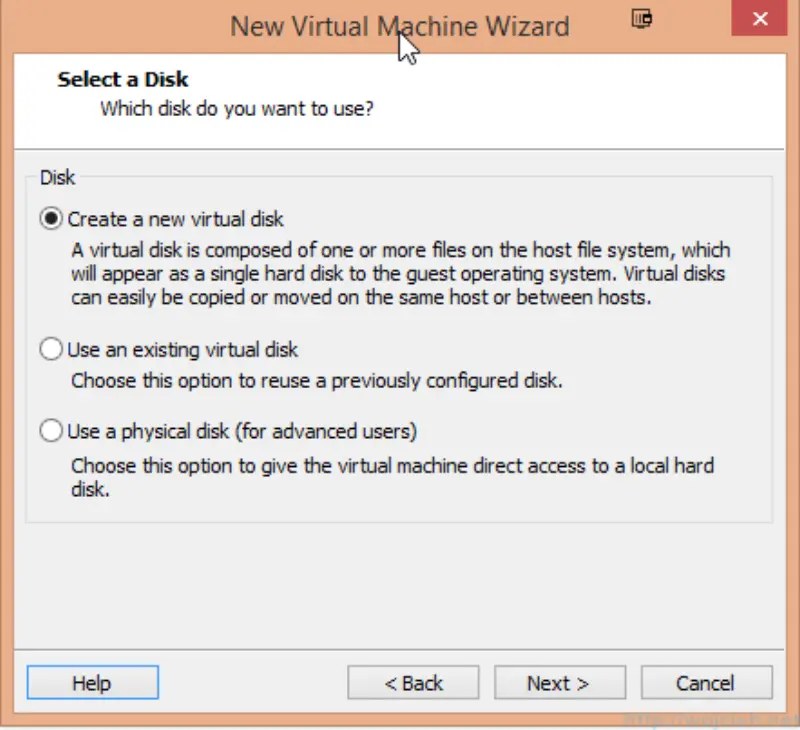
- Choose Create a new virtual disk.
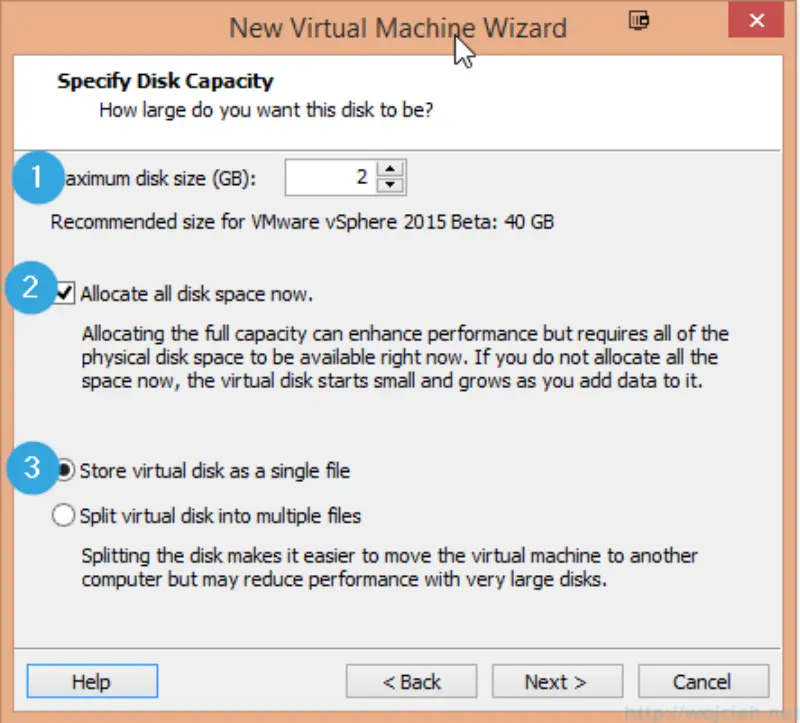
- I selected 2GB as disk size, because adding more is wasting of space for simple ESXi.
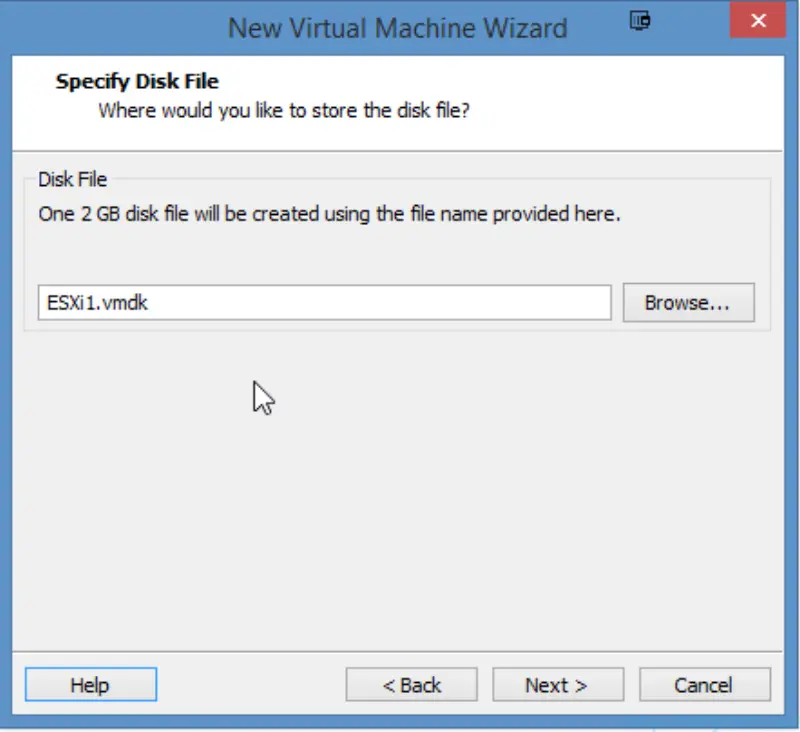
- If you want you can change name and location of disk.
- On the Ready to Create Virtual Machine click Finish.
VMware ESXi 6.0 installation
After Virtual Machine creation we need to mount ESXi 6.0 ISO and we can start installation.
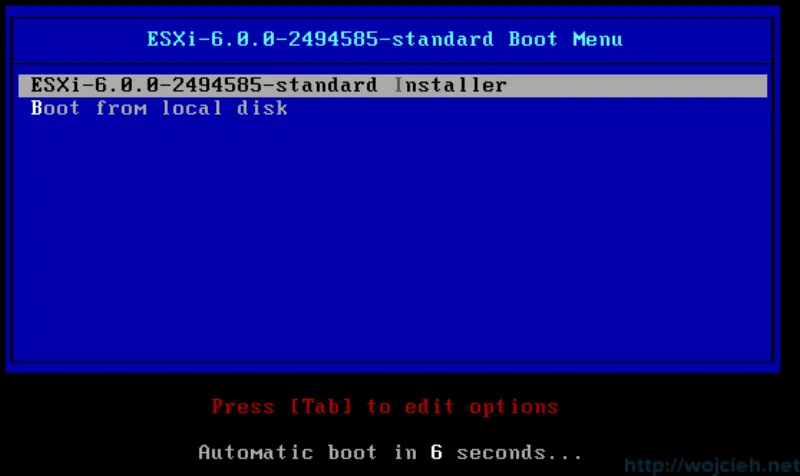
- After booting you will be welcome by standard VMware ESXi boot menu.
- Wait for complete installer boot.

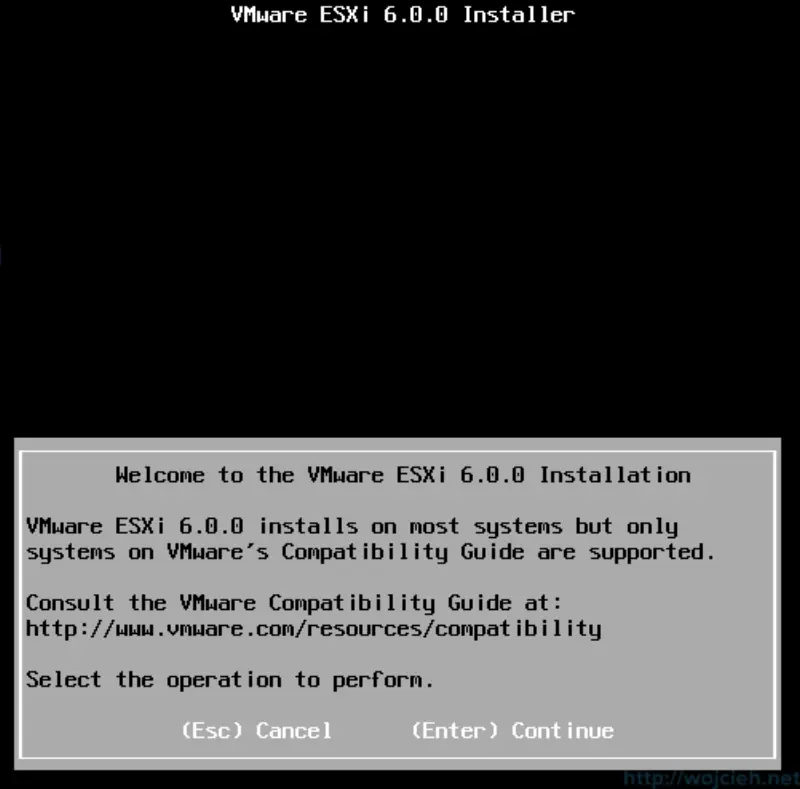
- Installer is successful booted so we can start with our installation. Click Enter to continue.
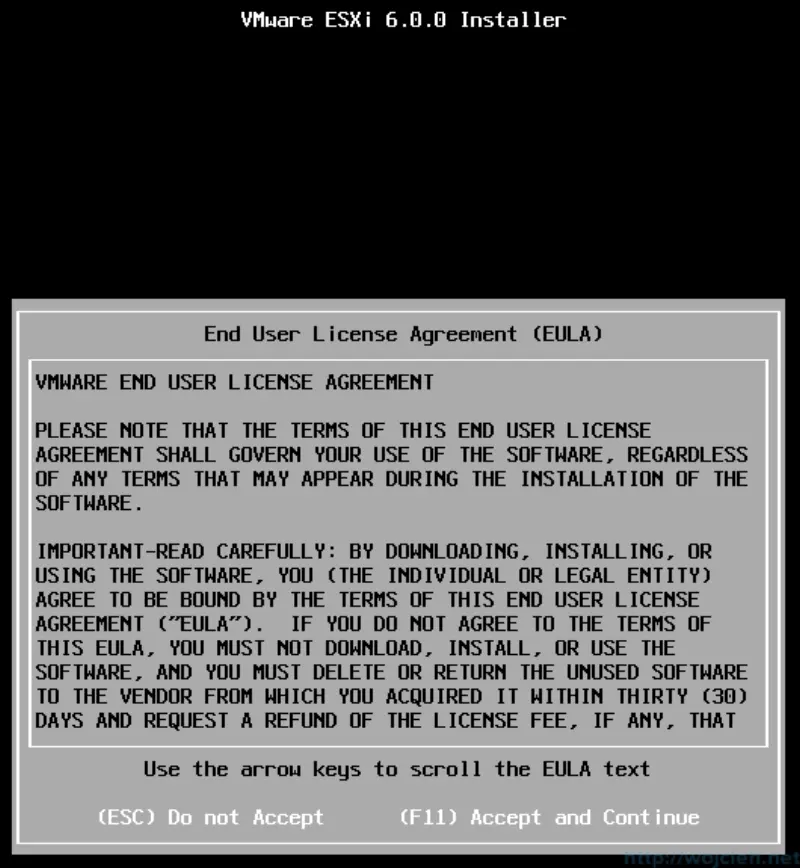
- Accept VMware EULA and click F11.
- Our 2GB disk is detected so click Enter to continue.
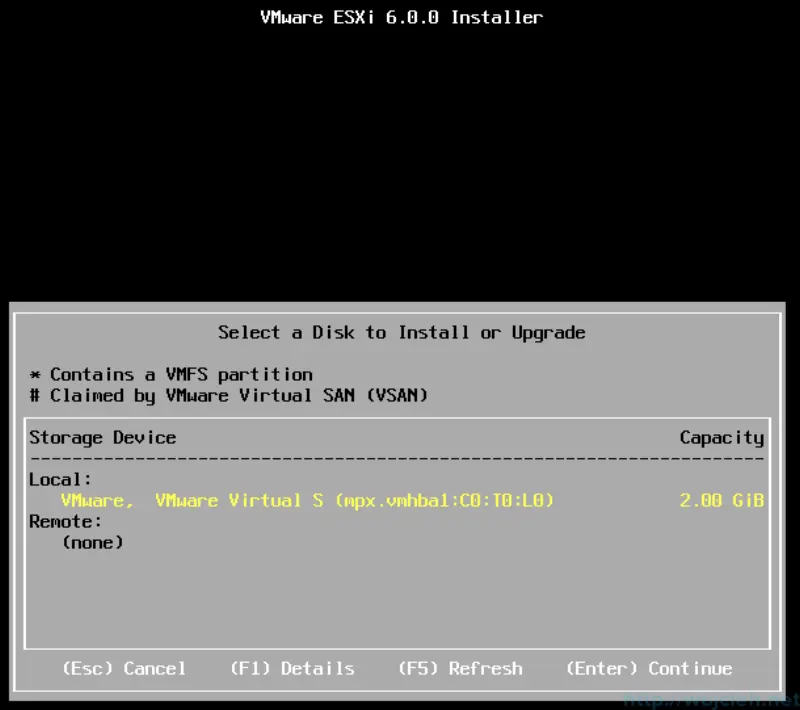
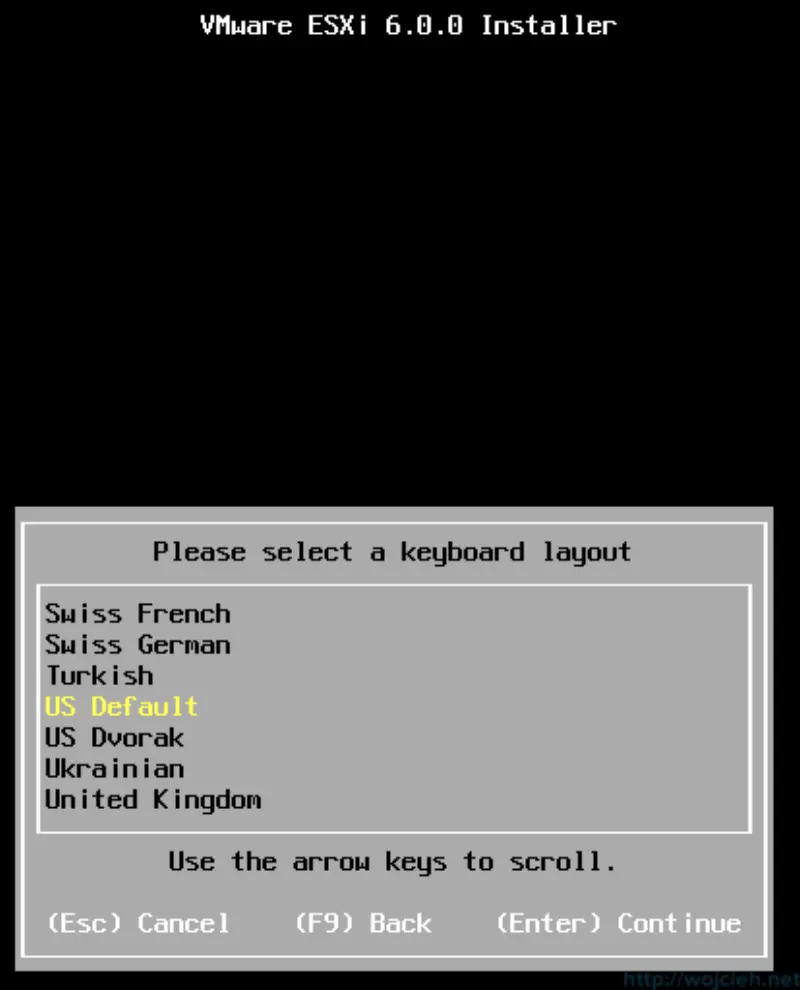
- Select desired keyboard layout.
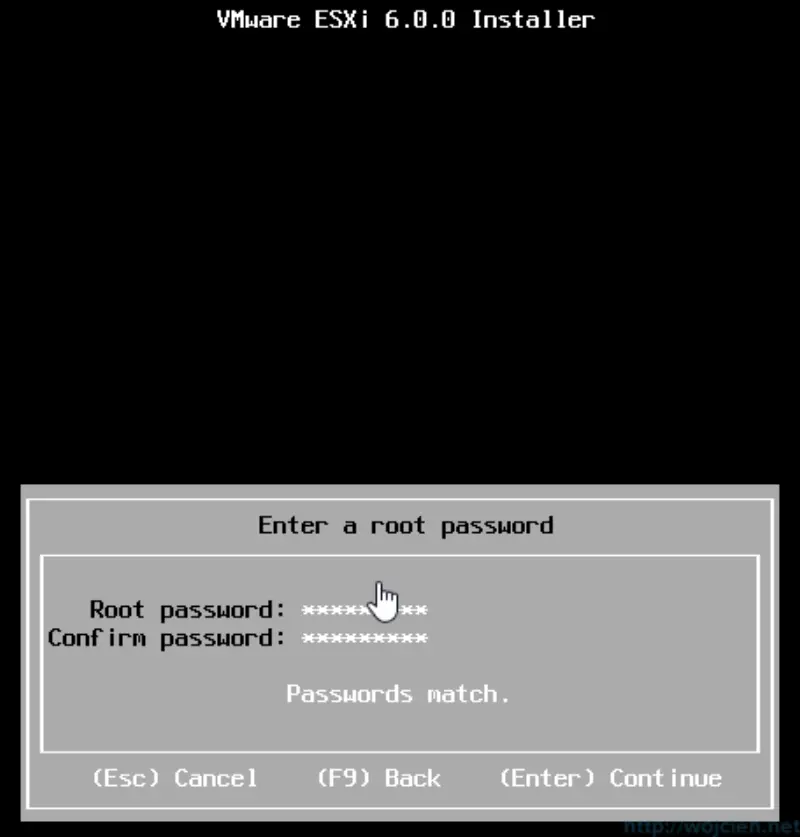
- Provide Root password and click Enter to continue.
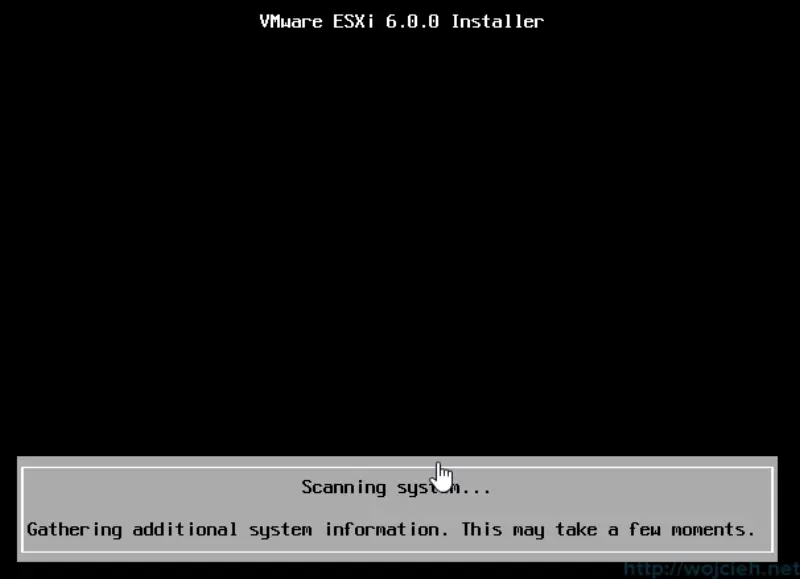
- Installator is gathering more information about system.
- Wait for scan and on last screen click F11 to install ESXi 6.0.
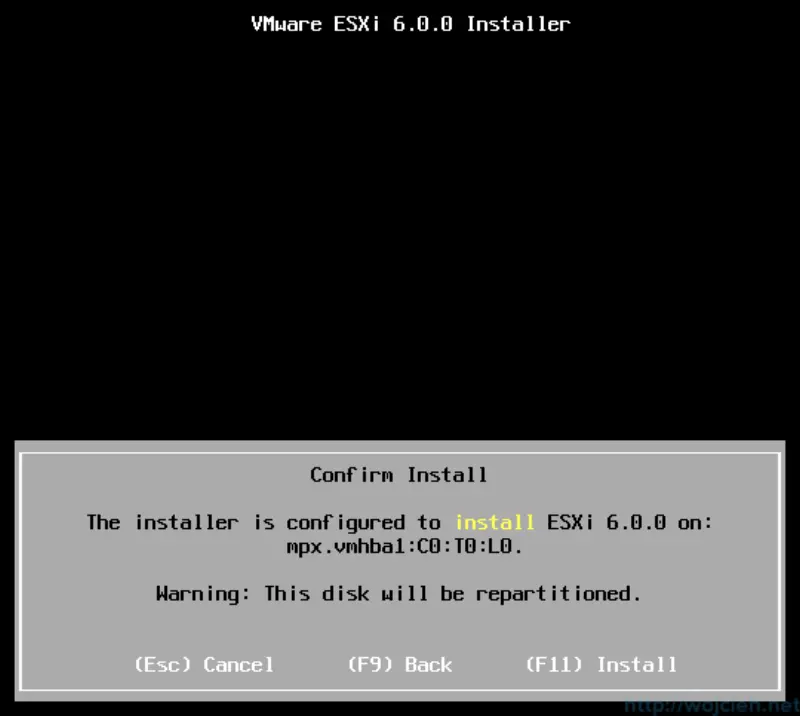
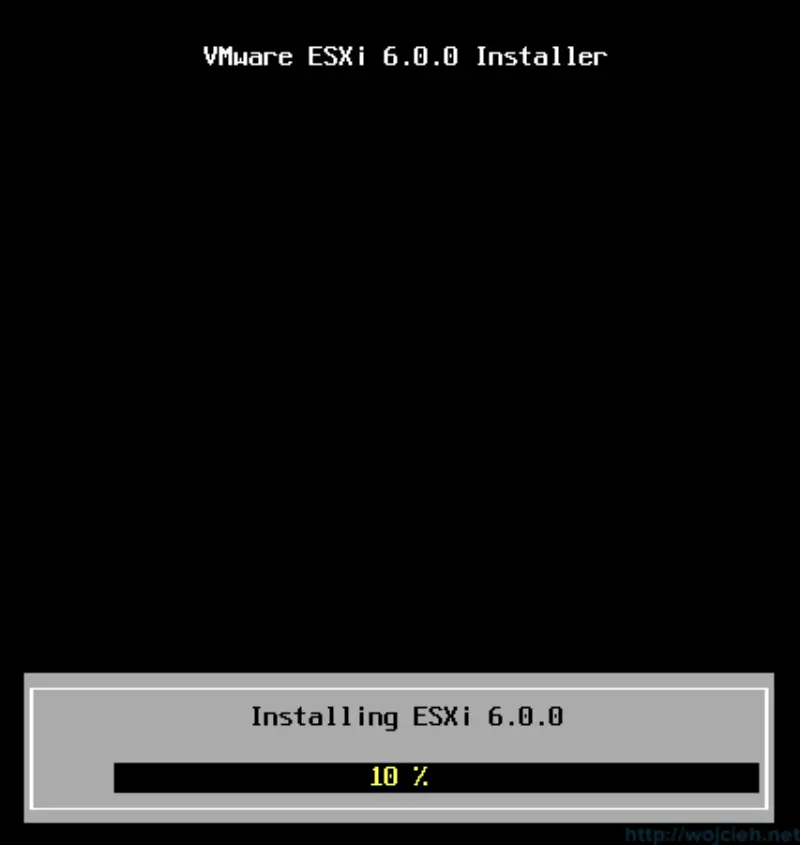
- Wait for installer to complete.
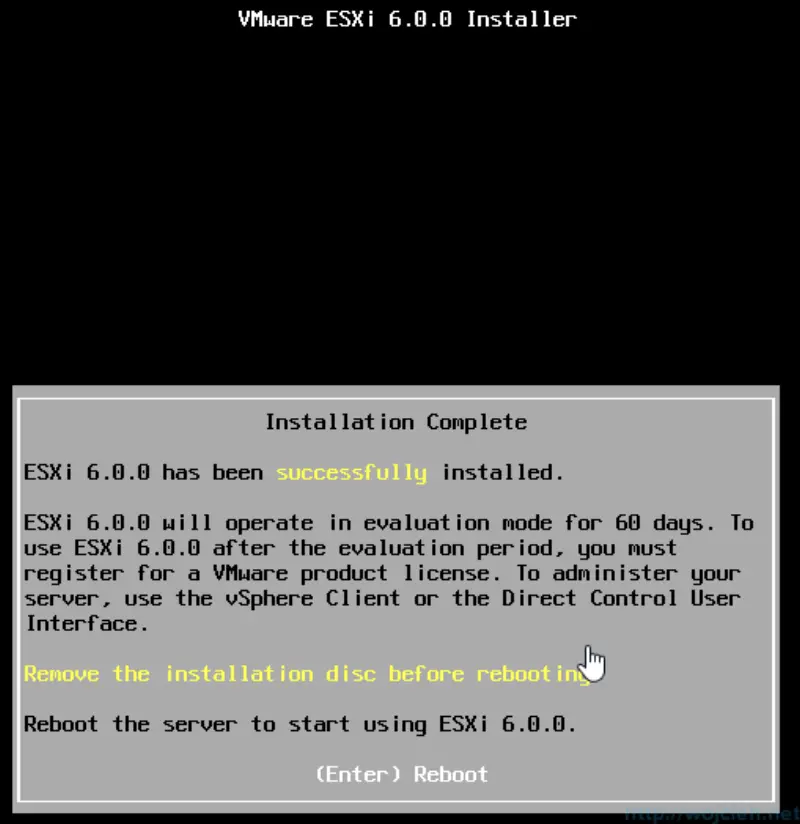
- After installation remove ISO and click Enter to reboot.
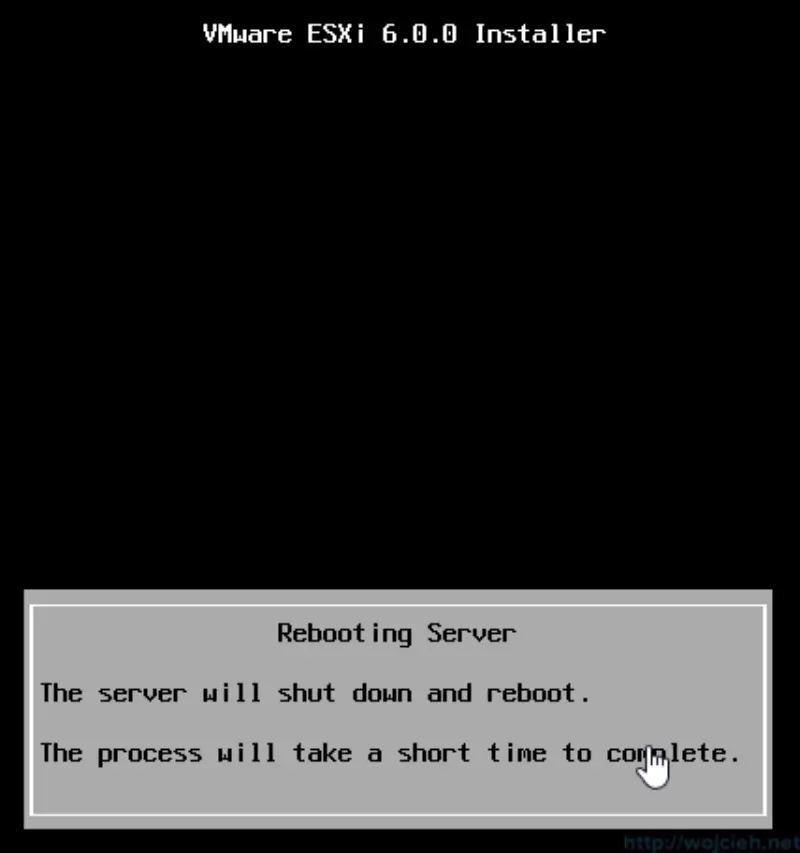
- Wait for the reboot.
- After a while fully installed ESXi 6.0 will be visible.
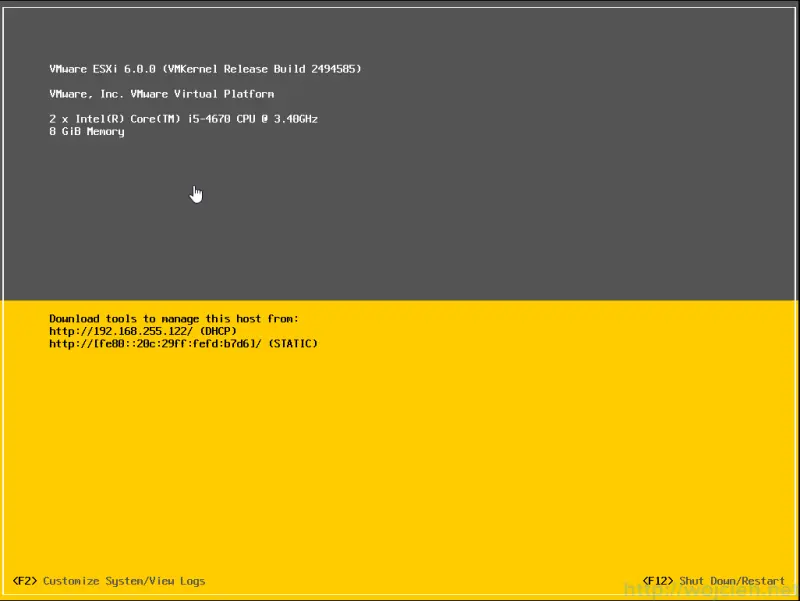
Login to VMware ESXi 6.0
ESXi 6.0 is installed and what we need to do is login. If you have vCenter Server ISO simply install client from it, if not download vSphere Client from VMware website.
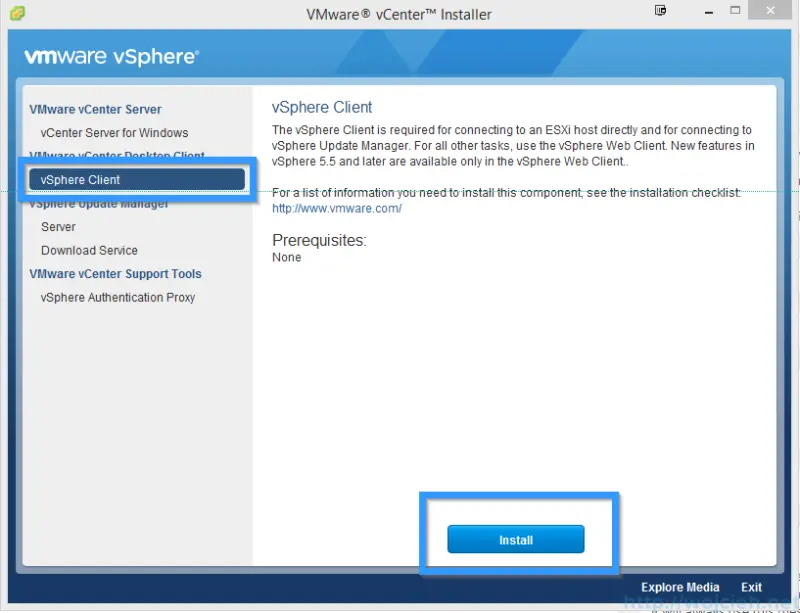
I will not describe vSphere Client installation process, because it is simple Windows installer.
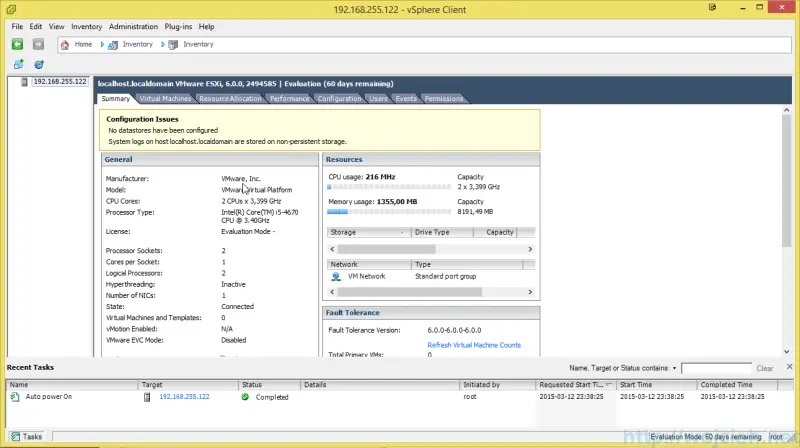
VMware vSphere 6.0 (fat client) didn’t change at all in comparison to earlier versions.
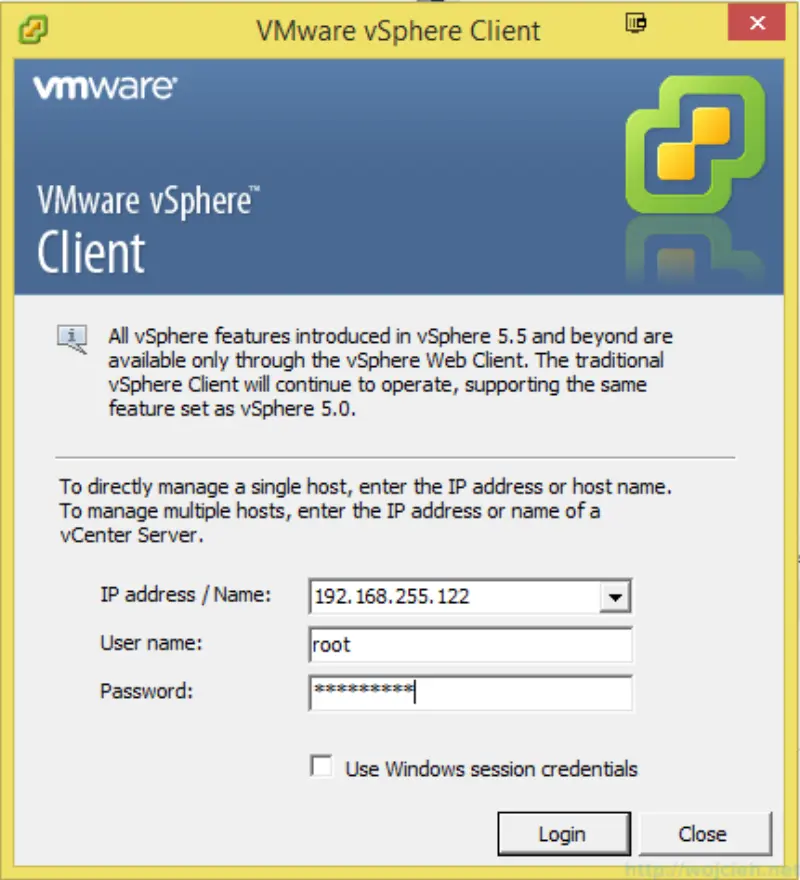
Provide root password click Login and voilà! We successfully installed ESXi as Virtual Machine in VMware Workstation 11.
