
In todays post we will focus on the procedure of installing Google Cloud Migration Center Discovery Client Installation on Windows Server. In my case I will use Windows Server 2022 but any modern Windows based operating system will be sufficient. We will use connected mode where we will gather all data from on-premises systems and upload it to Migration Center.
Prerequisites
Here are some prerequisites which we need to fulfil before we start the procedure. For best performance physical or virtual machine where we will install discovery client needs to have 2 vCPU, 12 GB of RAM and 30 GB of free disk space. With that specs we will be able to scan up to 10000 Servers.
Installation requirements
- Operating System: We need Windows Server 2016 or later or Windows 10 or later with 2 vCPU, 12 GB of RAM and 30 GB of free disk space with Administrative rights.
- Software - we need Google Chrome or Microsoft Edge with -2 latest revisions.
- Firewall and Network Settings: We need to ensure that the necessary firewall rules allow traffic to and from the Google Cloud services. We need to as well ensure that our “Discovery VM” has access to vCenter Server which we will scan against it. In case you are using Proxy we need to whitelist following URLs:
- Google Cloud:
- Make sure you have a Google Cloud project set up.
- Make sure that you have permissions to enable Google Compute Engine API and activate Migration Center.
- We need to enable Cloud Resource Manager API.
- Service Account with key downloaded. It needs to have following permissions roles/migrationcenter.discoveryClient. If you don’t know how to create a service account key follow this guide from Google Cloud documentation Create a service account key.
Target vCenter Requirements
- vCenter Server Credentials - in order to be able to scan vCenter Server we need credentials to access it.
- Statistics on vCenter Server vCenter Server itself collects statistics and there are four levels of statistics. Depending on how accurate data we want to gather we need to change statistics to level 3. If you don’t know how to change statistics level in vCenter simply follow this article Configure statistics collection intervals in the vSphere client.
- vCenter Server User User we will use to connect from Discovery Agent to vCenter needs to have read privileges on VMs running on vCenter Server. You can create custom role with minimal set of privileges.
Step 1: Google Cloud Project Creation and API enablement
- Navigate to Google Cloud Console URL - https://console.cloud.google.com.
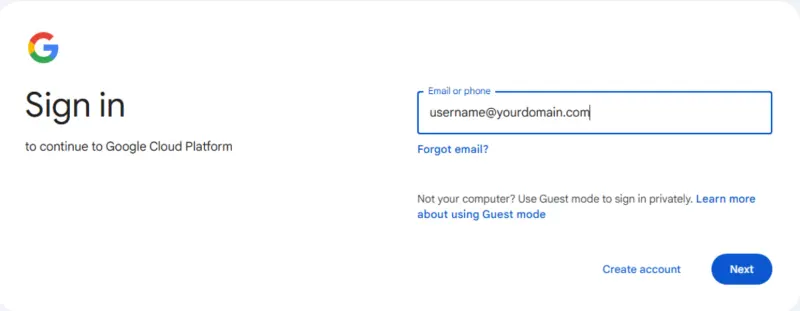
- After succesfully logging into Google Cloud console we will start with a new project creation.
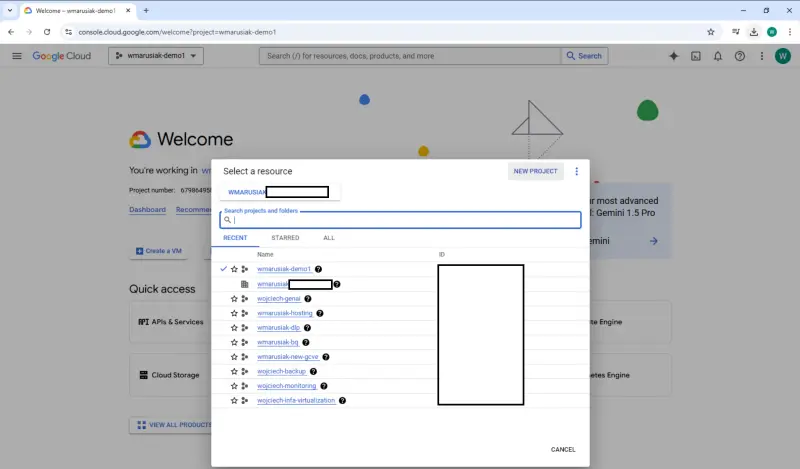 Click on the project name and choose NEW PROJECT.
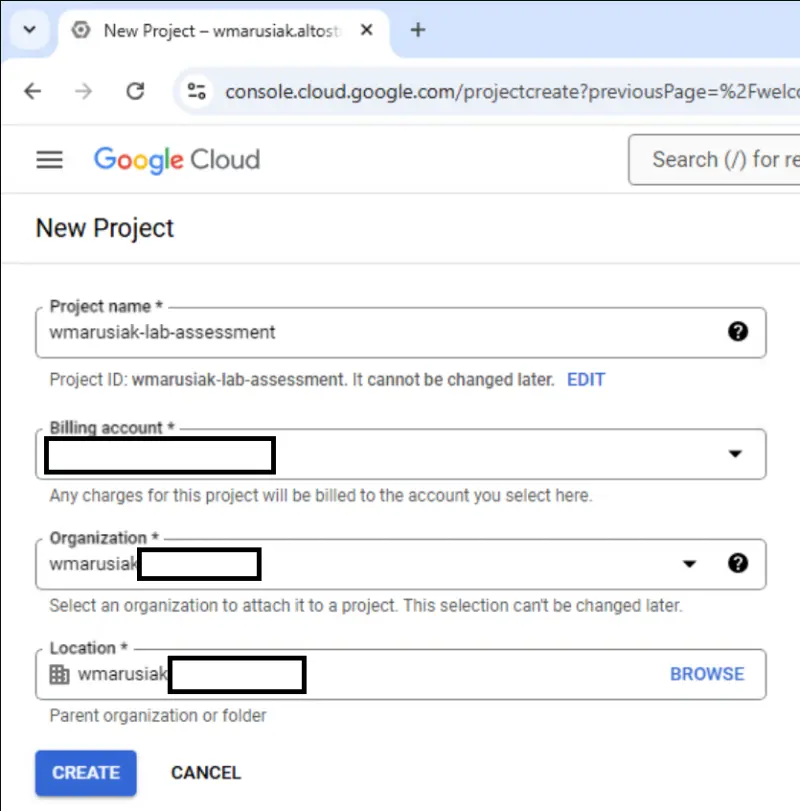
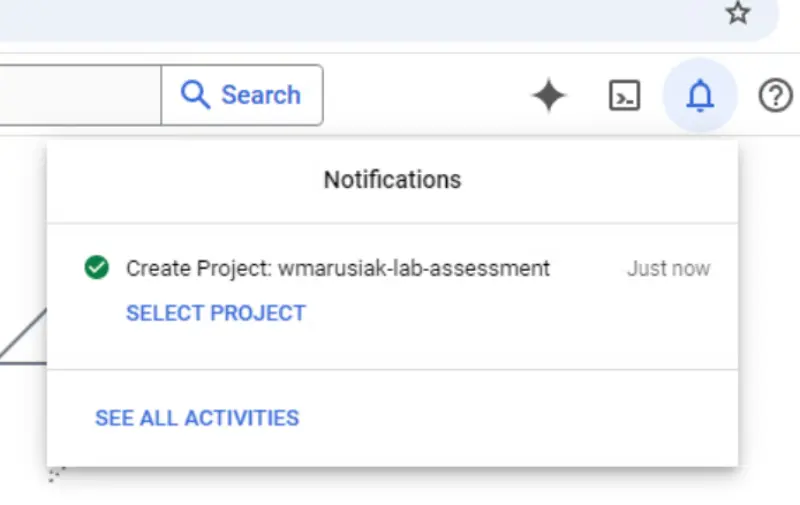
 - We need to provide unique project name, choose billing account, organization and project location. After few seconds new project will be created. We can access it directly from the notifications menu.
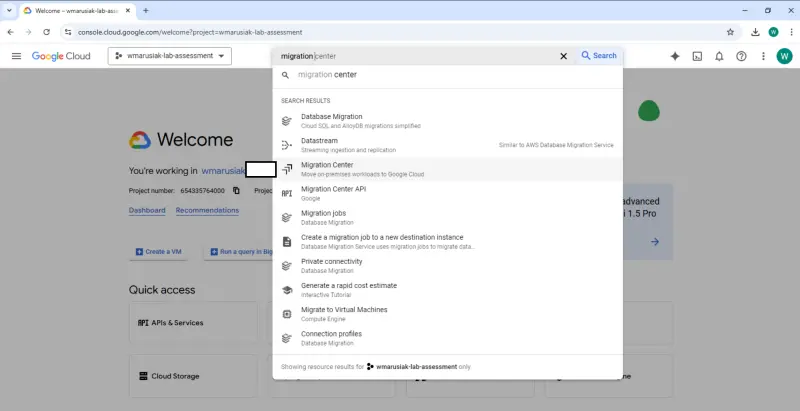
- In top search menu we can start typing migration center and select it.
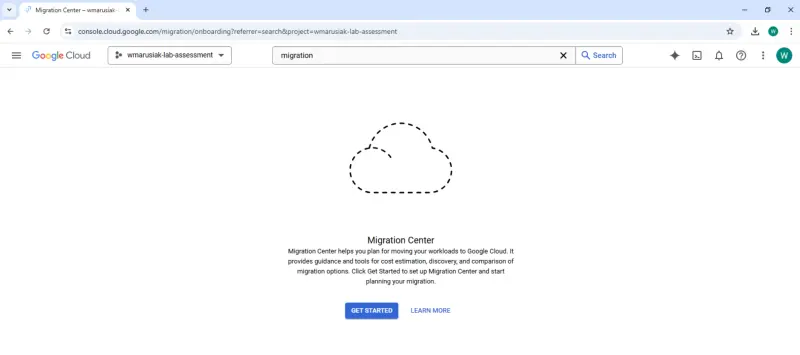
- On this first simple page we click Get Started.
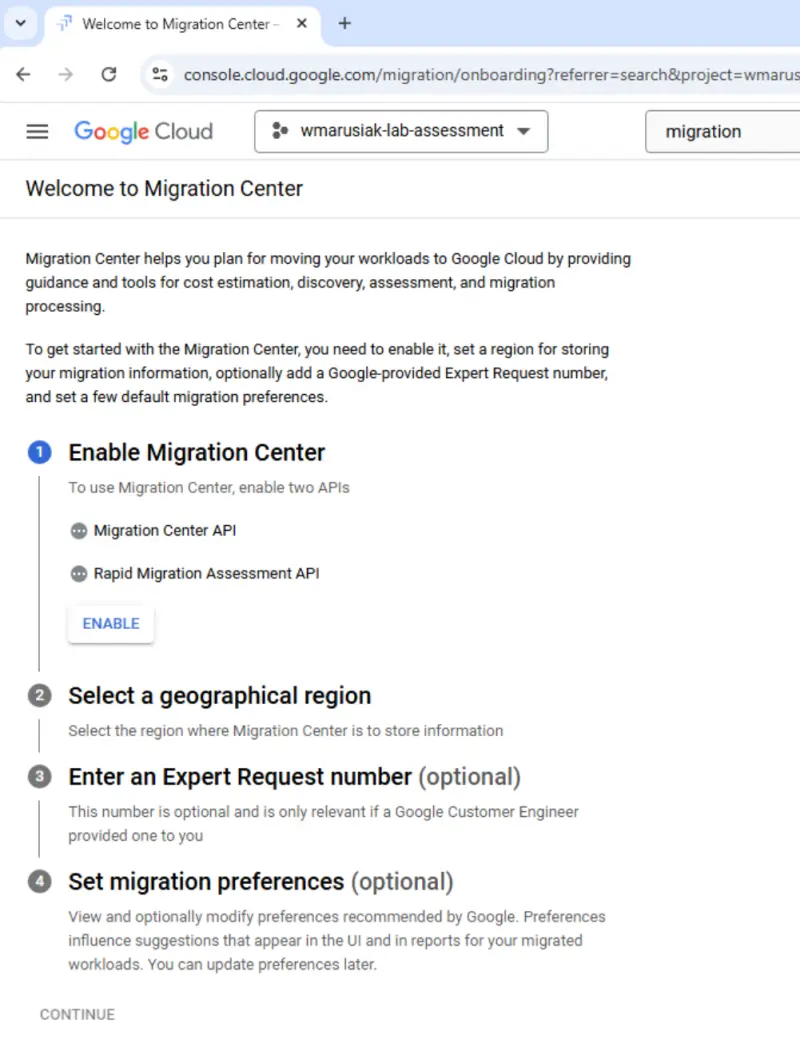
- This leads us to section where we need to enable Migration Center APIs (Migration Center API and Rapid Migration Assessment API). Our logged user needs to have permissions to enable them. If not, we can ask someone with permissions to perform this step for us.
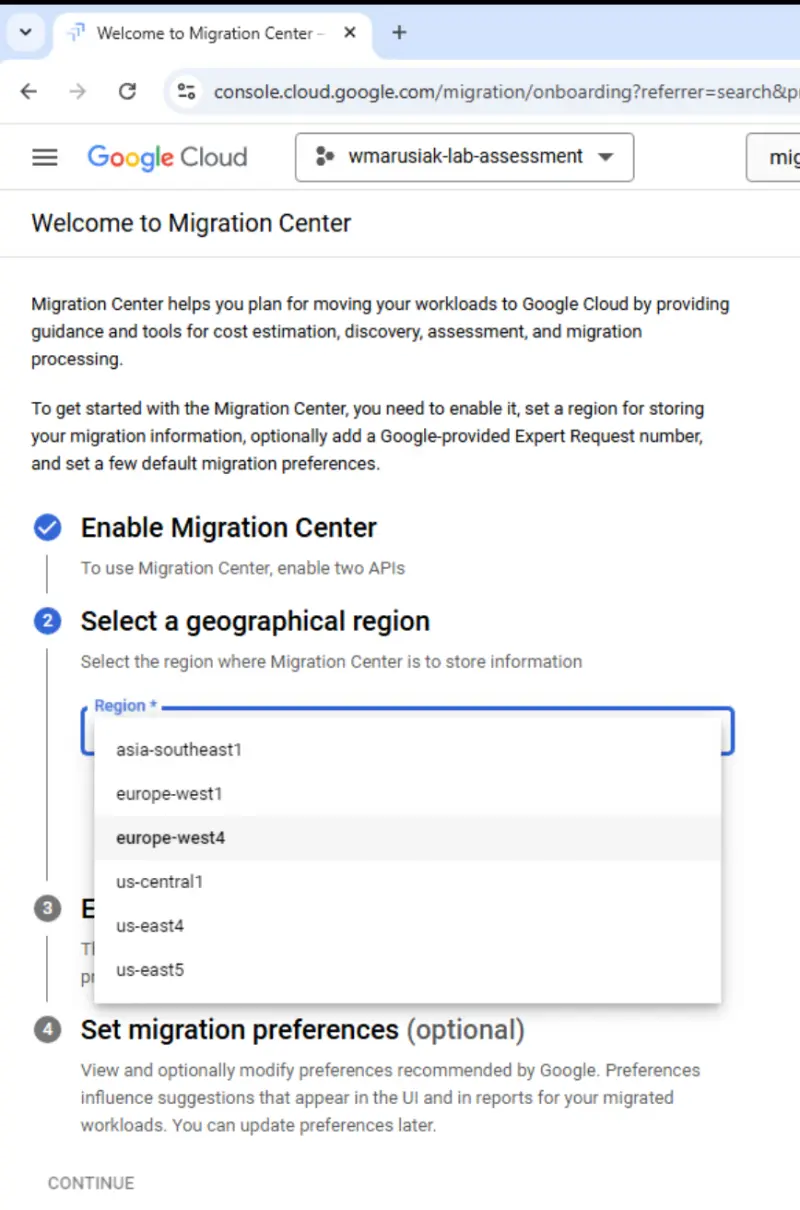
- As the next step we need to choose a geographical region where Migration Center stores the data. I will choose europe-west4 which is located in Eemshaven, Netherlands. This location cannot be changed later on.
- We click next and if you are working with someone like myself - Customer Engineer you can enter Expert Request if you have it :)
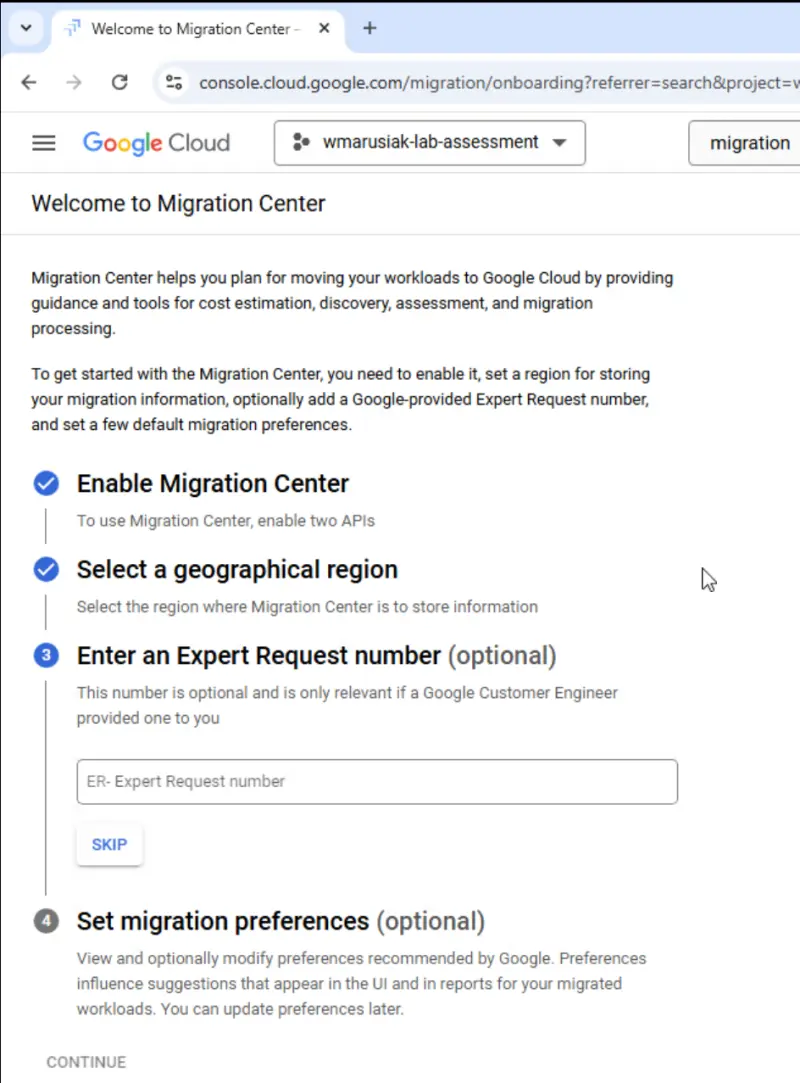
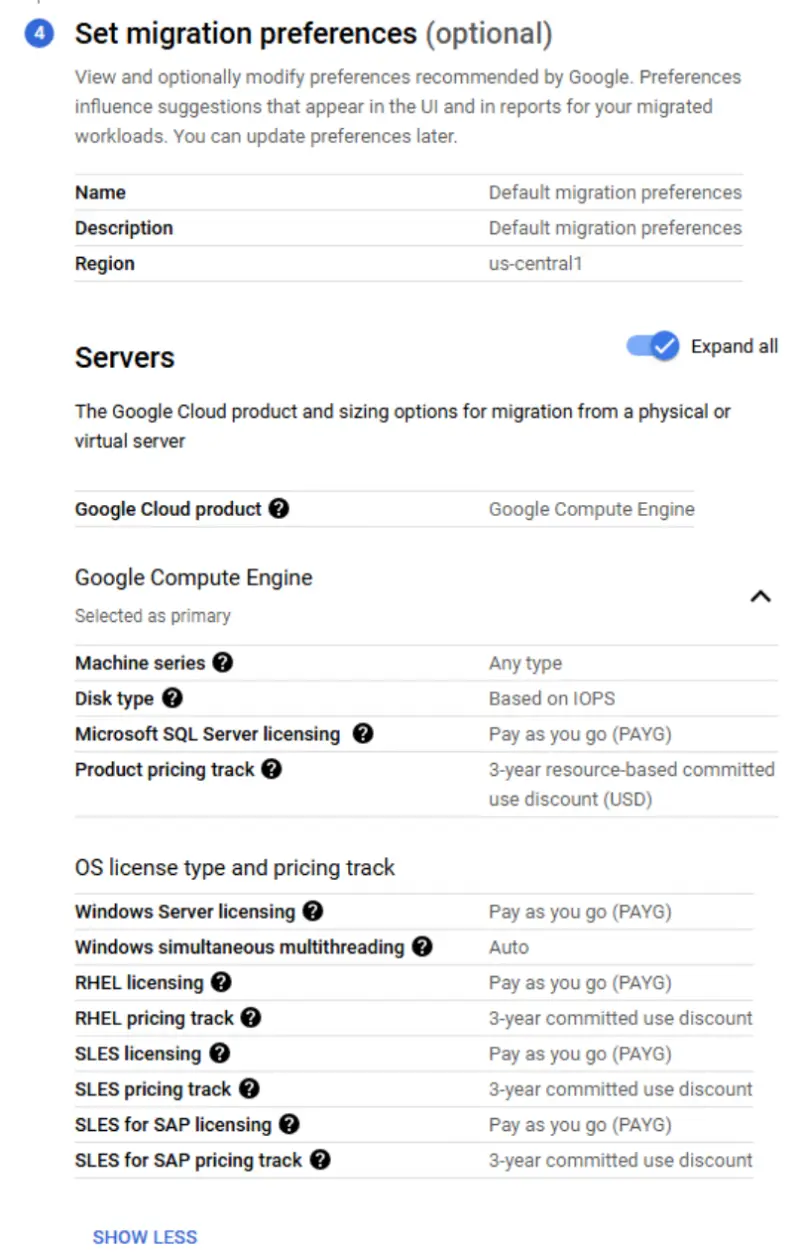
- On the next screen we can configure our migration preferences. For the time being we accept default settings. We can change those later.
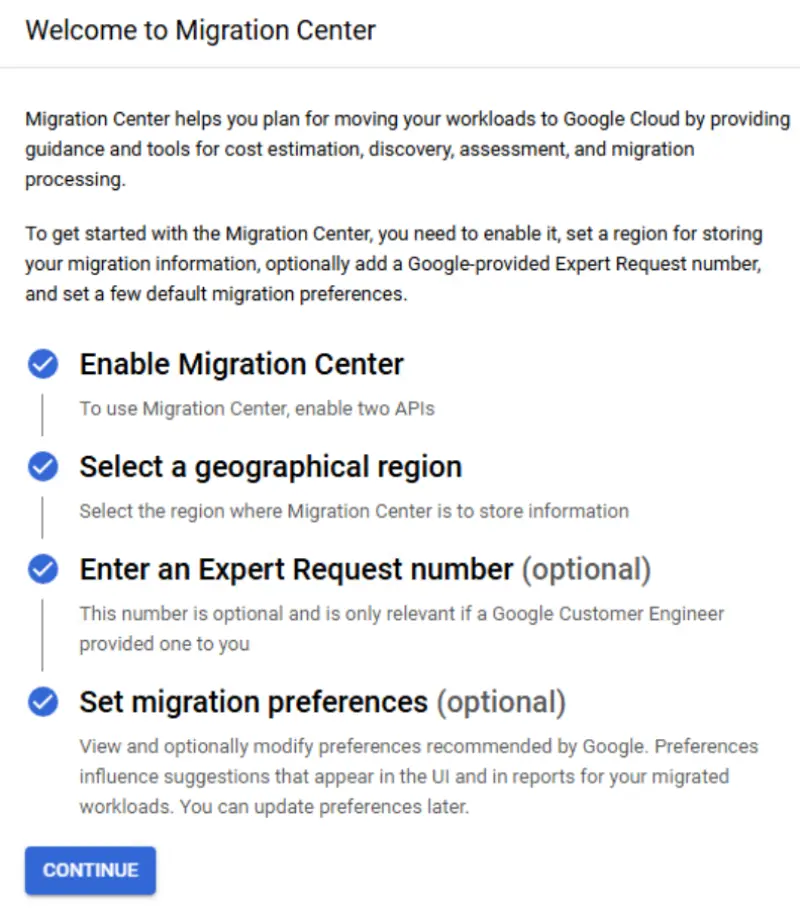
- We have successfully completed all steps needed in Migration Center.
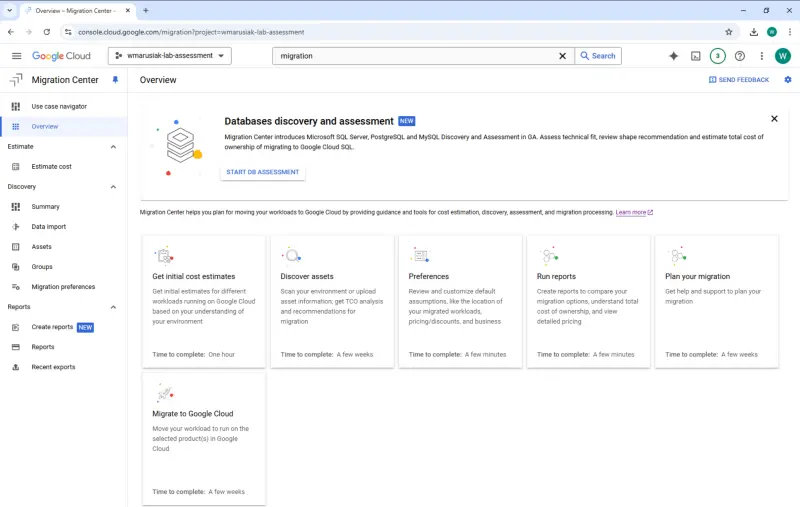
- Migration Center is ready to be used :)
Step 2: Install the Discovery Client
For the simplicity I will install Google Chrome on my Windows Server and login to Google Cloud from there.
-
Download the Discovery Client:
- Visit the Google Cloud Migration Center.
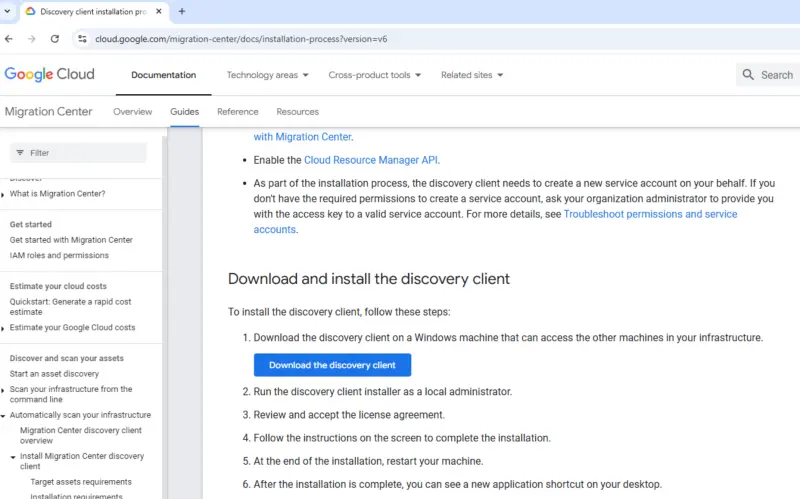
- Find the link to download the Windows installer for the Migration Center Discovery Client.
- After downloading the client we execute installation process.
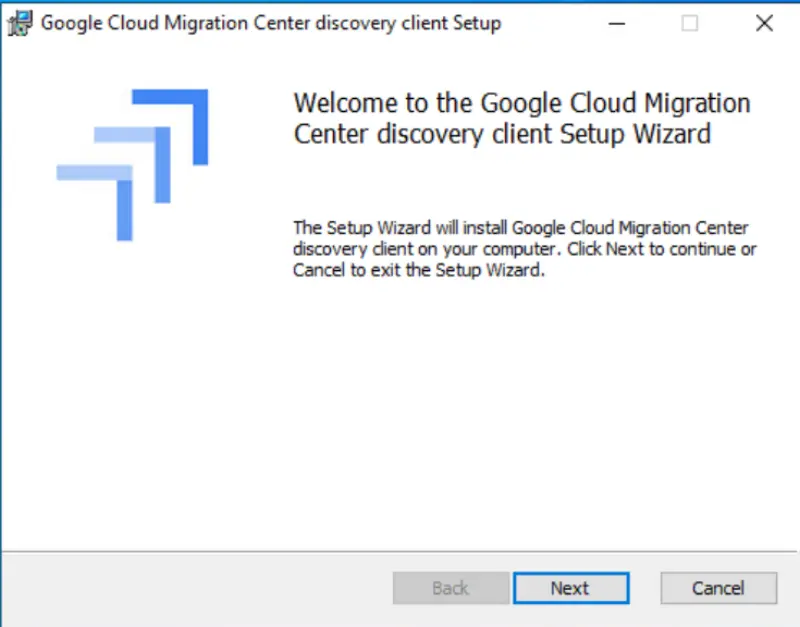
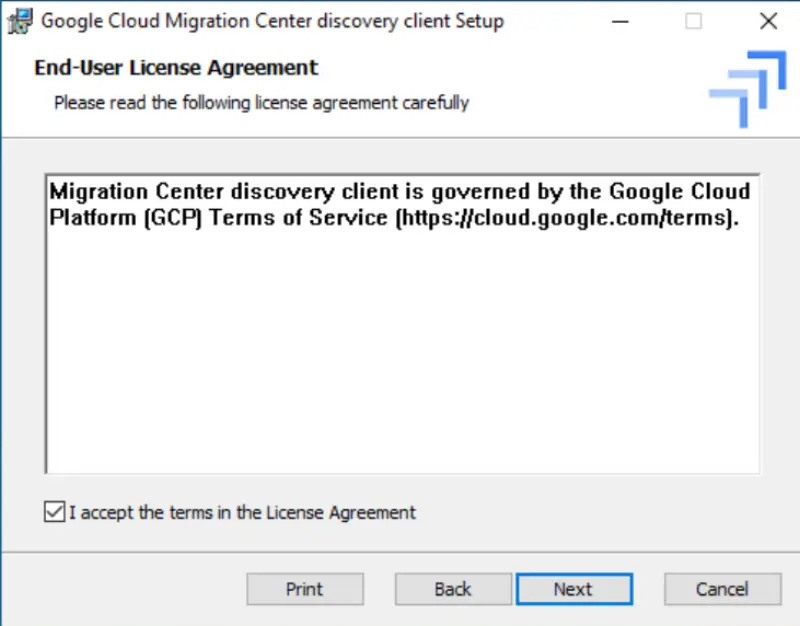
- We click next and accept the EULA.
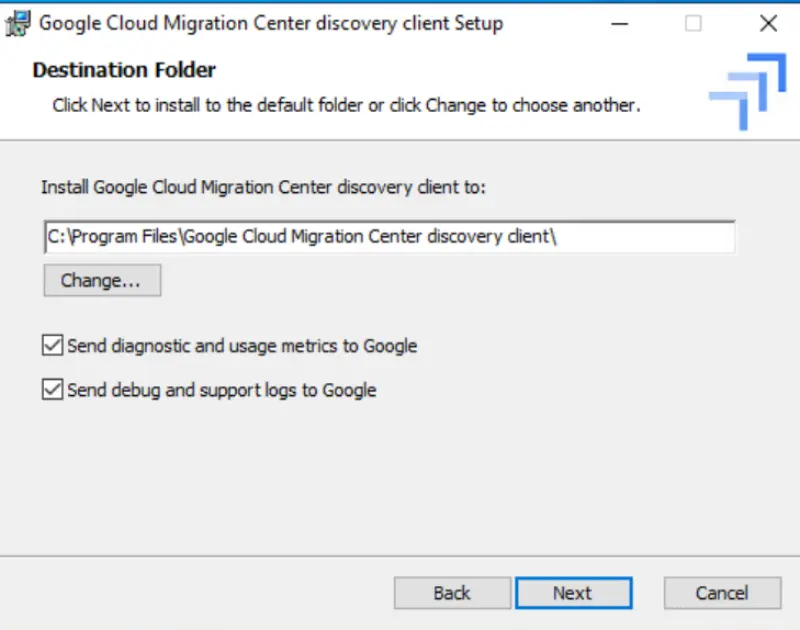
- If needed we can change installation path and opt out from diagnostics and metrics being sent to Google alongside with debug and support logs.
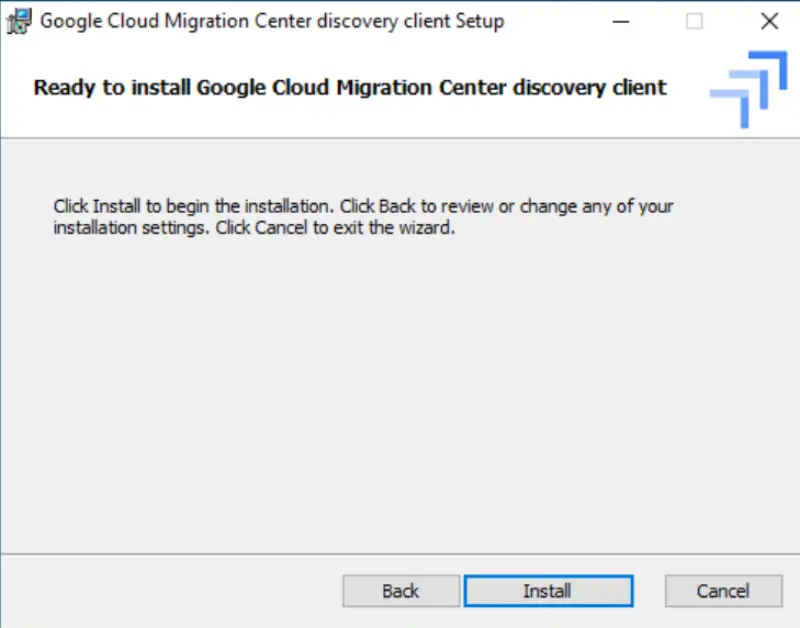
- On the last screen we finally can click Install and let the installation proceed.
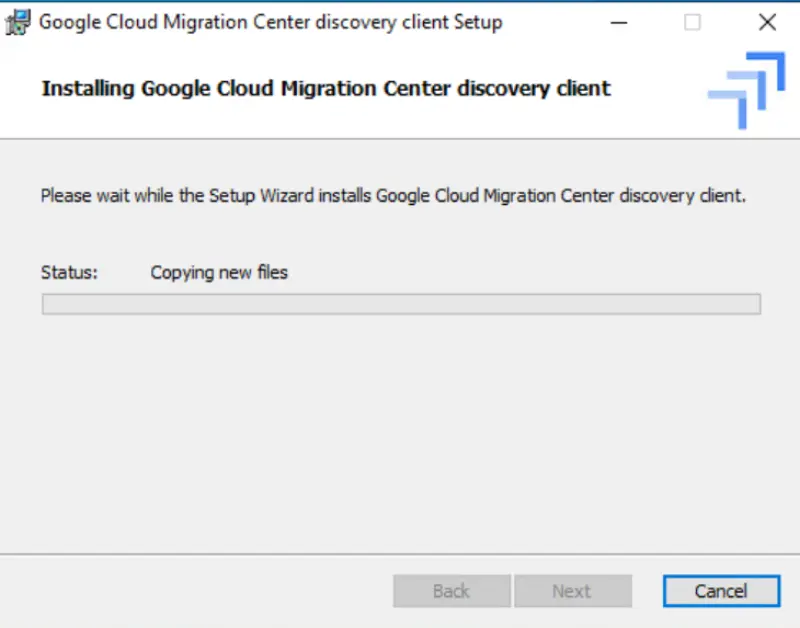
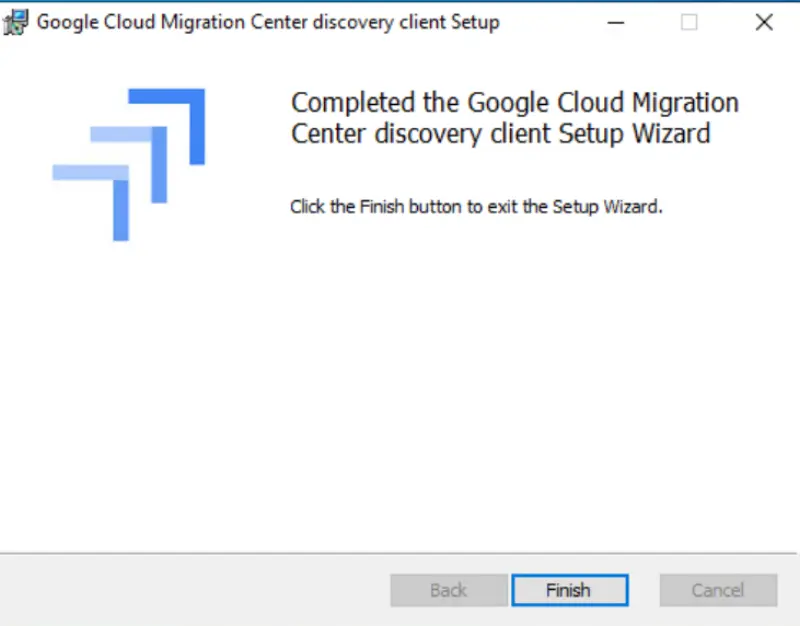
- Software is installed.
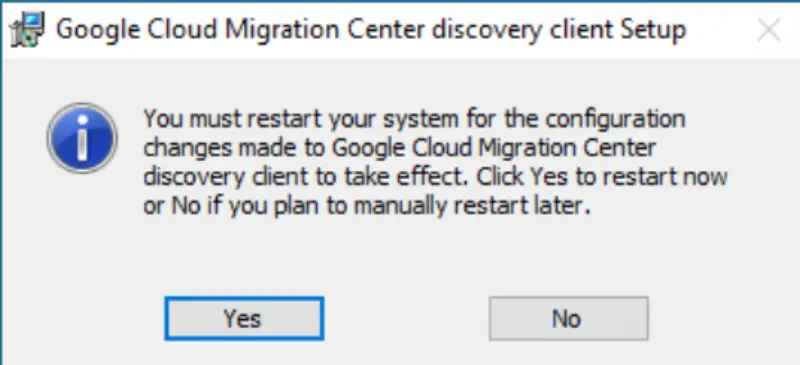
- We need to restart Windows after software installation.
- Visit the Google Cloud Migration Center.
-
Configure the Discovery Client:
- We open the Discovery Client application. It is running in Chrome and our first step is to login to Migration Center. This means we will establish connectivity between Migration Center Discovery Client and Migration Center in our Google Cloud project.
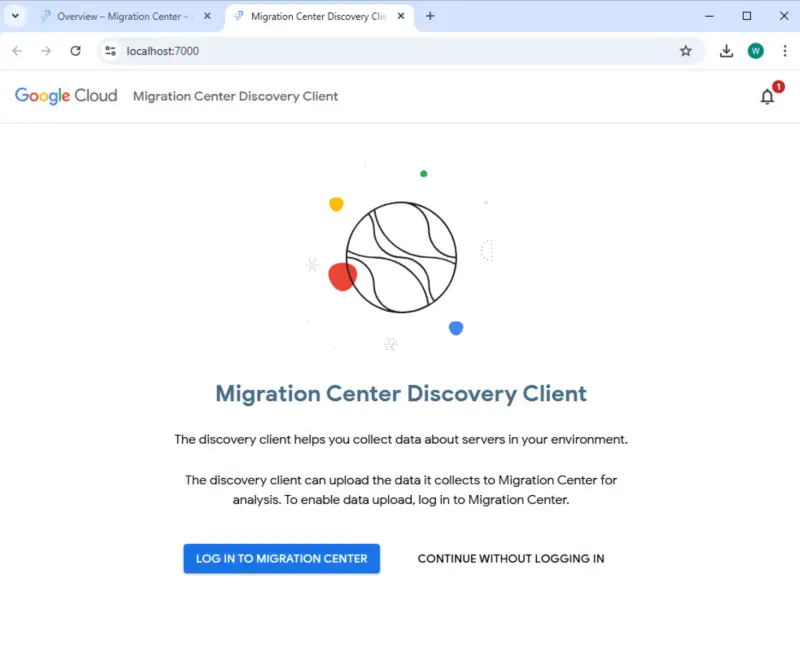
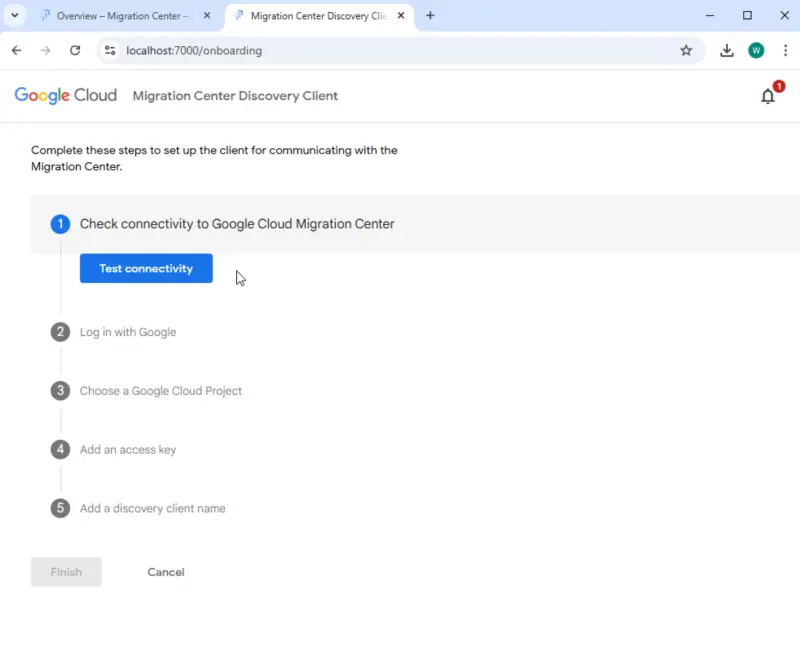
- As first step Discovery Client checks connectivity to Google Cloud Migration Center. If you click on the button and there is no error we can proceed.
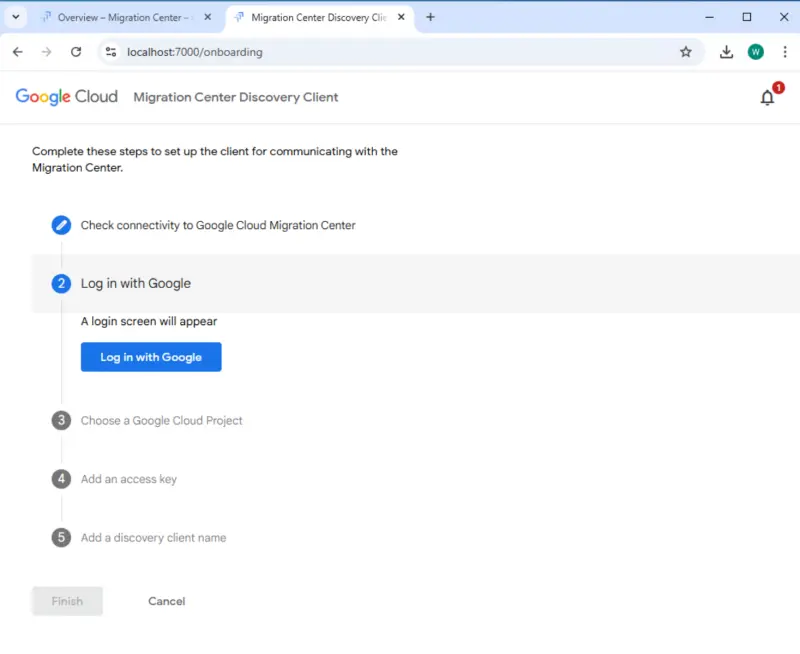
- On the next screen we login with our credentials to Google Cloud.
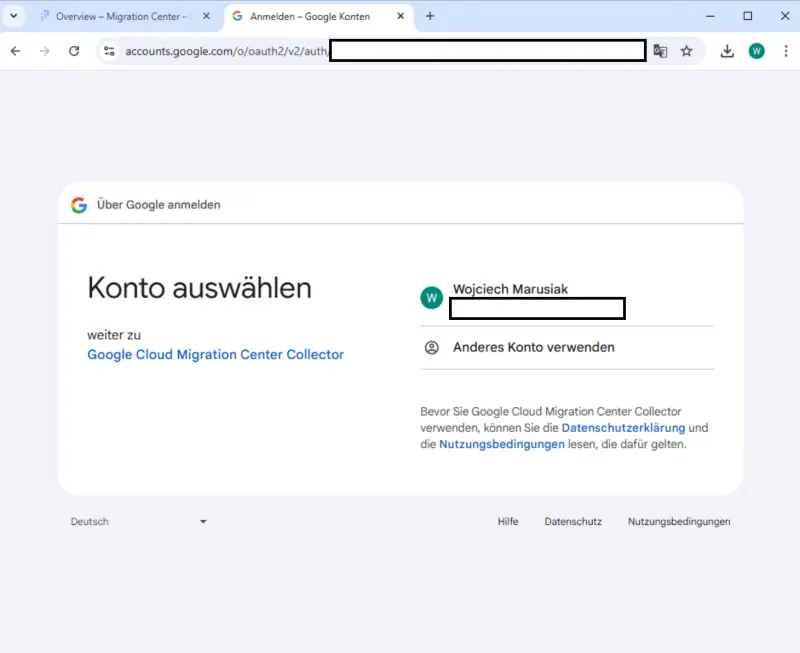
- After successful login we need to choose Google Cloud project we created before.
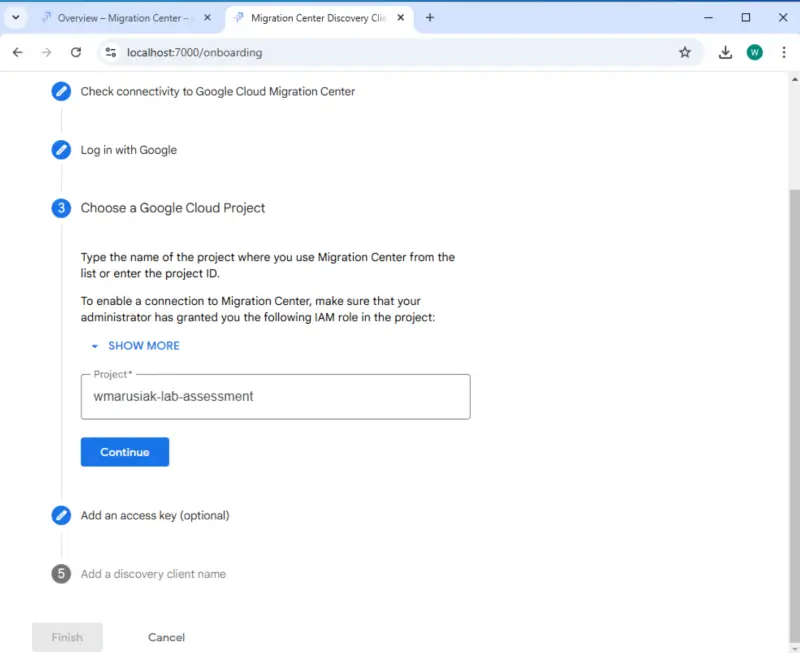
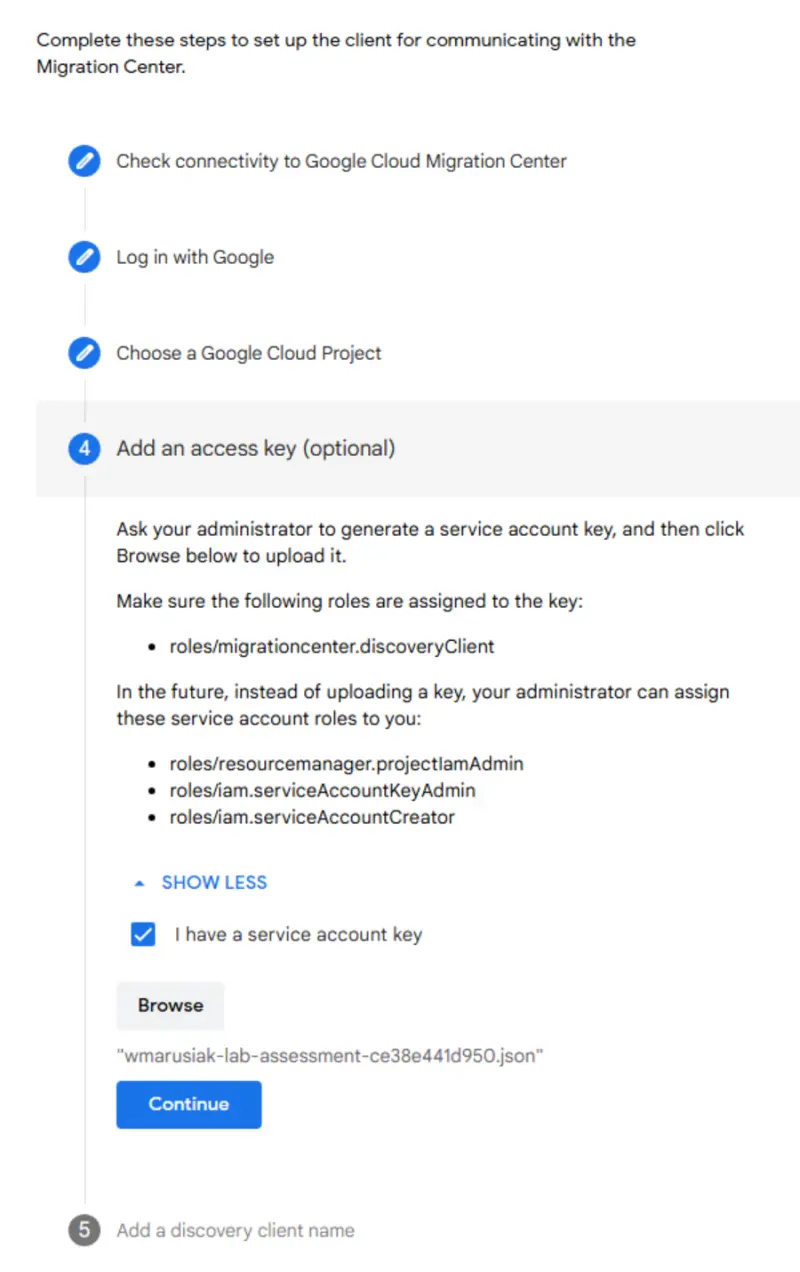
- In the next step we can add service account key which we create before.
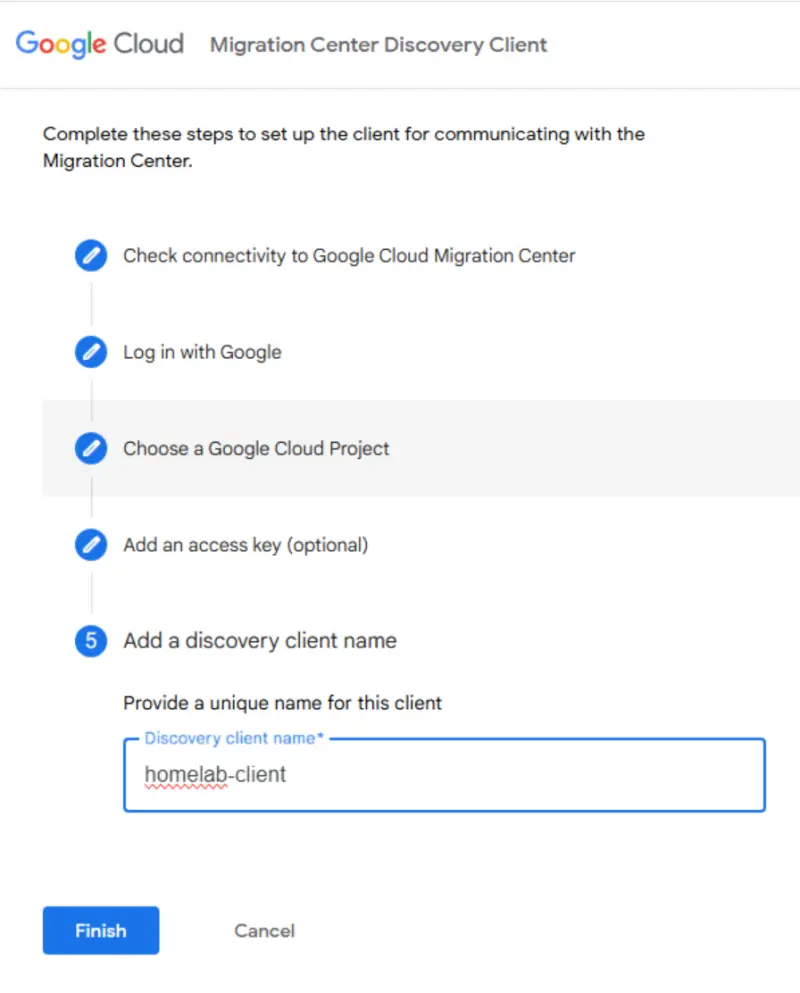
- Our last step in connecting to Google Cloud is provide unique name for our client.
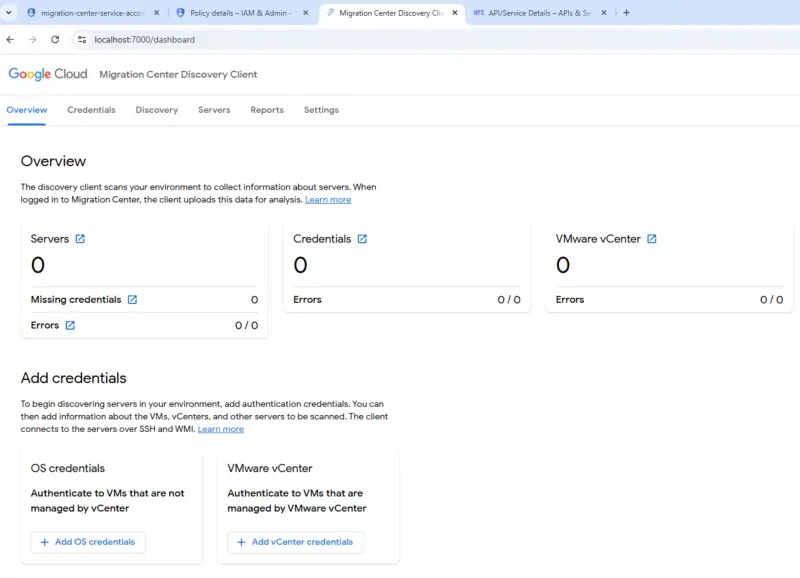
- Our discovery client is almost ready to be used in discovering assets :)
- We open the Discovery Client application. It is running in Chrome and our first step is to login to Migration Center. This means we will establish connectivity between Migration Center Discovery Client and Migration Center in our Google Cloud project.
Step 3: Create User in vCenter Server and assign a Role
As we now need to perform some operations in vCenter Server we will switch to it now.
- vCenter Server Role Cloning
- In first step after logging in to vCenter Server we will navigate to Administration and then Roles.
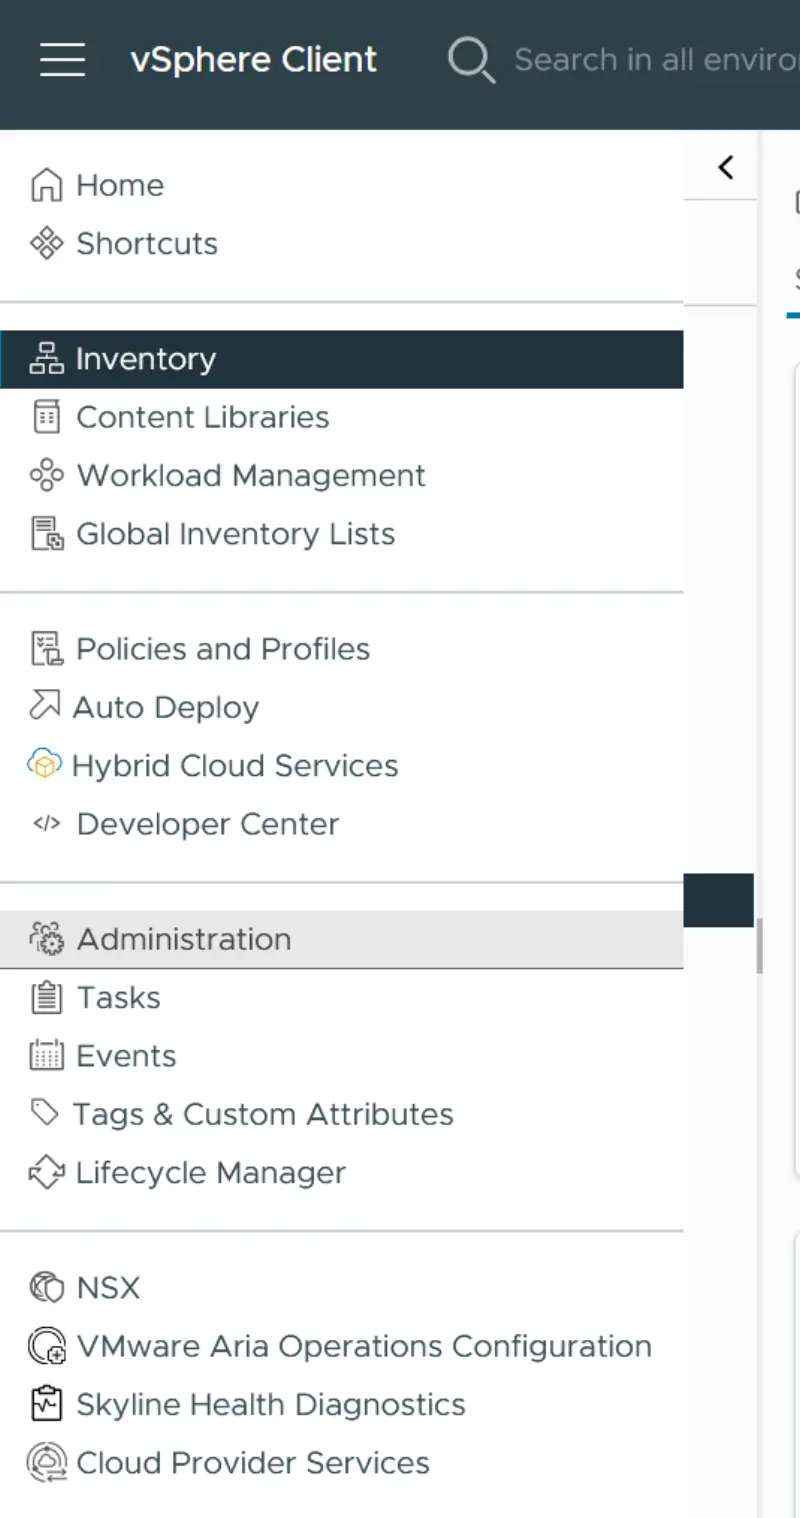
- We can see that we have several pre-defined roles.
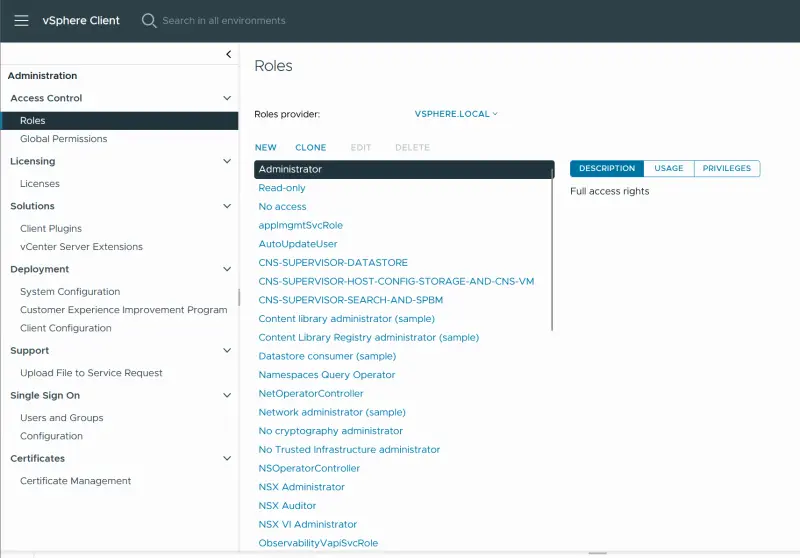
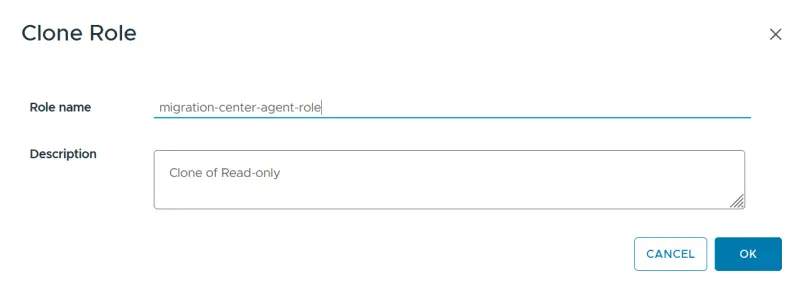
- We will choose Read-only role and clone it for our purposes. I created role called migration-center-agent-role.
- In first step after logging in to vCenter Server we will navigate to Administration and then Roles.
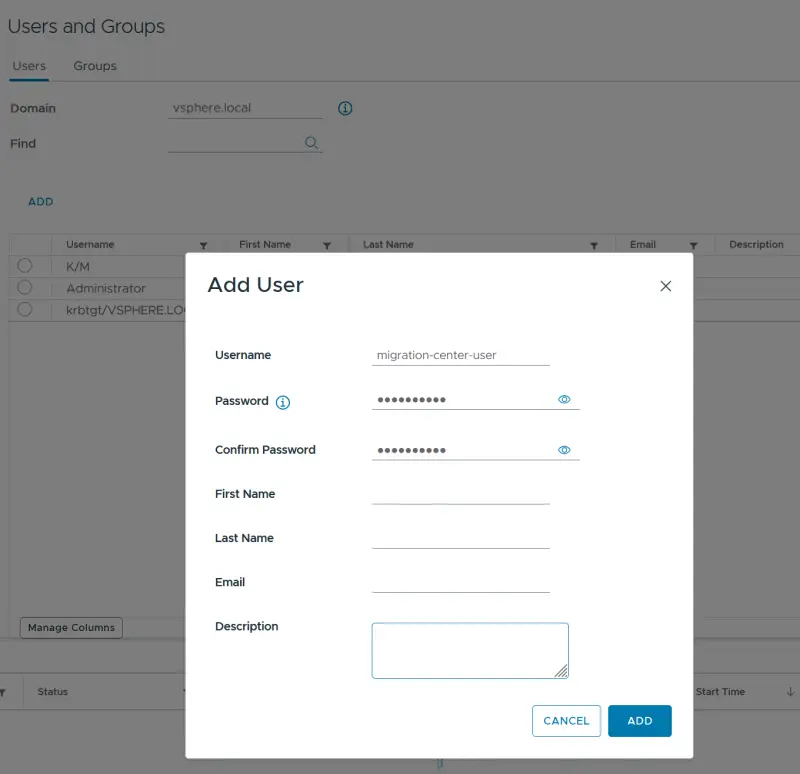
- vCenter Server user creation. After creating a role we need to assign it to a user. Let’s create one. Mine will be created in vsphere.local domain.
- Choose your domain and cllick ADD. Provide username and password.
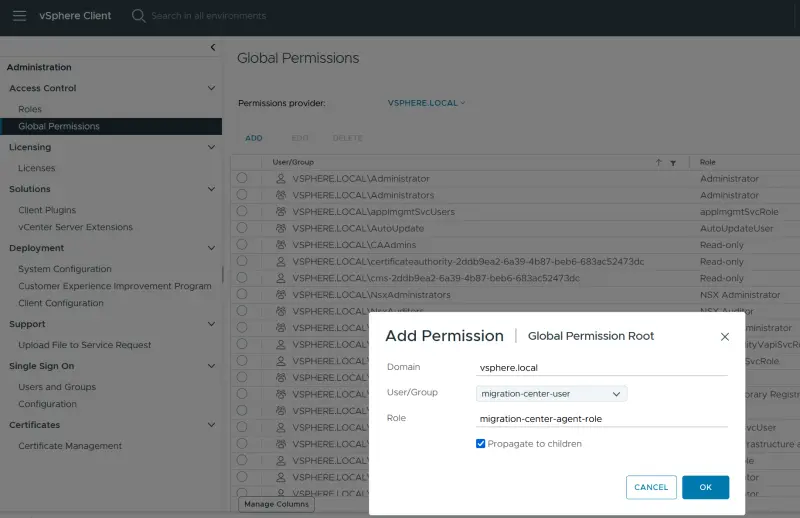
- In the section Global Permissions click add button. In the new screen choose correct domain, select user and choose role we previously created.
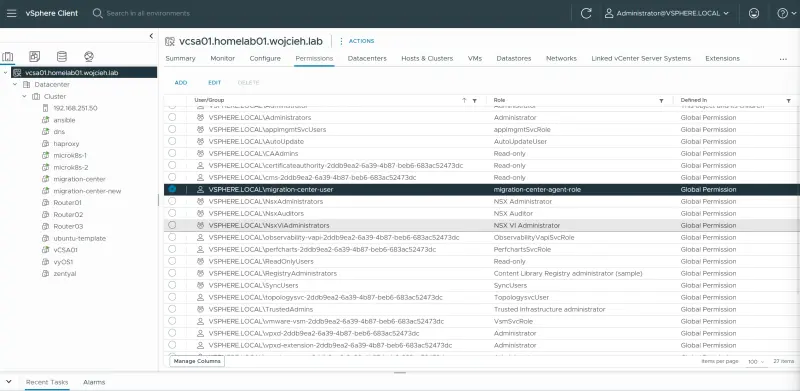
- We can confirm if the permissions were assign by click on vCenter Server, ESXi or VMs in Permissions tab.
- Now we can proceed with configuration of vCenter Server in Migration Center Client.
- Choose your domain and cllick ADD. Provide username and password.
Step 4: Configure the Client for Discovery
Once we have configured vCenter Server user and we are connected to our Google Cloud project we can finally connect both resources together.
- Select Discovery Sources:
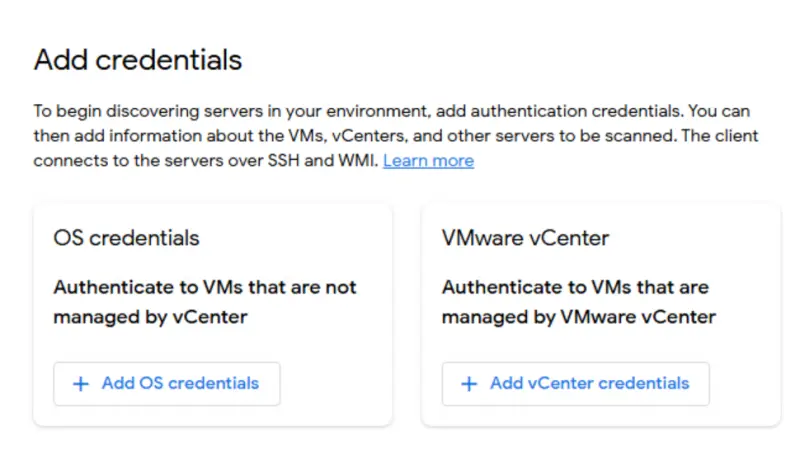
- In Migration Center Discovery Client we start by adding vCenter Server credentials.
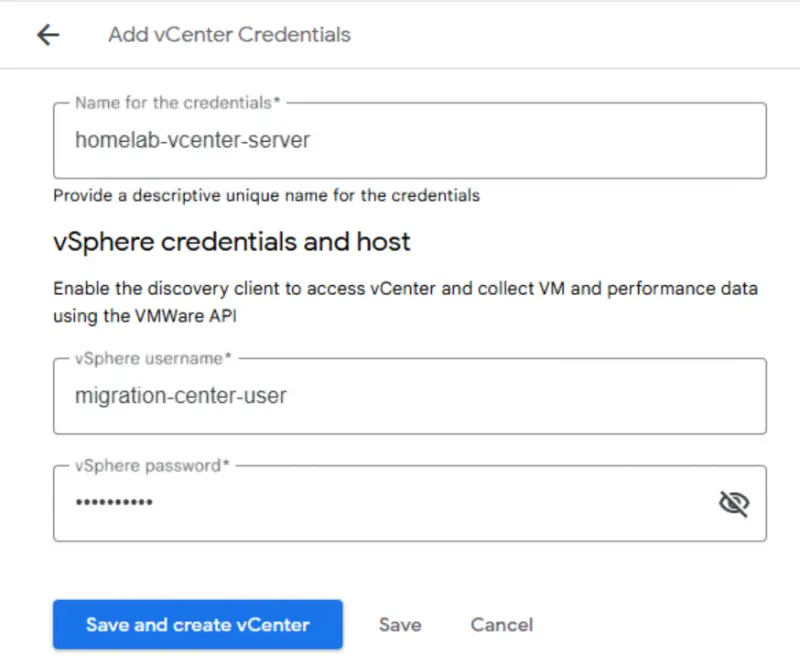
- We need to provide friendly name for credentials alongside with username and password.
- We need to provide IP or FQDN to our vCenter Server and click test connection. In my case as I am using self signed certificates I had to select Allows HTTPS access using self-signed (less secure) certificates.
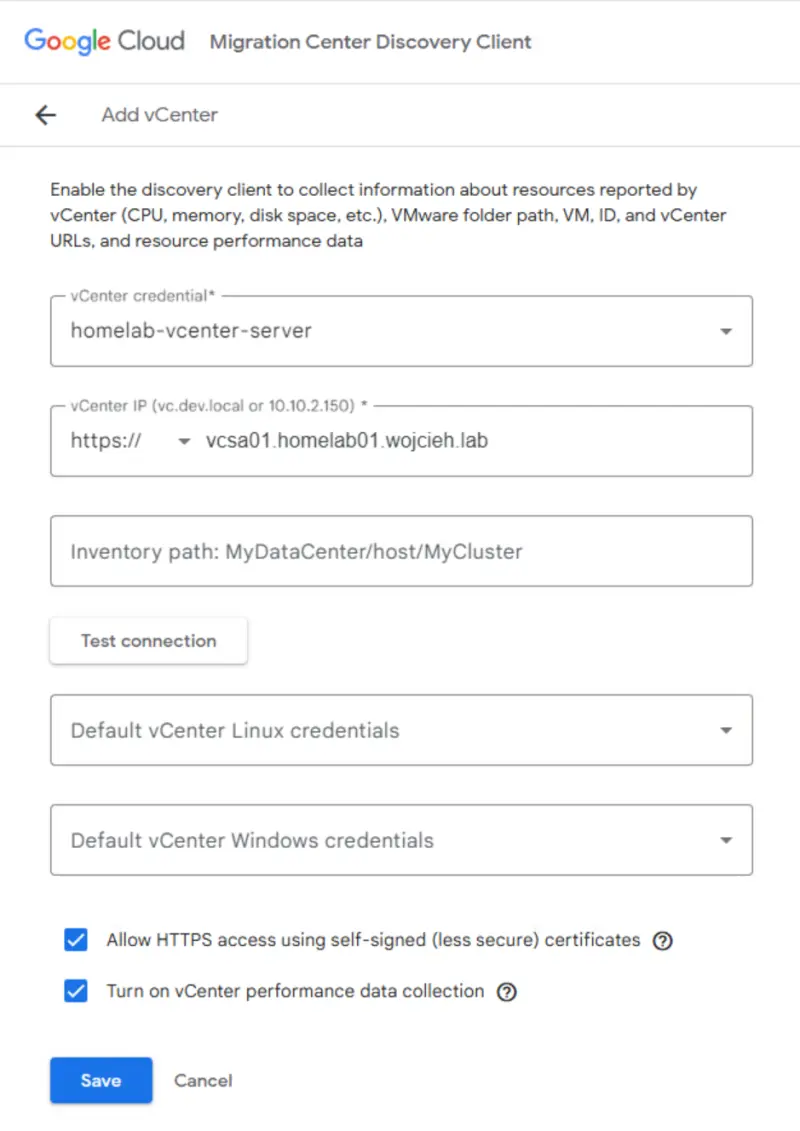
- After succesfull connectivity in the section Discovery we see that vCenter scann will be performed.

- In Migration Center Discovery Client we start by adding vCenter Server credentials.
Summary
By following these steps, you can successfully install and configure the Google Cloud Migration Center Discovery Client on your Windows Server.