One of many VMware vExpert benefits besides recognition in community is possibility to work with different companies. Quite recently I was contacted by company called Altaro - well-known company offering backup software for Hyper-V and VMware.
After few months of hard work Altaro is introducing backup software as well for VMware vSphere products. I tested Altaro VM Backup - VMware and I am more than happy to share few words about it.
Software specification
At the beginning few words about supported versions and backup management.
Versions of VMware supported:
- VMware vSphere 5.0, 5.1, 5.5 and 6.0
- VMware vCenter 5.1, 5.5 and 6.0
- VMware ESXi 5.0, 5.1, 5.5 and 6.0
To manage backup configuration and jobs from a separate machine, you can install the BETA on these OS’s:
- Windows Server 2008 R2, 2012 and 2012 R2
- Windows 7 (64-bit),8 (64-bit) and 10 (64-bit)
First steps
Altaro VM Backup - VMware Beta requires installation on Windows Server. I had a small problem with installation on Microsoft Windows Server 2012 R2 for unknown reasons. I contacted Altaro Support and they quickly suggested to extract installer from **.exe ** installer and this worked fine. This is what I like and how support should looks like 🙂
This is the problem I faced.
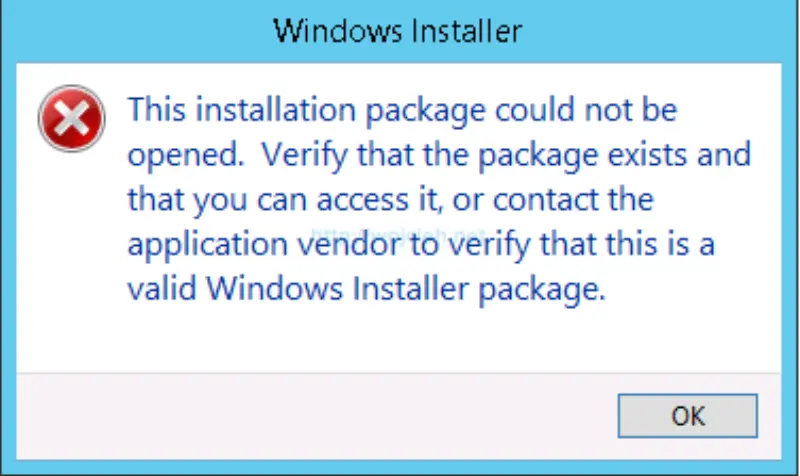
Altaro VM Backup - VMware Beta initial setup
Like with every software you have to configure source (what you want to back up) and destination (where do we backup).
- In order to do this let’s launch Altaro VM Backup first.
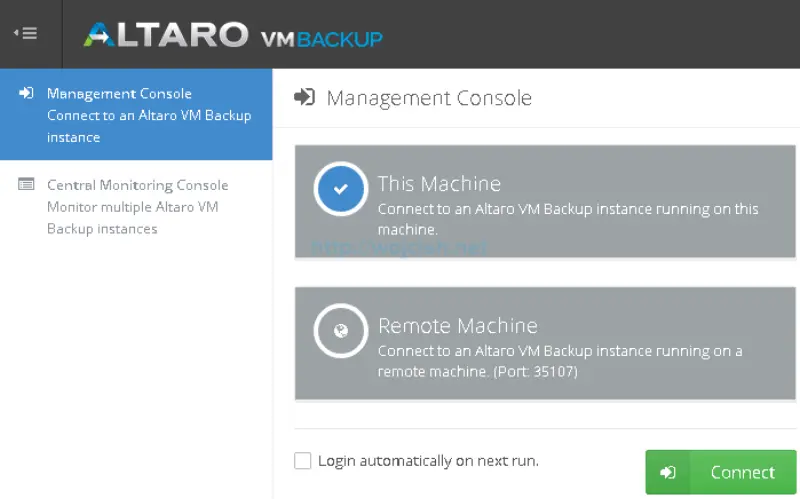
- In console simply select This Machine and click connect.
- Altaro did well by simplifying initial setup which is done in three steps. In step one we click Add Hyper-V / VMware host.

- Select VMware ESXi or VMware vCenter Server. I will go with vCenter Server - select it and click next.
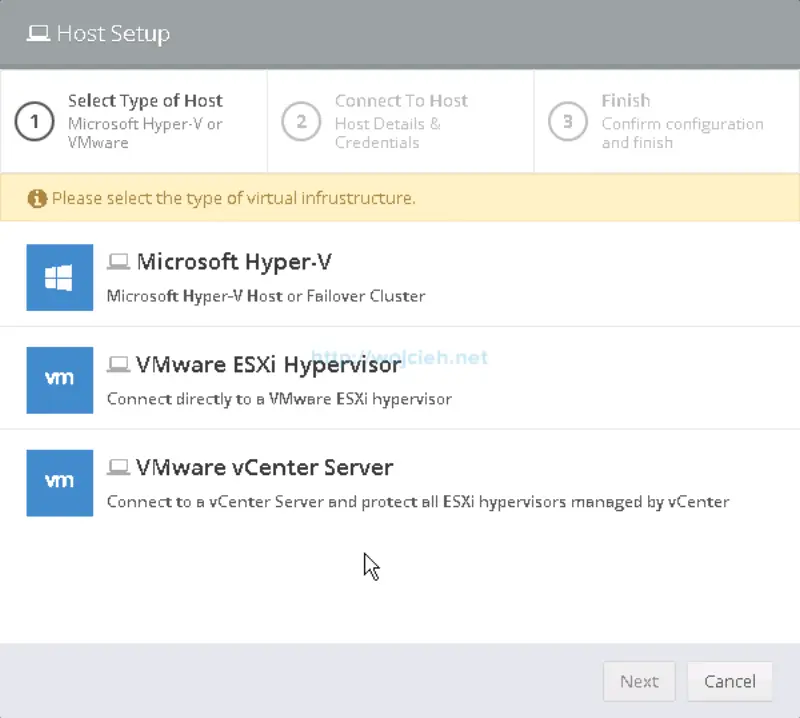
- Provide vCenter Server IP or FQDN name, user credentials with administrative rights and password. At the end click Test Connection.
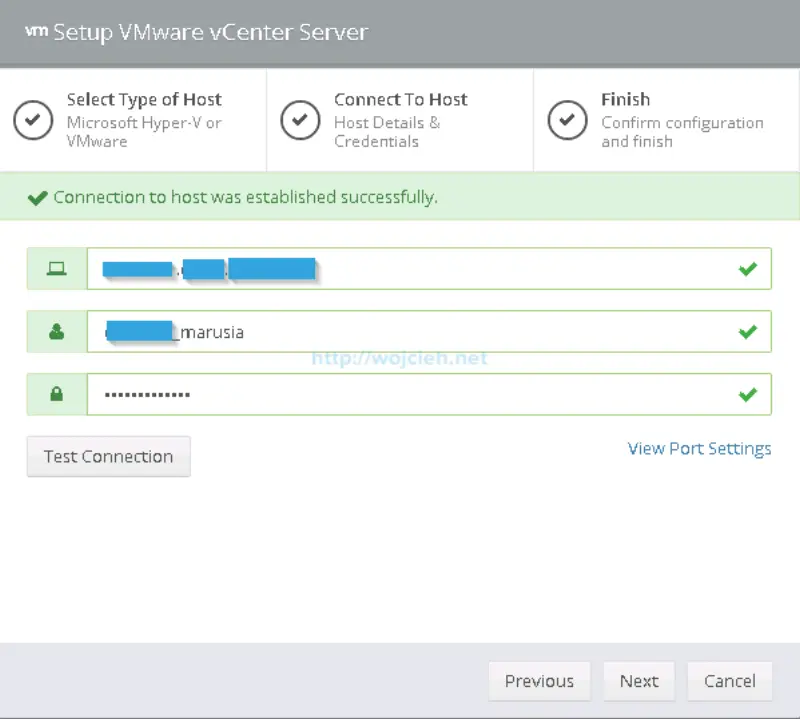
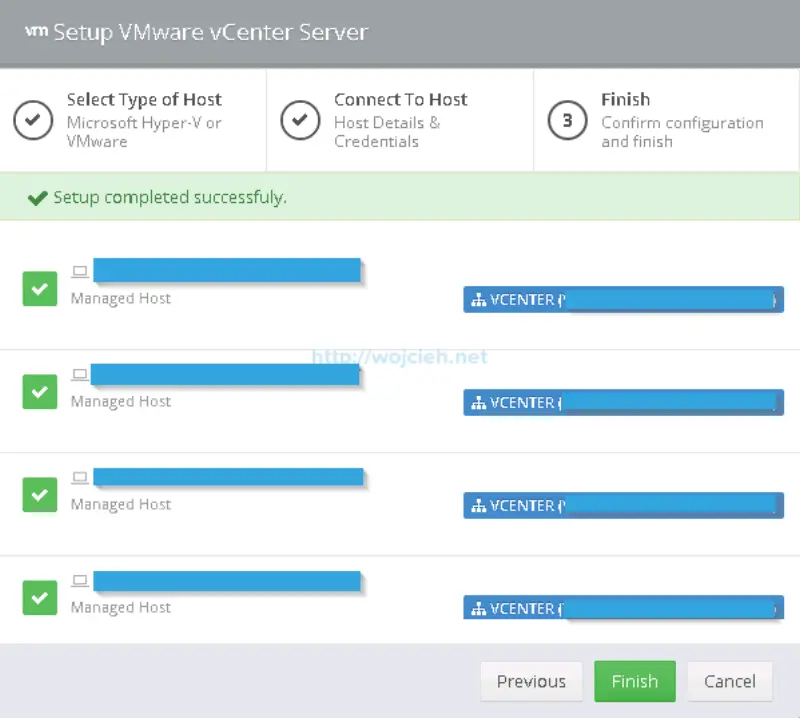
- Last screen shows you summary of your environment - in my case it is just four ESXi hosts. Click Finish.
- Next step is to select what do we want to back up. Click on dashboard and select Step 2 - Choose Where to Store Backups.

- You can select Physical Drive (USB, eSata, iSCSI or Internal Drive) or Network Path (Network Drive, NAS or other Network Location). In my case I will test backup to local disk.
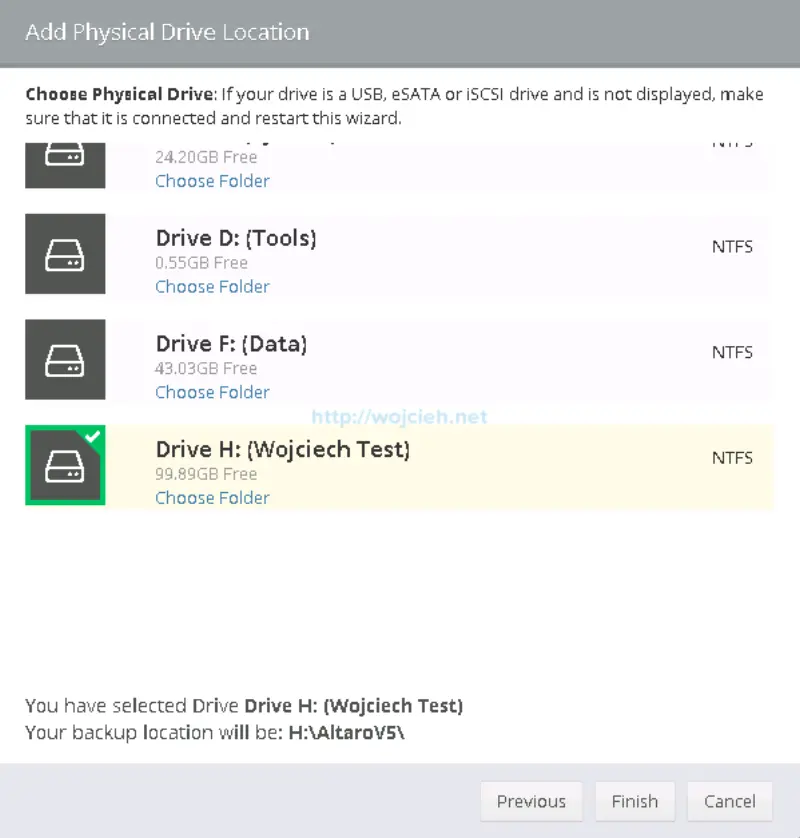
- Click Finish and let’s go to third and last step.
- Let’s finish with initial setup by taking first backup. Select Take First Backup.

- Now click on Click here to configure Virtual Machines.

- Choose which host and all of it virtual machines should be back up or select particular virtual machine. I selected one nested ESXi to be protected. Simply drag and drop virtual machine on backup location.

- When you selected all virtual machines to be backed up click Save Changes.
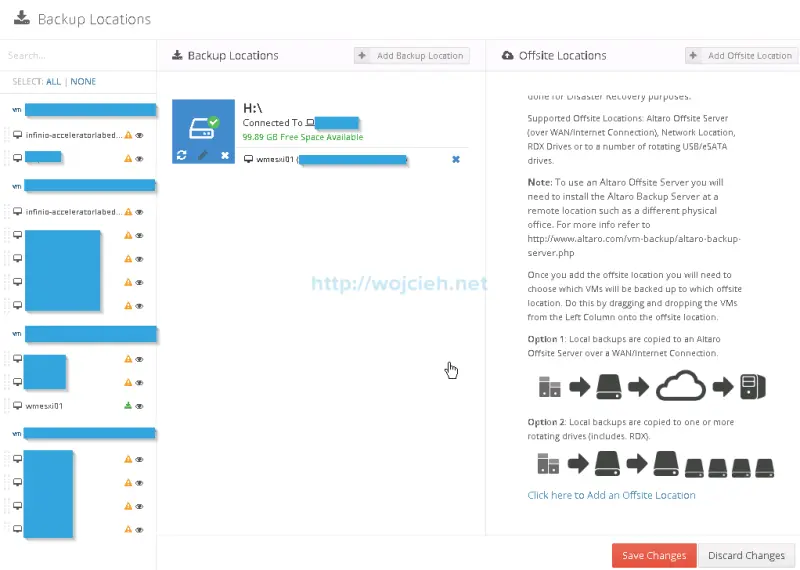
- Click on Virtual Machines section and select virtual machine to back up.

- My first backup finished with errors, but this is due to nested ESXi itself and not Altaro VM Backup 🙂
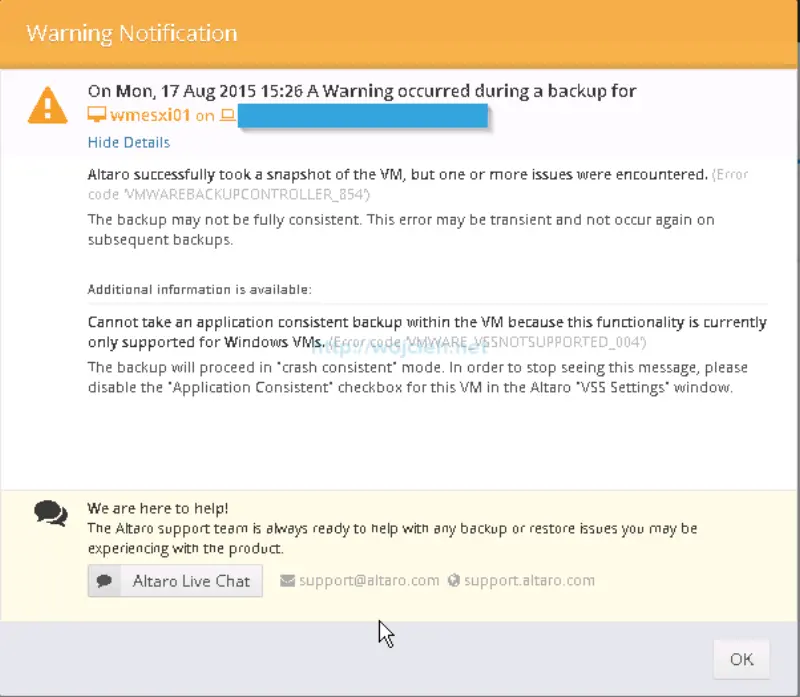
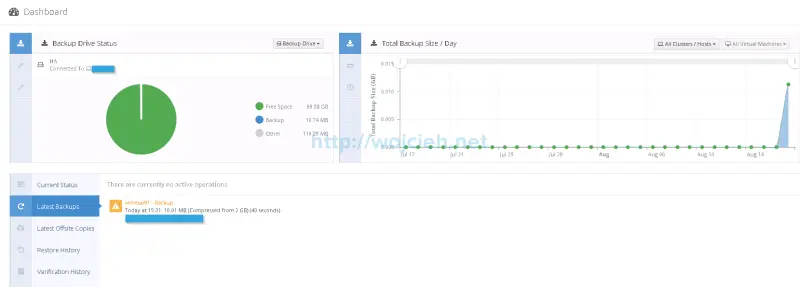
- Once backup is taken you can see it on very informative dashboard.
Summary
After a week of testing I can say that Altaro VM Backup for VMware is solid software. If you would like to test program here is the product link: http://www.altaro.com/vm-backup/
You can check as well Quick Start guide available here Altaro VM Backup Quick Start Guide.